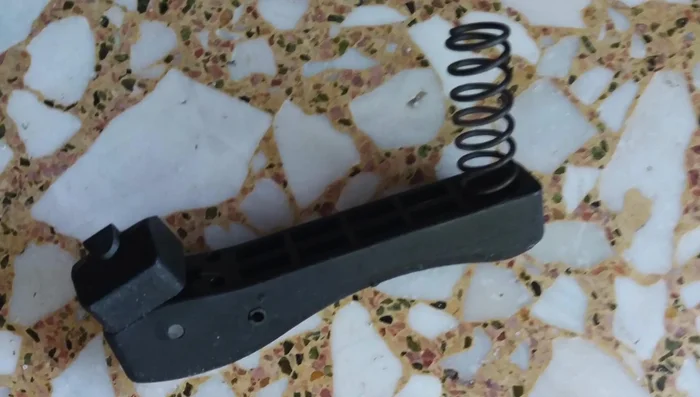
Hercules guitar stands, renowned for their robust design, aren't immune to wear and tear. A common point of failure is the handle, often suffering from cracks or complete breakage due to repeated use and accidental impacts. This can render a perfectly functional stand unusable, leading to frustration for any guitarist. Fortunately, a surprisingly durable and effective solution is readily available thanks to the power of 3D printing. This affordable and readily accessible technology offers a pathway to repairing your damaged Hercules guitar stand handle, restoring its functionality and extending its lifespan.
This article details a step-by-step guide to repairing your broken Hercules guitar stand handle using a custom-designed 3D printed replacement. We will walk you through the process from designing and printing the replacement part to securely attaching it to your existing stand, resulting in a strong and reliable repair that will keep your guitar safe for years to come. Let’s get started!
Preparation and Safety Guidelines
- 3D Printer
- ABS or other strong plastic filament
- Six 440 stainless steel bolts
- One 440 threaded stud
- Washers
- Lock nuts
- Always unplug the 3D printer before handling any parts or making adjustments. Electricity and moving parts pose a risk of injury.
- Use appropriate safety glasses when handling the 3D printed part and during the repair process. Small fragments of plastic could break off.
- Ensure the repaired handle is securely attached to the guitar stand before use. A poorly attached handle could result in the guitar falling and causing damage.
Step-by-Step Instructions
Problem Diagnosis and Solution Research
- Assess the damage and determine the need for a replacement handle. The original handle has decayed and is unusable.
- Search online for existing solutions or 3D printable models. While a simple nut and bolt fix exists, a more durable solution using a 3D printed replacement is the preferred method.

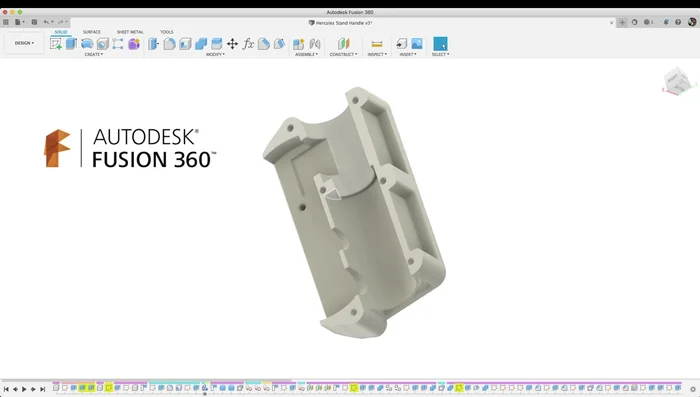
Problem Diagnosis and Solution Research 3D Model Design and Optimization
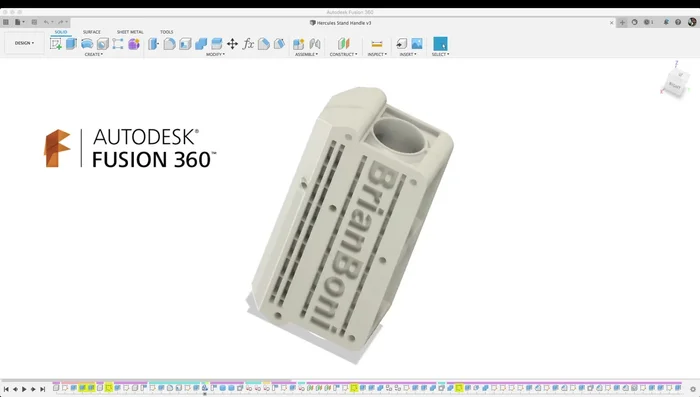
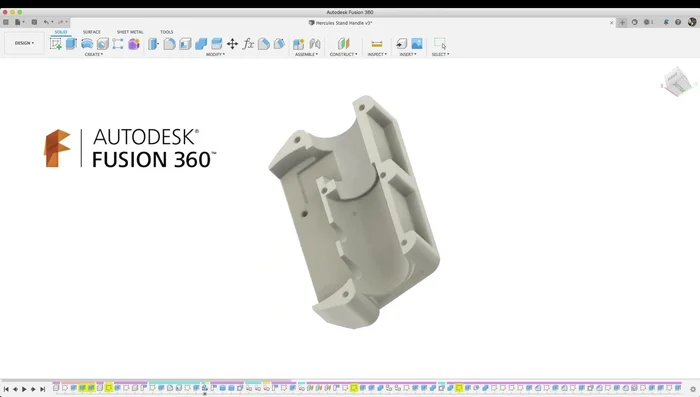
- Locate or create a 3D model of a replacement handle optimized for strength and ease of printing (minimal overhangs, support material). The presenter's design includes internal strengthening features and considers the slicer software's infill patterns for optimal strength.
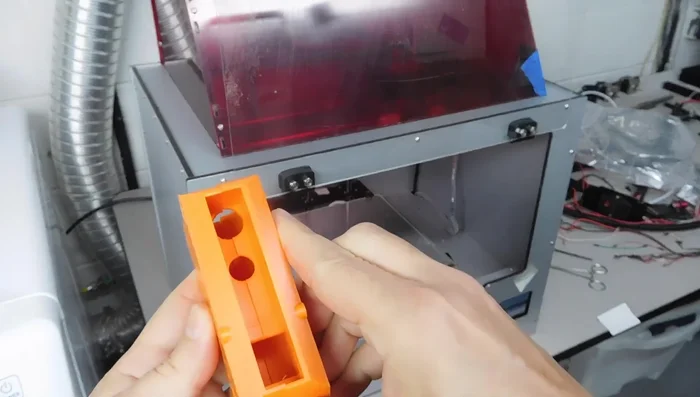
3D Model Design and Optimization 3D Printing the Handle
- Print the handle using a strong and hard plastic like ABS. Pay close attention to the design and slicer settings to ensure a strong and reliable print.
3D Printing the Handle Handle Assembly
- Assemble the two halves of the 3D printed handle using six 440 stainless steel bolts. Secure the lever pivot with a 440 threaded stud, washers and lock nuts.
Handle Assembly Handle Installation
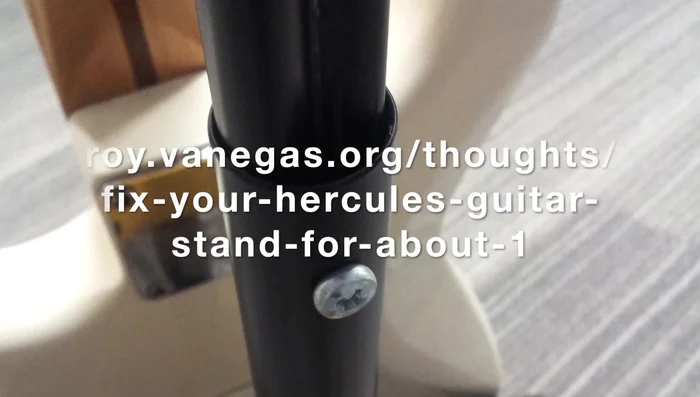
- Install the handle onto the guitar stand, ensuring proper alignment using the index notches. The design features that accommodate the stand's mechanism for smooth movement and locking.
Handle Installation
Tips
- Use a strong and hard plastic (ABS recommended) for the 3D printed handle to ensure durability.
- Optimize the 3D model for printing to reduce printing time and avoid support material. The presenter's design features holes strategically placed to influence the slicer's infill and achieve better strength.
- Pay close attention to the alignment features (notches) during assembly to ensure smooth operation.