The sweet sound of an acoustic guitar can be tragically silenced by worn-out strings or accumulated grime. A buildup of dirt and sweat not only dulls your instrument's tone but can also damage the fretboard and bridge over time. Similarly, old, rusty strings lose their vibrancy and responsiveness, making playing frustrating and impacting the overall quality of your music. Regular maintenance, however, is key to keeping your guitar in peak playing condition. This isn't just about preserving its value; it's about ensuring you always get the best possible sound from your beloved instrument.
This guide will provide you with a clear and comprehensive step-by-step process for restringing and cleaning your acoustic guitar, empowering you to tackle this essential maintenance task confidently and effectively. From removing the old strings to installing new ones and cleaning every component, we’ll walk you through each stage, ensuring your guitar sounds and feels its best.
Preparation and Safety Guidelines
- Gibson guitar Care Pack
- JP guitar tool
- Diario ej26 phosphor bronze strings
- Electric tuner
- Always use the correct type and gauge of strings for your guitar. Using incorrect strings can damage the guitar's neck and bridge.
- Be cautious when working with the tuning pegs and bridge pins. Avoid applying excessive force, which could cause damage.
- If you are uncomfortable performing any step, seek assistance from a qualified guitar technician. Improper restringing can lead to irreversible damage.
Step-by-Step Instructions
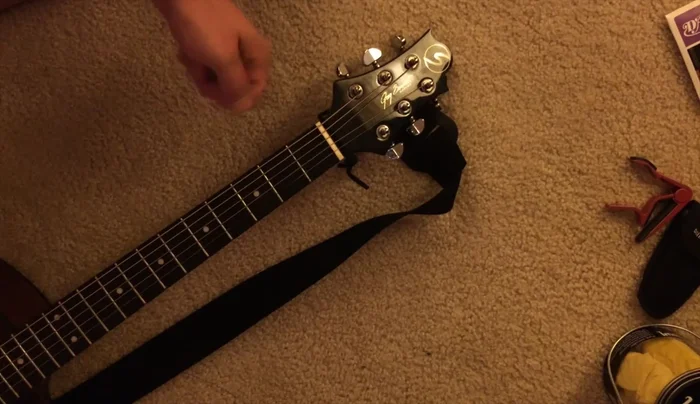
Remove Old Strings
- Remove old strings by loosening tuning pegs.

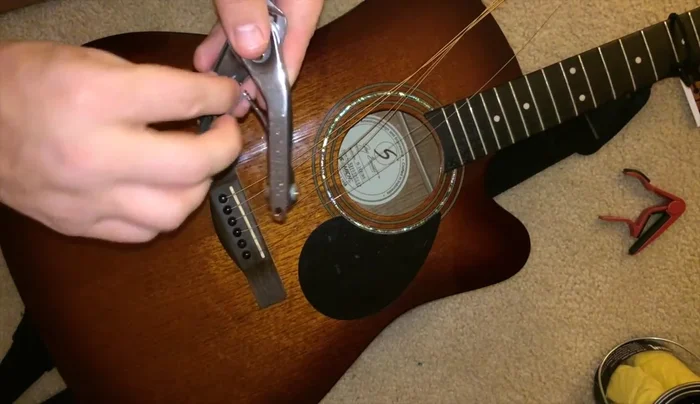
Remove Old Strings Remove Bridge Pins
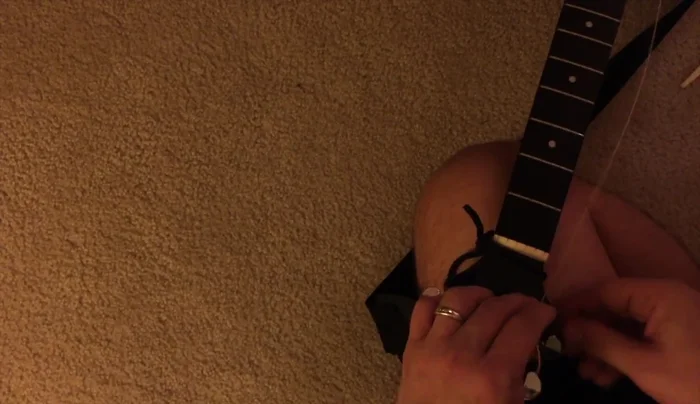
- Use the JP guitar tool to remove bridge pins.
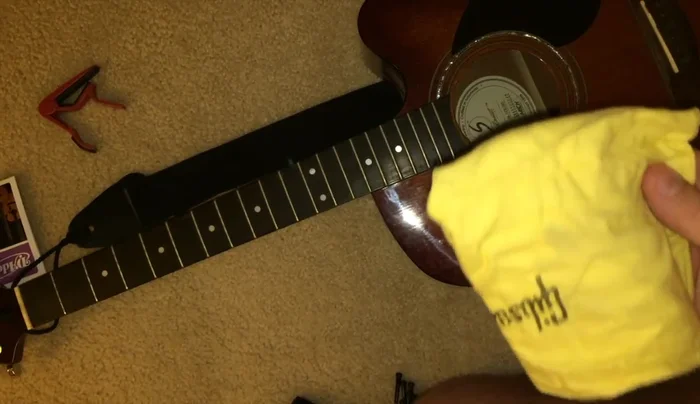
Remove Bridge Pins Clean the Guitar
- Clean your guitar using the Gibson guitar care pack. Apply restoration finish cream to the body and fretboard conditioner to the fretboard.
Clean the Guitar Prepare New Strings
- Prepare new strings (Diario ej26). Note the color-coded system for string identification.
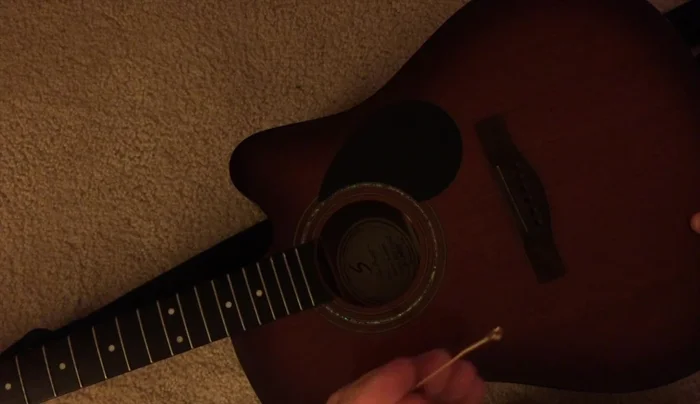
Prepare New Strings Install New Strings
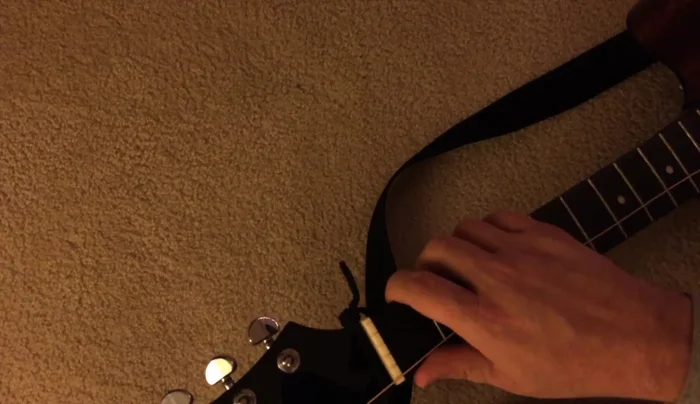
- Insert strings through bridge pins, ensuring the groove on the pin aligns correctly with the string hole.
- Feed the strings through the tuning pegs, leaving slack for winding.
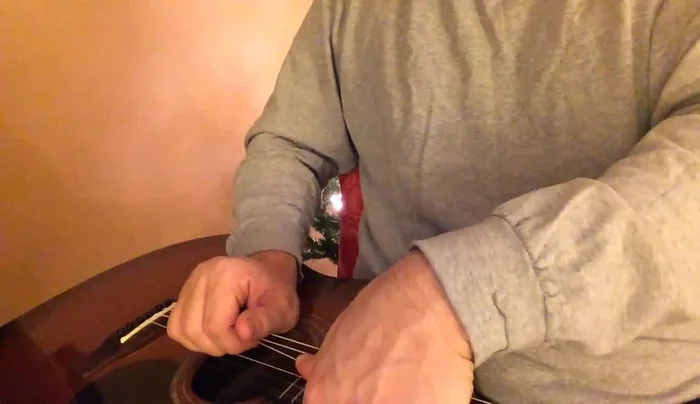
- Wind the strings tightly around the tuning pegs, using finger pressure to control the wrapping.
Install New Strings Initial Tuning
- Tune the strings to pitch using an electric tuner.
Initial Tuning String Stretching
- Stretch the strings by pressing down on each fret individually and pulling gently on the string to improve tuning stability.
String Stretching Trim Excess String
- Cut excess string using the wire cutter on the JP guitar tool.
Trim Excess String Final Tuning
- Final tune.
Final Tuning


Read more: Revitalize Your Guitar Strings: A Quick & Easy Cleaning Guide
Tips
- Don't be nervous if you're a beginner. Use the color-coded system on the string packaging to match strings correctly.
- Gently apply pressure to the bridge pins to avoid damage.
- Crimp the string near the tuning peg to prevent slippage during tuning.
- Wind strings in the correct direction to ensure they turn towards you and wrap tightly.
- Stretch the strings after tuning to improve tuning stability and hold.