The acoustic guitar, with its warm, resonant tone, is a beloved instrument for many. But even the most meticulously cared-for guitar requires occasional maintenance, and one of the most crucial tasks is changing the strings. Worn-out strings not only affect the sound quality, producing a dull, lifeless tone and making playing difficult, but can also lead to frustrating tuning issues and even damage to the instrument itself. Knowing how to change your strings is a vital skill for any guitarist, allowing you to maintain peak performance and prolong the life of your cherished instrument. Regular string changes also introduce the opportunity for a thorough cleaning and inspection of your guitar.
This simple yet rewarding process can seem daunting to beginners, but with a little guidance, it becomes straightforward. In this step-by-step guide, we'll walk you through each stage of changing your acoustic guitar strings, from removing the old ones to tuning the new ones, ensuring you'll be strumming beautiful music in no time.
Preparation and Safety Guidelines
- String winder
- Wire or string clippers
- New set of acoustic guitar strings
- Always tune your guitar down to slack before changing strings to reduce tension and prevent damage to the neck.
- Use new strings only, avoid reusing old strings as they are prone to breakage and poor sound quality.
- Keep your fingers clear of the tuning pegs when tightening the strings to avoid getting pinched.
Step-by-Step Instructions
Remove Old Strings
- Loosen the tension on the low E and A strings using a string winder.
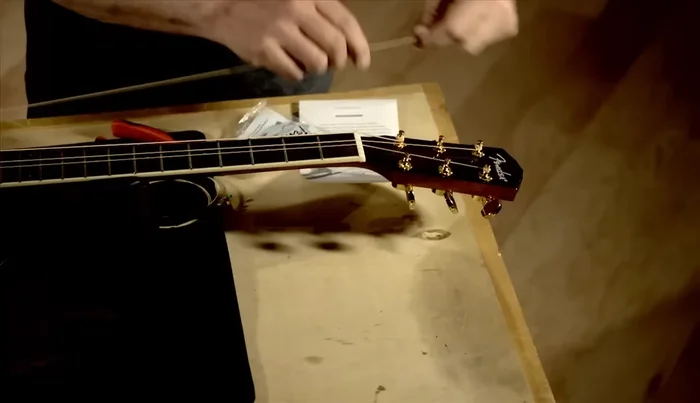
- Clip the two loose strings above the sound hole.
- Unwind the strings from the tuning pegs and remove them.
- Remove the bridge pins using the string winder or your fingers (if not stuck).

Remove Old Strings - Place the old strings aside in order to maintain the correct order.
Remove Old Strings Install New Strings (Bridge)
- Take your new strings, identify the correct strings using the string guide on the packaging. Insert the low E string (gold ball end) into the bridge pin hole, ensuring the cutout on the pin aligns with the string. Then insert the bridge pin.
- Repeat step 6 for the A string (red ball end).
Install New Strings (Bridge) Install New Strings (Tuning Pegs) - First Two Strings
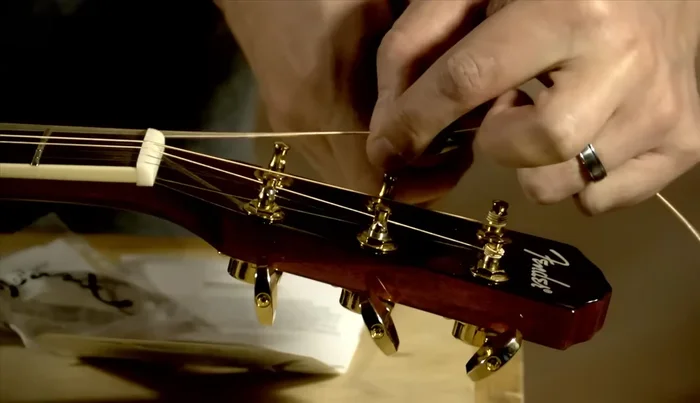
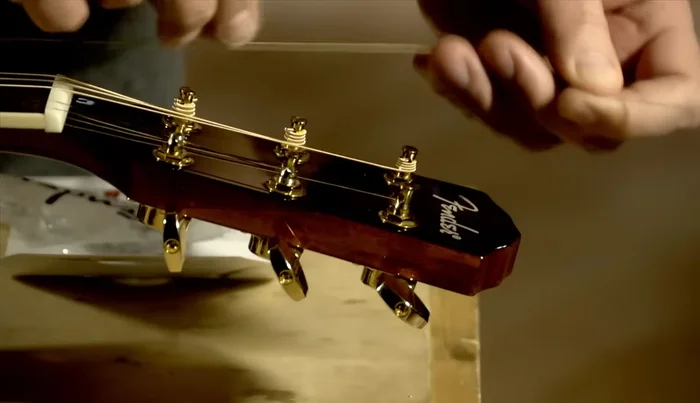
- Attach the low E string to the machine head, carefully inserting it through the hole and leaving a little bit of slack.
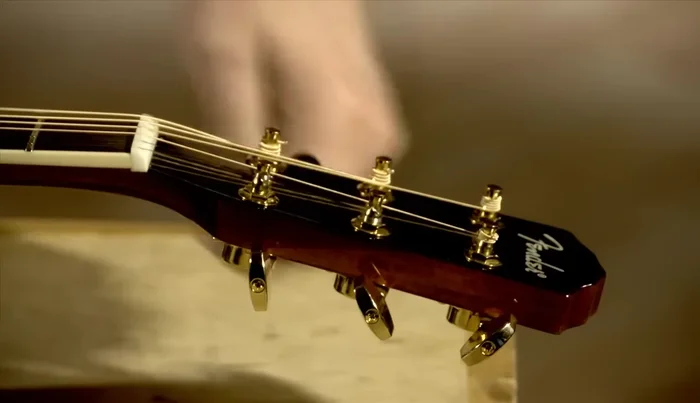
- Pre-cut the string to a length of one and a half machine heads. Thread the string through the peg from the middle of the headstock. Wind the string from the top to the bottom of the peg, ensuring even spacing, to maintain the proper angle over the nut.
- Repeat step 9 for the A string.
Install New Strings (Tuning Pegs) - First Two Strings Install New Strings (Tuning Pegs) - Remaining Strings
- Repeat steps 8-10 for the remaining strings, but thread the strings from the opposite side of the headstock for the other three strings. Remember to wind the unwound strings with the first winding above and the second below the string on the peg.
Install New Strings (Tuning Pegs) - Remaining Strings Tune and Stretch
- Tune the guitar to pitch and stretch the strings.


Read more: Revitalize Your Guitar Strings: A Quick & Easy Cleaning Guide
Tips
- Change two strings at a time to maintain tension on the guitar top.
- Use the cutout on the string winder to help remove bridge pins.
- Align the bridge pin cutout with the string before inserting the pin.
- Wind the strings evenly from top to bottom of the peg to ensure proper angle and tuning.
- For unwound strings, position the first winding above and the second below the inserted string on the peg.