A cracked guitar top is a disheartening sight for any musician, instantly silencing the instrument and raising concerns about its future. The delicate wood of an acoustic guitar's soundboard is susceptible to damage from temperature fluctuations, humidity changes, or even a clumsy bump. While seemingly catastrophic, many cracks, especially those not extending too deeply or widely, can be successfully repaired at home. One of the most effective and commonly used methods for such repairs involves strategically placed cleats – small pieces of wood glued to reinforce the break and restore structural integrity.
This method, while requiring patience and precision, offers a reliable way to revitalize your beloved guitar. For a comprehensive guide on how to execute the cleat repair method effectively, read on to follow our step-by-step instructions and bring your instrument back to its former glory.
Preparation and Safety Guidelines
- Acoustic Guitar
- Glue (Tight Bond High Glue)
- Small Bowl
- Sponge
- Water
- Hygrometer
- Plastic Garbage Bag
- Plastic Callus
- Clamp
- Thin Wood Splint (if crack is larger)
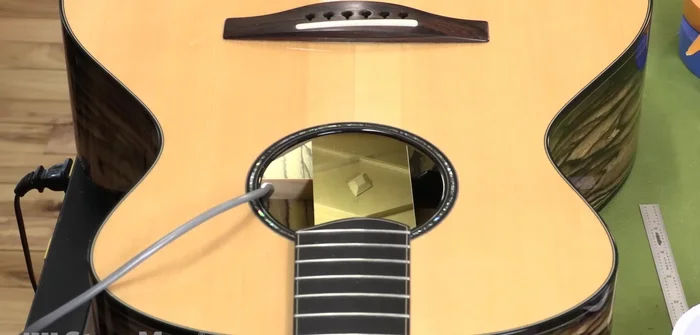
- Magnetic Viewing Film
- Plastic Cleat Holder
- Cleat
- Tape
- Hot Water
- Rag
- Interior Light
- This repair requires patience and precision. Rushing the process can worsen the crack.
- Use the appropriate glue for wood repair (e.g., hide glue or wood glue specifically designed for instrument repair). Incorrect glue can damage the instrument.
- If you are uncomfortable performing this repair yourself, consult a professional luthier. Improper repair can permanently damage your guitar.
Step-by-Step Instructions
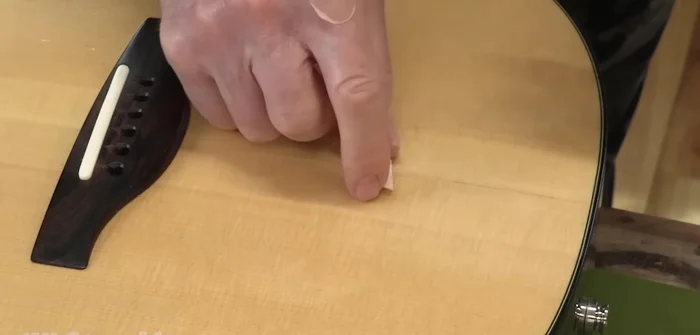
Initial Assessment and Humidification Attempt
- Assess the crack. If small and fresh, attempt humidification to close it.
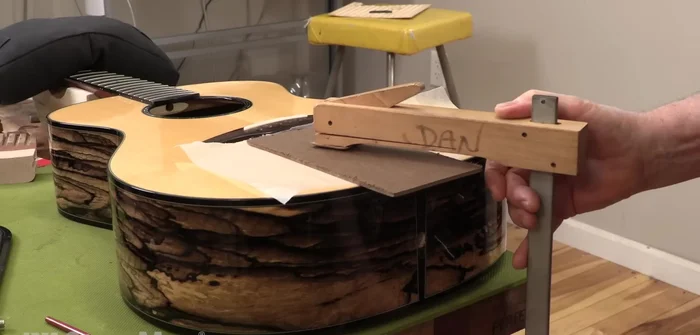
- Place guitar in a plastic bag with a bowl of water and a hygrometer. Monitor humidity. Leave overnight.
- If humidification fails or the crack is too large, proceed with the cleat method.

Initial Assessment and Humidification Attempt Crack Preparation and Gluing
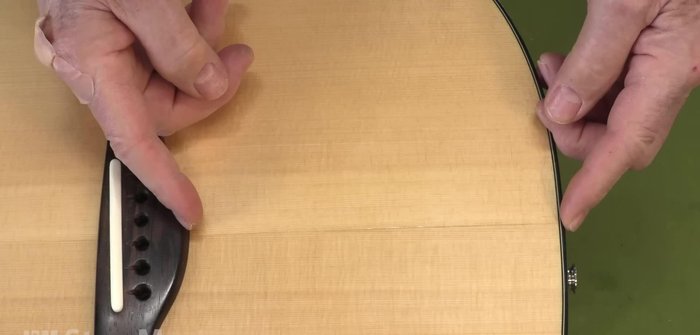
- Gently open the crack using your fingers through the sound hole.
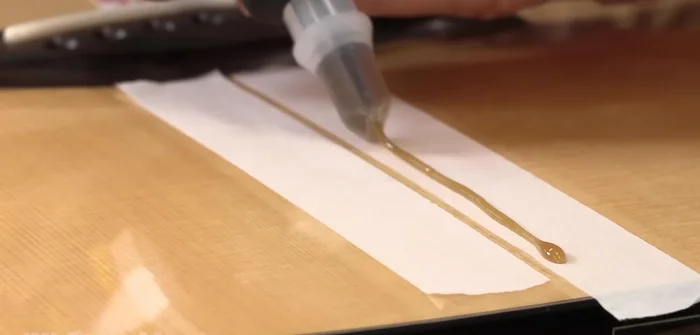
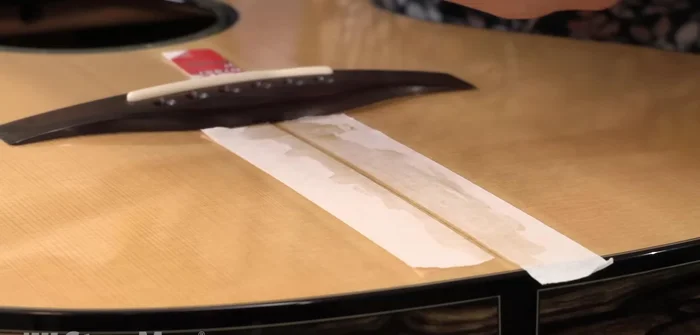
- Apply glue to the crack from the outside.
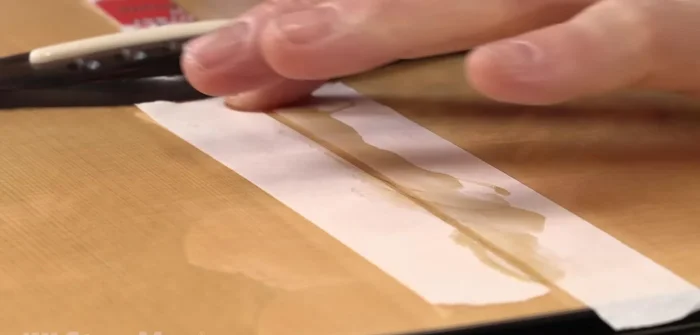
- Clean excess glue.
- Clamp lightly using a flat callus and wax paper to keep the crack flush.
Crack Preparation and Gluing Cleat Preparation and Placement
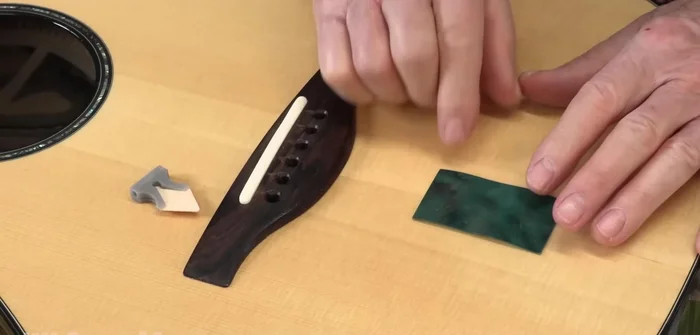
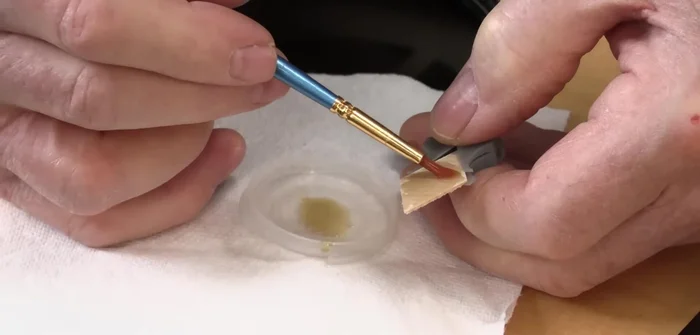
- Prepare the cleat.
- Use magnetic viewing film and a cleat holder to precisely position the cleat inside the guitar.
Cleat Preparation and Placement Cleat Installation and Glue Application
- Apply glue to the cleat and insert it into the crack, ensuring proper alignment.
Cleat Installation and Glue Application Final Cleanup and Drying
- Clean excess glue after drying with hot water and a rag.
- Allow the repair to dry for 24 hours.
Final Cleanup and Drying
Read more: DIY Long-Lasting Guitar Humidifier for Your Case (Cheap & Effective)
Tips
- For small, fresh cracks, humidification might close them before gluing.
- Use magnetic viewing film and a cleat holder for precise cleat placement.