Tired of constantly buying guitar picks and running out at the most inconvenient times? Do you have a drawer full of old, discarded CDs cluttering up your space? Then get ready to unleash your inner MacGyver because we're about to turn those unwanted discs into perfectly playable guitar picks! This guide focuses on the "clear pick" method, utilizing only the transparent polycarbonate layer of your old CDs to craft durable and surprisingly high-quality picks, avoiding the potentially sharp and unpredictable edges associated with other CD-pick techniques. This method results in picks with a unique feel and a satisfyingly smooth playing experience.
Forget expensive boutique picks and embrace the sustainable and cost-effective world of DIY. This simple technique requires minimal tools and yields several picks from a single CD, making it a perfect project for both seasoned guitarists and enthusiastic beginners alike. Ready to transform your trash into treasure? Let's dive into the step-by-step process and start making your own custom guitar picks from old CDs.
Preparation and Safety Guidelines
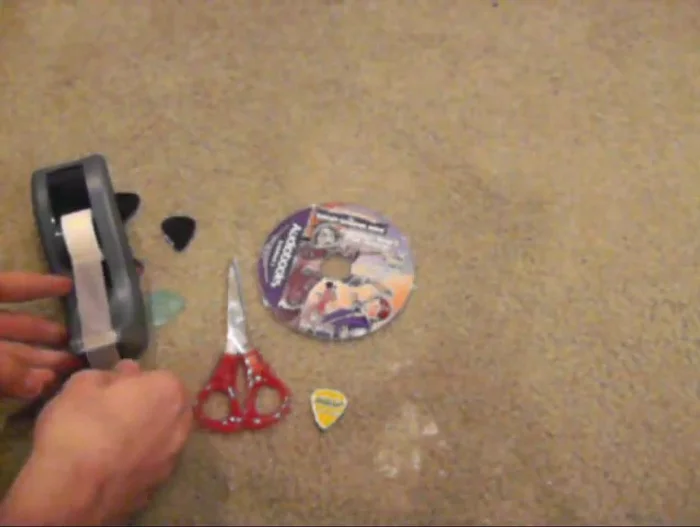
- Old CD (preferably clear or with minimal printing)
- Guitar pick
- Tape
- Sharpie marker
- Scissors
- Sandpaper (coarse and fine)
- CD edges are sharp! Handle with care and use gloves if necessary to avoid cuts.
- Avoid using excessive force when cutting or shaping the picks. This can lead to cracks or breakage.
- Always supervise children if they are involved in this project.
Step-by-Step Instructions
Create the Stencil
- Tape a used guitar pick to the CD, ensuring it's close to the edge to save CD material.
- Trace the guitar pick outline onto the CD using a Sharpie marker.
- Carefully remove the tape and the stencil.

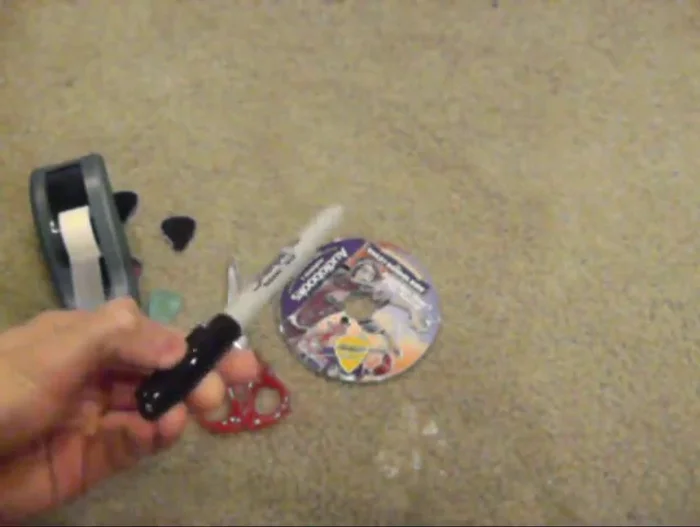
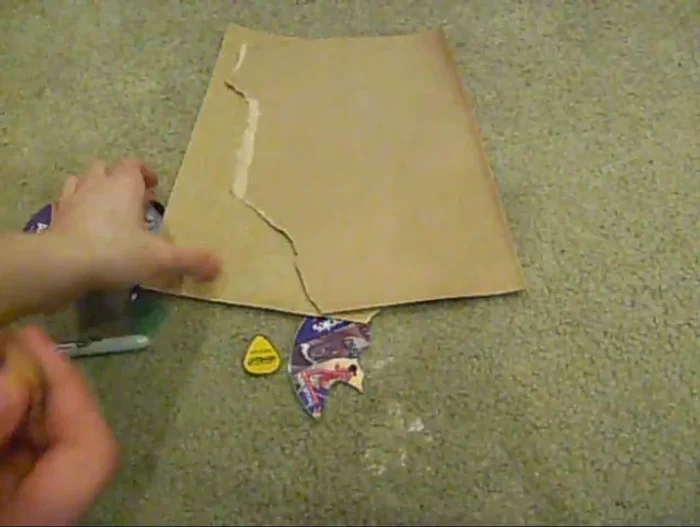
Create the Stencil Cut the Pick Shape
- Cut out the traced shape using scissors. For more precise cuts, cut into the center and then cut in half.
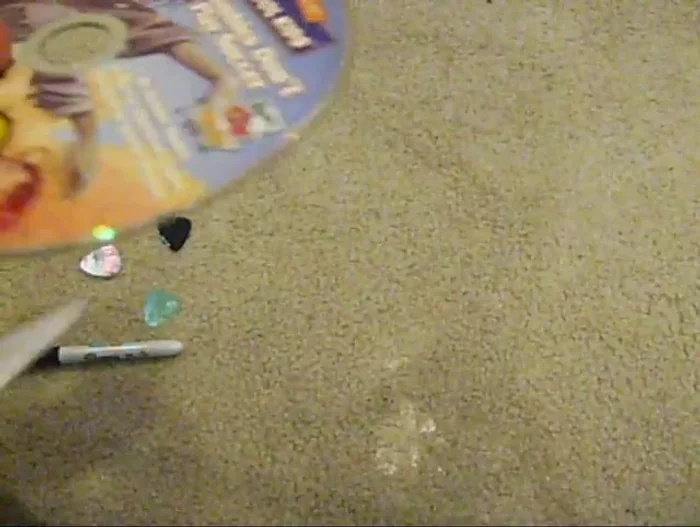
Cut the Pick Shape Remove Printed Material
- Remove any printed labels or film from the CD using sandpaper. This step is particularly important for CDs with printed designs.
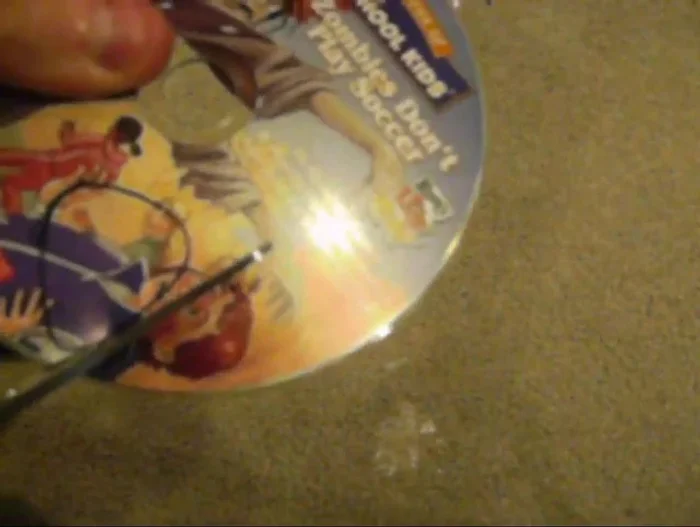
Remove Printed Material Sand and Smooth
- Sand down the edges of the cut-out guitar pick using coarse and then fine sandpaper, smoothing it to the desired shape and creating a smooth, playable edge.
Sand and Smooth

Tips
- If using a CD with a printed label, the label will likely come off easily with sandpaper.
- For a truly clear pick, choose a CD with minimal printing or a clear CD.
- Pay close attention to sanding the tip of the pick to ensure a smooth, safe playing experience and prevent string damage.