In the world of music, accurate tuning is paramount. Whether you're a seasoned professional or a budding beginner, a perfectly tuned instrument unlocks its full potential, enhancing both playing experience and the overall sound quality. Electronic tuners, while incredibly convenient, require occasional calibration to ensure their accuracy and prevent frustrating off-key performances. A slightly off-kilter tuner can lead to a cascade of intonation problems, making even the simplest melodies sound dissonant. This can be especially frustrating for beginners still developing their ear.
Thankfully, maintaining the accuracy of your electronic tuner doesn't require specialized knowledge or expensive equipment. This article will guide you through two straightforward methods for calibrating your tuner, ensuring it consistently provides precise readings. Get ready to dive into the simple, step-by-step instructions that will have your tuner perfectly calibrated in minutes.
Safety Guidelines
- Never attempt to open or repair your electronic tuner yourself. Internal components are delicate and doing so voids warranties and may cause damage.
- Always ensure your tuner is powered correctly (batteries are fresh or power supply is working) before attempting calibration. Incorrect power can lead to inaccurate readings.
- If your tuner consistently displays incorrect readings despite calibration attempts, contact the manufacturer or a qualified repair technician.
Methods: Method 1: Tuning to a Specific Frequency (e.g., 432 Hz)
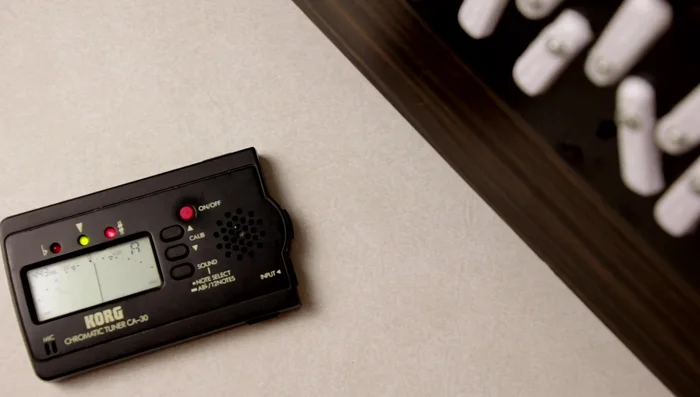
Tools Needed
Step-by-Step Instructions
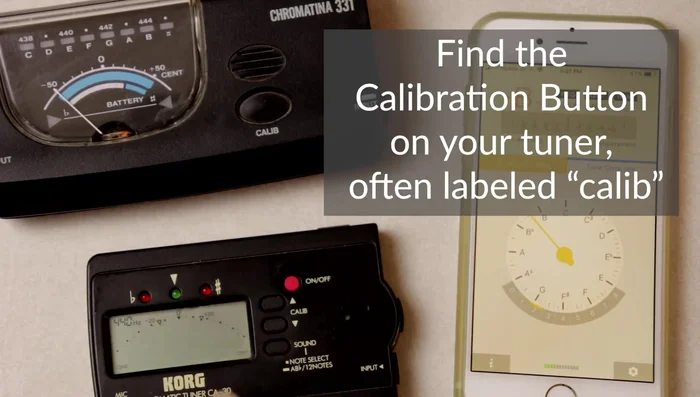
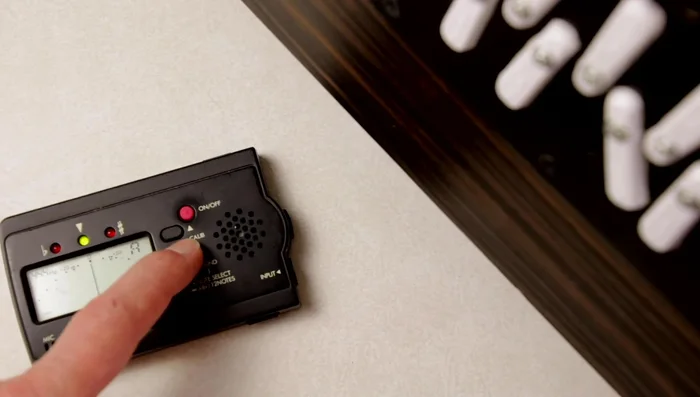
Locate Calibration Controls
- Locate the calibration buttons on your tuner. These are often indicated by 'C', 'A', 'li', or 'B'.

Locate Calibration Controls Adjust Frequency to 432 Hz
- Use the up/down arrows to adjust the frequency to your desired setting (e.g., 432 Hz).
Adjust Frequency to 432 Hz

Tips
- Tuner apps often have a cogwheel icon for settings; look for 'concert A' calibration.
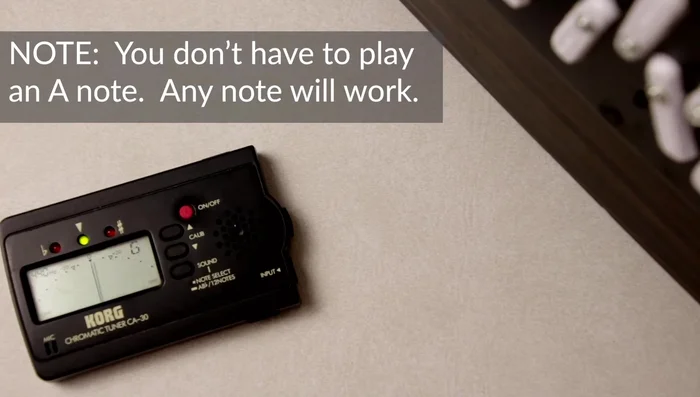
- Some tuners have a 'detect' feature. Play A4 on your instrument for automatic calibration.
Methods: Method 2: Tuning to Another Instrument (e.g., Shruti Box)
Tools Needed
- Electronic Tuner
- Reference Instrument (e.g., Shruti Box)
Step-by-Step Instructions
Identify Reference Note
- Play a reference note (e.g., A4) on the instrument you want to match.
Identify Reference Note Initial Calibration Check
- Observe the tuner reading. If the instrument is sharp, calibrate the tuner slightly higher; if flat, calibrate lower.
Initial Calibration Check Fine Tune Calibration
- Adjust the tuner's calibration until the reference note displays accurately on the tuner.
Fine Tune Calibration Tune the Instrument
- Use the calibrated tuner to tune your other instrument.
Tune the Instrument
Tips
- Iterative adjustments may be needed to fine-tune the calibration.