Protecting your beloved guitar is paramount, and a sturdy case is only half the battle. Even the most robust case offers little protection against determined thieves without a reliable locking mechanism. A simple padlock provides a significant deterrent, transforming your instrument's transport container from a tempting target into a secure vault. The right padlock, installed correctly, adds an extra layer of security that can give you peace of mind, whether you’re gigging across town or simply storing your instrument at home. Investing a few minutes in proper installation ensures your valuable investment stays safe and sound.
This article will guide you through a straightforward process of installing a locking padlock onto your guitar case, transforming a vulnerable case into a secure haven for your instrument. We'll cover selecting the appropriate padlock, identifying the ideal placement on your case, and executing a secure installation to safeguard your prized possession. Let's dive into the step-by-step instructions.
Preparation and Safety Guidelines
- Locking Padlock (2-pack)
- Screwdriver
- Black Sharpie
- Ensure the padlock and hasp are high-quality and appropriately sized for your case's hardware. Weak points will compromise security.
- Never rely solely on a padlock. Consider using additional security measures like a case strap or cable lock for extra protection.
- Store your guitar case in a secure location, even with a lock. A well-hidden, locked case is still vulnerable in an unsafe environment.
Step-by-Step Instructions
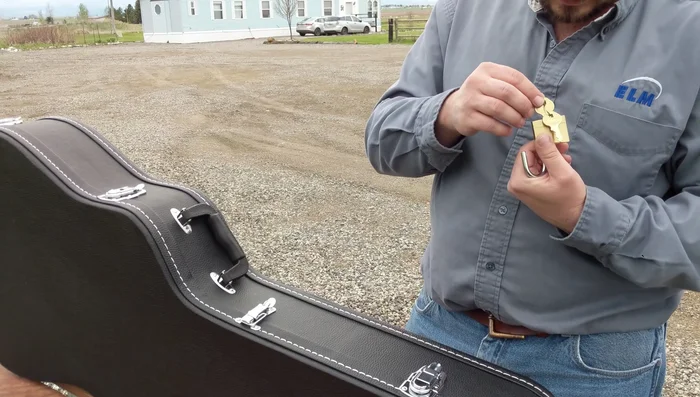
Prepare Materials
- Prepare the case and locking padlocks. Note the original clasps are riveted on. We will install the additional catches in a similar manner.

Prepare Materials Install Top Catch
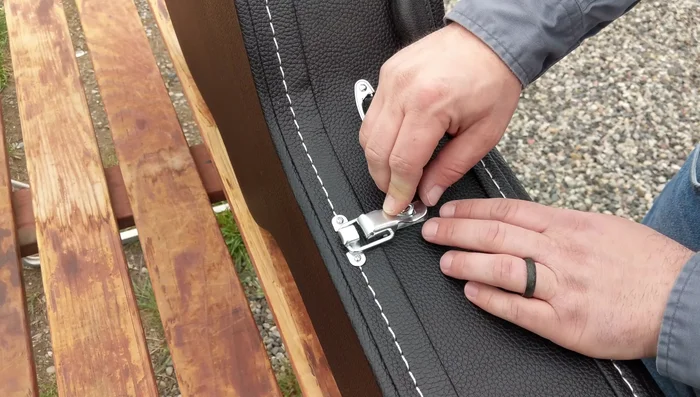
- Align the top catch piece and secure it with screws, ensuring the hook is facing the correct direction to engage with the steel bar. Use a hand screwdriver to avoid stripping the screws.
Install Bottom Catch (Part 1)
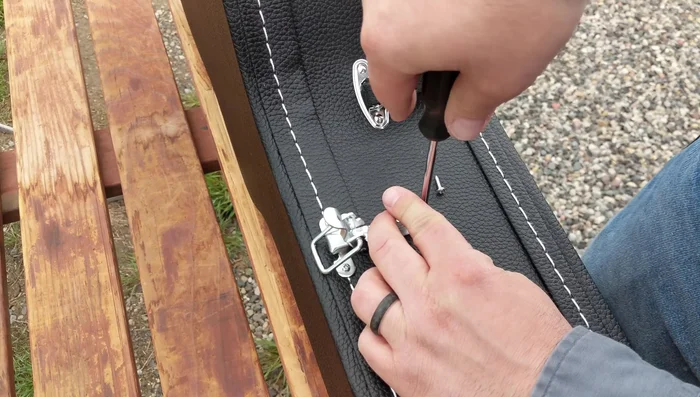
- Install the bottom catch piece. Start by securing the bottom screw first; this helps align the top screw hole later. Make an indent in the leather and wood to help guide the screws.
- Use a sharpie to mark the location for the top screw on the bottom piece. Flipping the latch down helps align this hole.
Install Bottom Catch (Part 1) Secure Bottom Catch
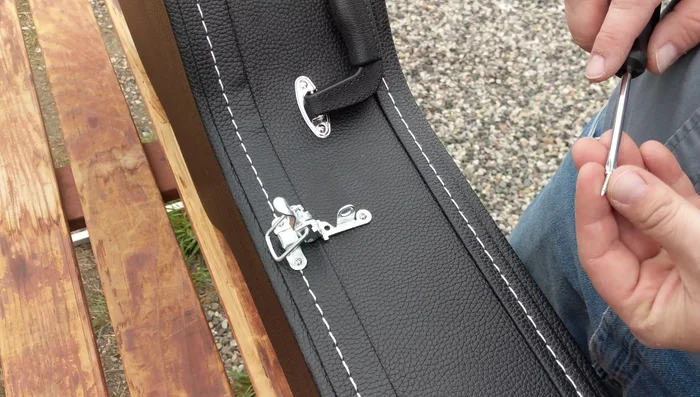
- Tighten the screws snugly. Avoid over-tightening, especially on wood.
- Install the remaining screws on the top piece and bottom piece. Check screw length to prevent them from protruding through the case.
Secure Bottom Catch Final Steps
- Attach and lock your padlock. Ensure the padlock clears the handle of your guitar case.
Final Steps

Read more: Deep Clean Your Case: A Step-by-Step Guide
Tips
- Use a hand screwdriver to avoid stripping the screws. A powered screwdriver can easily damage the wood.
- Make an indent in the leather and wood before inserting the screws to aid in starting them.
- Install the bottom screw first to easily align the top screw hole.
- Use a black Sharpie to mark screw locations; it's visible enough but blends well with the case.
- Check screw lengths to avoid them protruding through the case.