The humble guitar strap: a seemingly simple accessory that can dramatically impact your playing experience. A poorly attached strap can lead to frustrating bunching, uncomfortable playing, and even damage to your instrument. Nothing kills a killer guitar solo faster than constantly wrestling with a strap that's twisting and sliding around. Whether you're a seasoned guitarist or just starting out, mastering the art of strap attachment is crucial for comfort, performance, and the longevity of your beloved axe. A secure and properly positioned strap ensures you can move freely, focus on your music, and avoid those irritating mid-song adjustments.
This guide provides the ultimate solution to preventing strap bunching, offering clear and concise instructions. We'll take you through a step-by-step process, complete with helpful images and tips, to ensure your guitar strap remains comfortably in place throughout even the most energetic performances. Ready to ditch the strap struggles and unlock a more enjoyable playing experience? Let's get started!
Safety Guidelines
- Always use straps designed for guitars. Improper straps can cause damage or injury.
- Check strap button screws regularly to ensure they're tight. Loose screws can lead to strap slippage and instrument damage.
- Inspect your strap for wear and tear before each use. A damaged strap can break and drop your guitar.
Methods: Secure Strap Attachment Method for Ladder Locks
Tools Needed
Step-by-Step Instructions
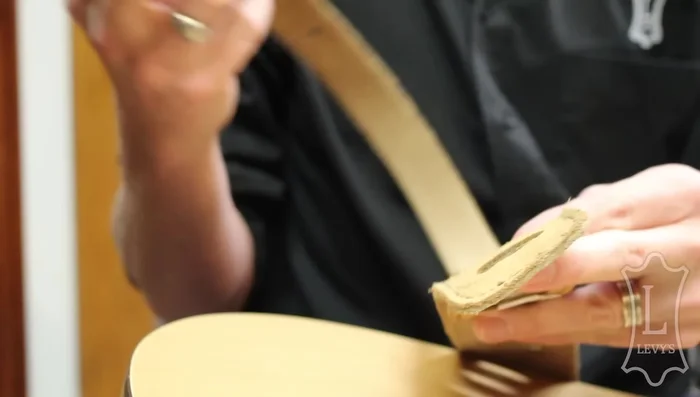
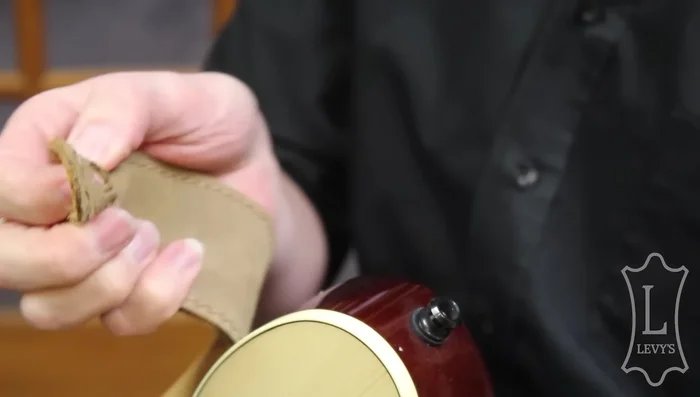
Adjust Strap Length
- Adjust the feed through to your desired length.
Initial Looping
- Pull the feed through one of the loops.
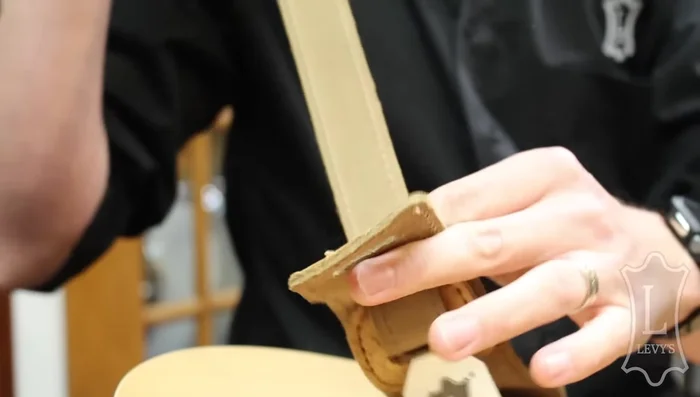
- Push the feed through back through the next slot in line.

Initial Looping Complete Looping and Secure
- Continue looping it in and out over what's left.
- Give it a tug to secure the strap.
Complete Looping and Secure
Tips
- This method prevents the strap from bunching up.
Methods: Efficient Guitar Strap Attachment Technique
Tools Needed
Step-by-Step Instructions
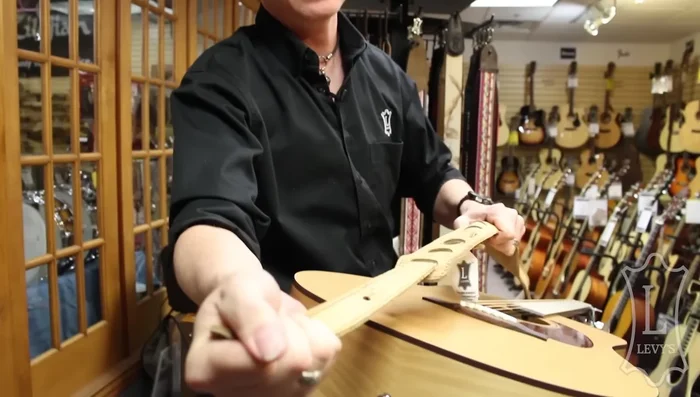
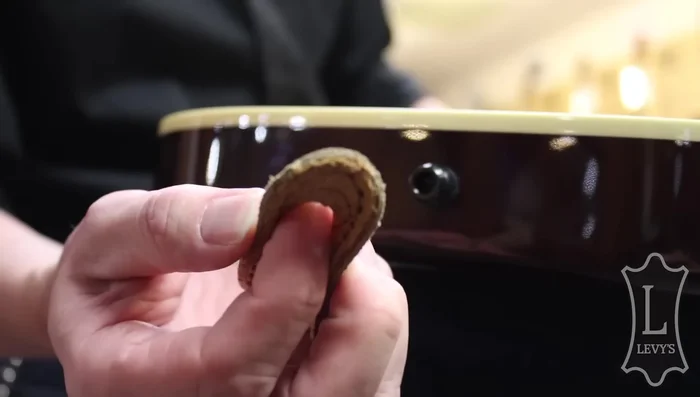
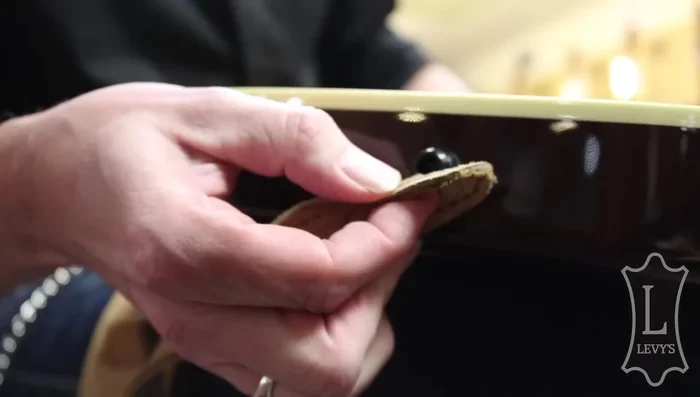
Prepare Strap Hole
- Widen the hole on the strap using your finger.
Prepare Strap Hole Attach Strap to Guitar Button
- Push the strap pin into the hole and rotate it counterclockwise.
Attach Strap to Guitar Button Attach Strap to Second Guitar Button
- Repeat the process for the other strap button.
Attach Strap to Second Guitar Button
Tips
- Use a counterclockwise motion for secure attachment.
Methods: Headstock Strap Attachment for Acoustic Guitars
Tools Needed
- Acoustic Guitar
- Shoelace
Step-by-Step Instructions
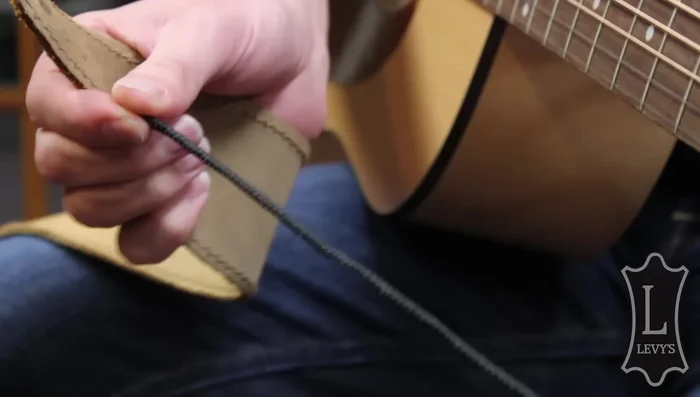
Prepare the Shoelace
- Fold the shoelace in half.
Prepare the Shoelace Attach Shoelace to Strap
- Push the ends through the open end of the strap.
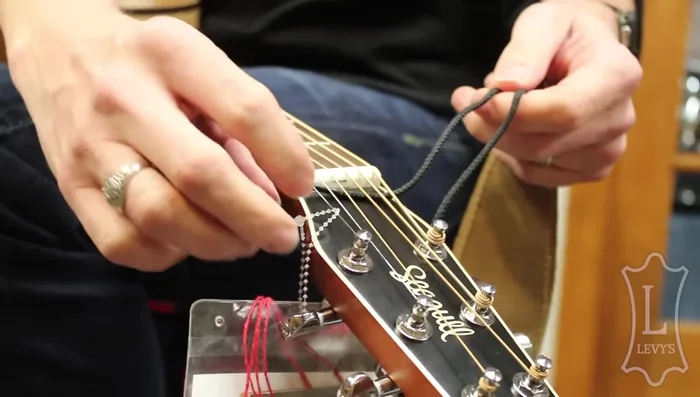
Attach Shoelace to Strap Secure the Shoelace around the Headstock
- Loop the shoelace around the headstock.
Secure the Shoelace around the Headstock Tie off the Shoelace
- Tie the shoelace securely.

Tips
- This method is ideal for acoustic guitars without front strap buttons.