Frustrated with constantly slipping guitar strings or spending ages winding them onto your tuning pegs? Achieving perfectly tuned, stable strings shouldn't be a battle. The way you wind your strings significantly impacts both the tuning stability of your instrument and the overall efficiency of your string changes. A poorly executed winding job can lead to tuning issues, breakage, and even damage to your guitar's tuning mechanisms. This often translates into wasted time and frustration, preventing you from fully enjoying your playing experience. Therefore, mastering efficient and reliable string winding techniques is paramount for every guitarist.
This article will explore three proven winding techniques, designed to maximize both speed and stability. We'll delve into the step-by-step process for each method, providing clear instructions and helpful visuals to ensure you can implement them successfully. Get ready to elevate your string-changing game and experience the difference of perfectly wound, stable strings – allowing you to focus on what truly matters: playing your guitar.
Safety Guidelines
- Always tune your guitar slowly and gradually to avoid snapping strings. Sudden tension changes are dangerous.
- Use a consistent winding tension throughout the process to prevent uneven winding and potential breakage. Avoid over-tightening.
- If a string feels excessively tight or is difficult to wind, stop and check for kinks or damage before proceeding. A damaged string is more likely to break.
Methods: The Lock Loop Method (Method 1)
Tools Needed
Step-by-Step Instructions
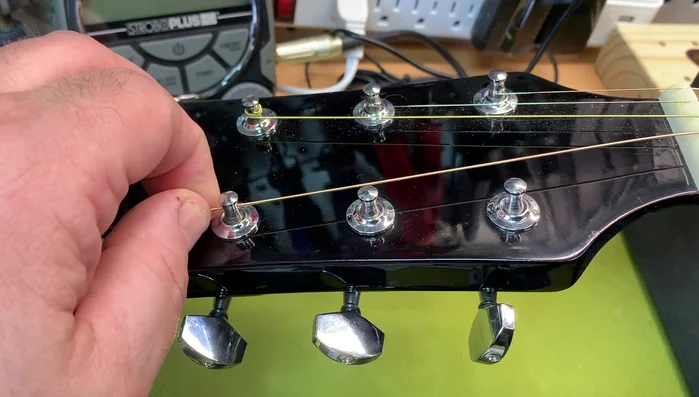
String Preparation
- Feed the string through the holes, pulling it snug to remove slack from the bridge pin.

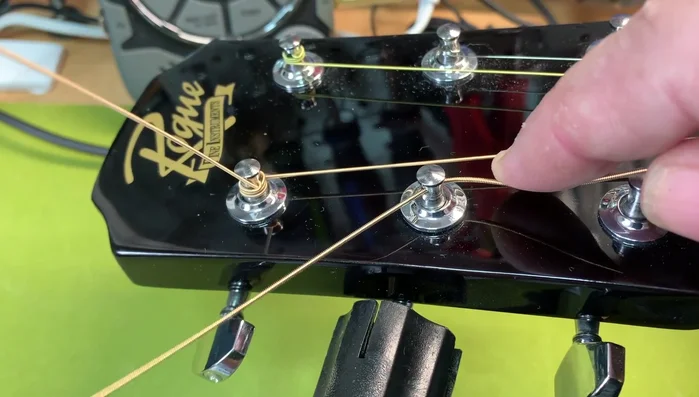
String Preparation String Measurement
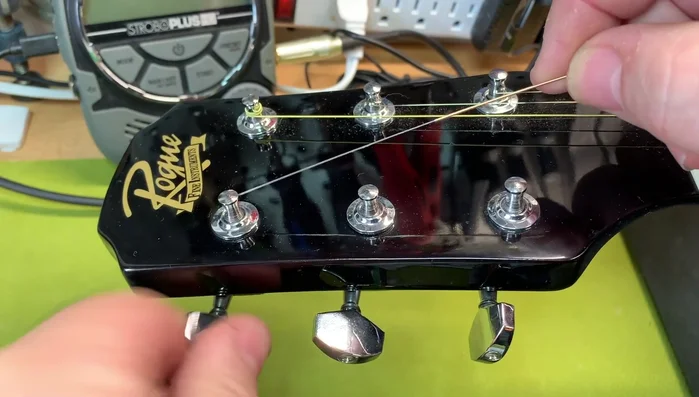
- Measure the string (from first fret to second fret, or tuning peg to tuning peg).
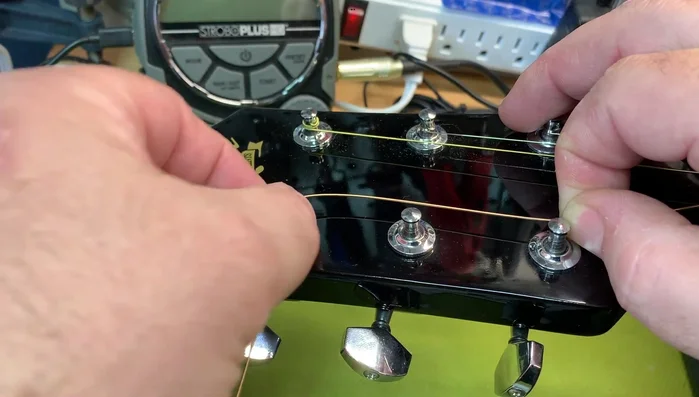
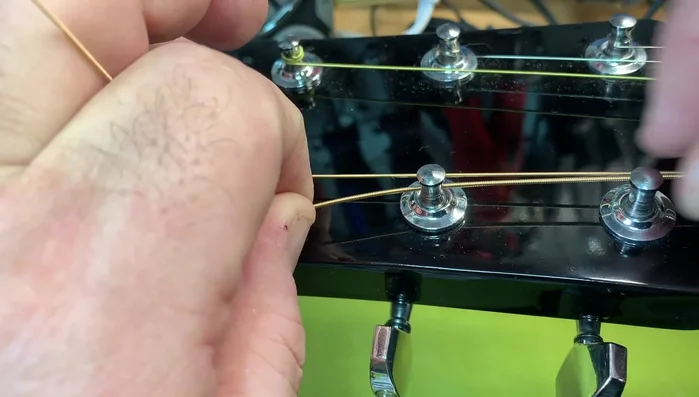
String Measurement Forming the Lock Loop
- Make a 90-degree angle in the string, bend it tightly back, circle around, and come under.
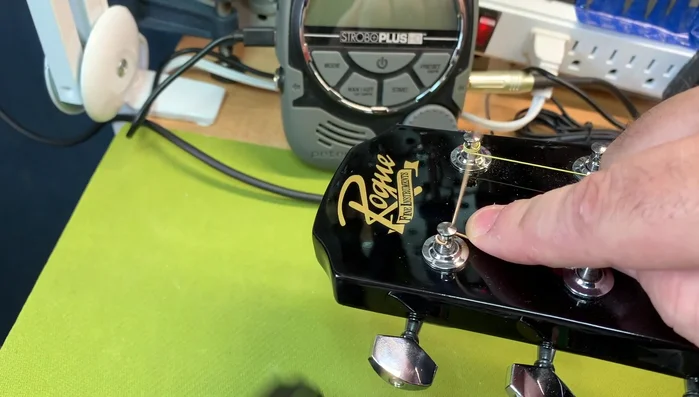
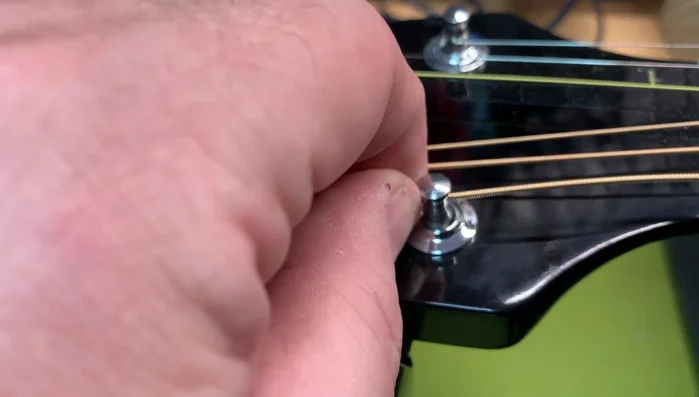
Forming the Lock Loop Securing the Wrap
- Pull it tight, hold it, and wind, aiming for two to three wraps.
Securing the Wrap
Tips
- This method creates a locked wrap for extra string stability.
Methods: The Straight Winding Method (Method 2)
Tools Needed
Step-by-Step Instructions
Prepare the String
- Pull the string straight through and back to give it slack.
Prepare the String Wind the String
- Hold the string and wind it from top to bottom, aiming for two to three turns.
Wind the String
Tips
- Simple and quick, good for speed and efficiency.
Methods: The Crisscross Method (Method 3)
Tools Needed
Step-by-Step Instructions
Prepare the String
- Get your slack (less for thicker strings).
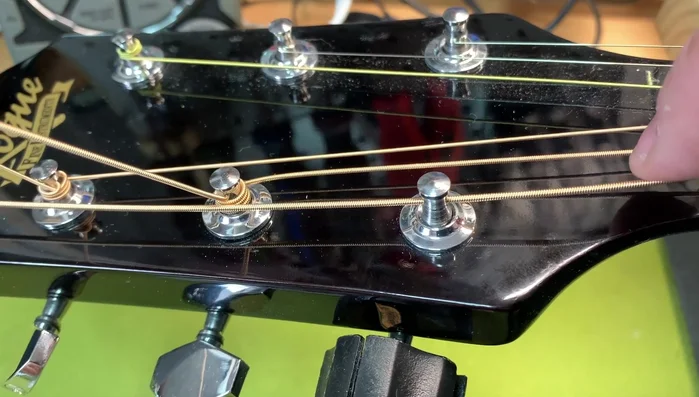
Prepare the String Crisscross Winding
- The first wrap goes over the string, and everything else goes under.
Crisscross Winding
Tips
- Offers a good balance between speed, stability, and ease of string changes.