Changing guitar strings can seem like a daunting task, often associated with fiddly fingers and frustrating knots. But what if I told you there's a faster, simpler way? This article introduces the "Winder Method," a revolutionary technique that streamlines the entire process, transforming what might usually be a tedious chore into a quick and efficient undertaking. Say goodbye to tangled strings and frustrating tuning sessions – the Winder Method is designed to make string changes a breeze, even for beginners.
This method leverages a simple tool most guitarists already own: a string winder. By strategically employing this tool throughout the entire string changing process, you’ll dramatically reduce the time and effort involved. Ready to experience the difference? Let's dive into the step-by-step instructions for effortless string changes using the Winder Method.
Preparation and Safety Guidelines
- Guitar String Winder
- Guitar Tuner
- Always tune your guitar slowly and gradually to avoid snapping strings or damaging the tuning pegs.
- Use a string winder to avoid injuring your fingers. Pulling strings by hand increases the risk of cuts or blisters.
- Before beginning, ensure your guitar is properly supported and in a stable position to prevent accidental damage to the instrument.
Step-by-Step Instructions
Prepare the String Winder
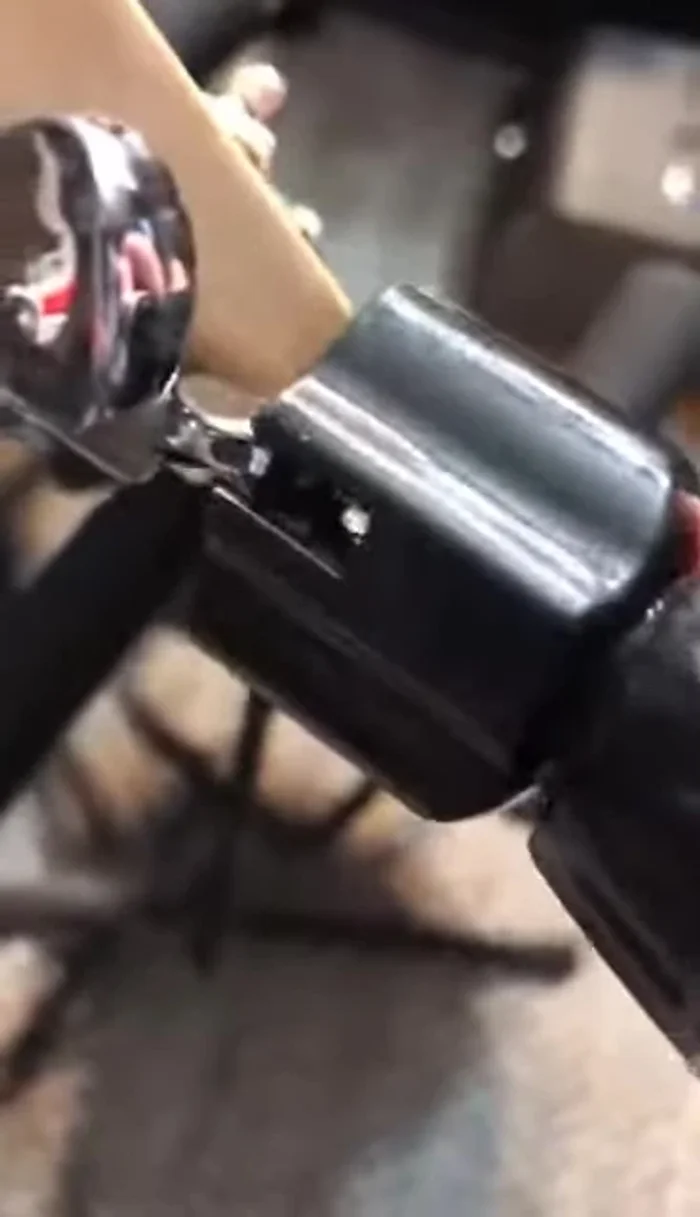
- Assess the string winder's size and fit it onto the tuning peg.

Prepare the String Winder Wind and Tighten Each String
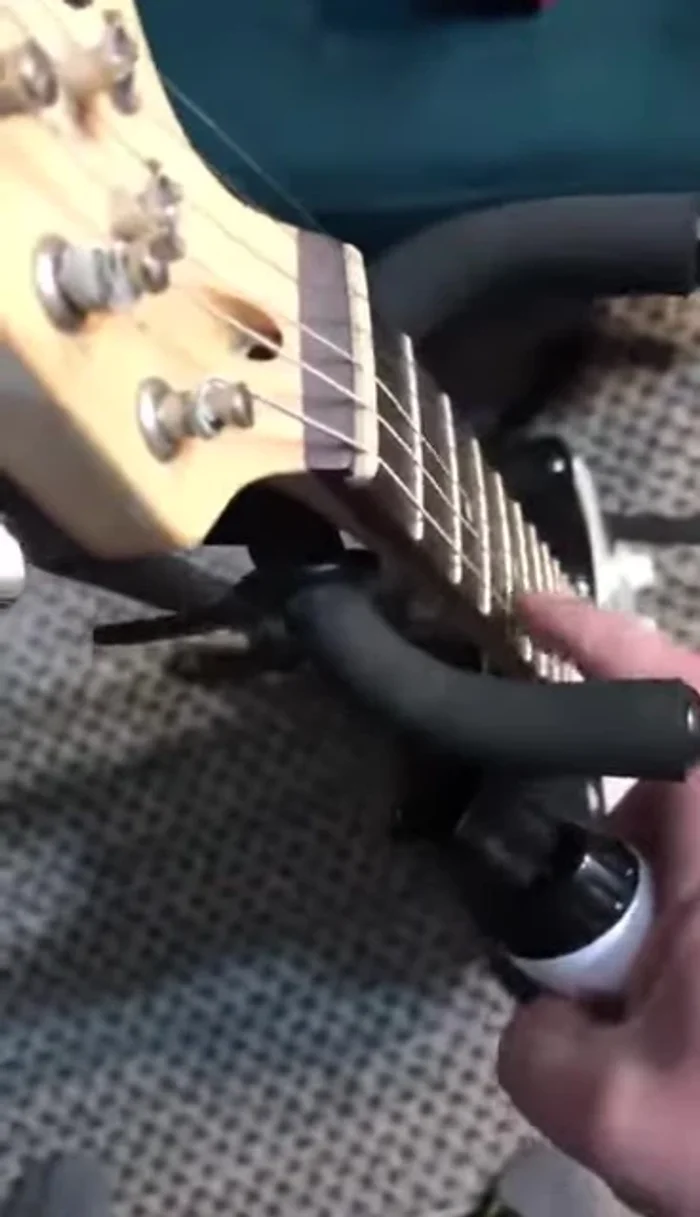
- Wind the string onto the tuning peg using the string winder. The speed is adjustable. Wind in the desired direction.
- To tighten the string, press the button on the string winder.
Wind and Tighten Each String Repeat for All Strings
- Repeat steps 2 & 3 for each string.
Repeat for All Strings Fine Tune with Fine Tuner
- Use a fine tuner to make fine adjustments to the string tension after winding each string.
Final Tuning by Hand
- Once strings are somewhat in place, use a tuner to fine-tune the pitch by hand
Final Tuning by Hand


Tips
- The string winder helps prevent spinning strings too fast and ensures a controlled winding process.
- Different sizes of string winders are available to ensure compatibility with various guitar types.
- The string winder is lightweight and easy to handle.
- Using a string winder makes the stringing process significantly quicker.