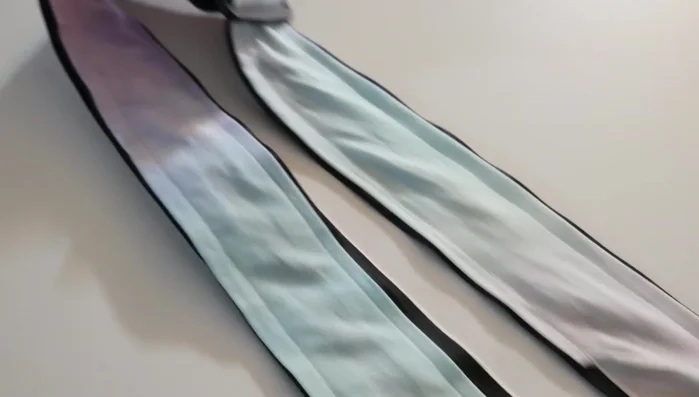
Tired of generic guitar straps that blend into the background? Ready to unleash your inner artist and create a truly unique accessory? Then get ready to dive into the vibrant world of tie-dye with this comprehensive guide to crafting your own custom ombre guitar strap! We'll transform a plain strap into a stunning, personalized piece that reflects your individual style and complements your instrument perfectly. Forget searching endlessly for the perfect strap – you'll learn to create it yourself, mastering the art of subtle color gradients and achieving that coveted ombre effect.
This DIY project is surprisingly easy, even for beginners, and we'll walk you through each step with clear instructions and helpful photos. We'll cover everything from choosing the right materials and prepping your strap to achieving the ideal dye saturation and troubleshooting common tie-dye mistakes. Ready to get started on your personalized, one-of-a-kind ombre guitar strap? Let's jump into the step-by-step process!
Preparation and Safety Guidelines
- Fabric (100% cotton)
- Nylon heavy webbing strap
- Leather scraps
- D-ring
- Bracket
- Scissors
- Blade
- Denim needles
- Sewing machine
- Clips and pins
- Thread
- Rotary cutter
- Ruler
- Iron
- Tie-dye kit
- Always wear gloves when handling dye to protect your skin from irritation and staining.
- Work in a well-ventilated area, as some dyes can release fumes.
- Protect your work surface with plastic sheeting or newspaper to prevent staining.
Step-by-Step Instructions
Tie-Dyeing
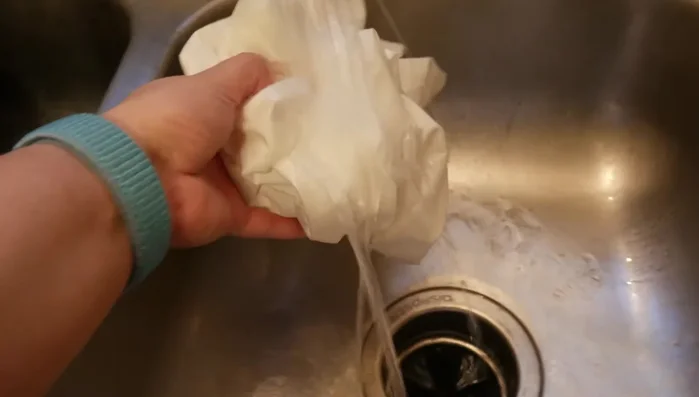
- Tie-dye the fabric.

Tie-Dyeing Fabric Preparation
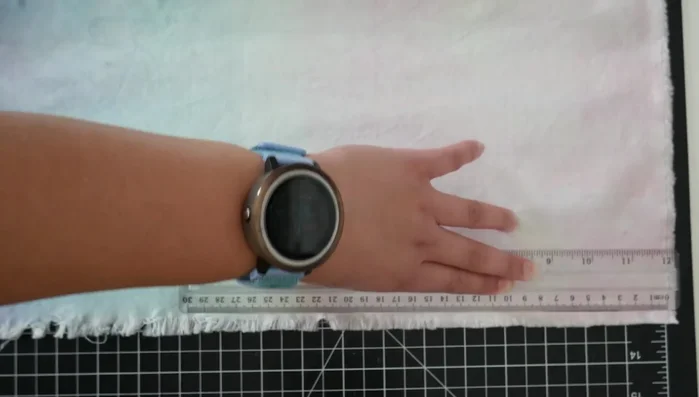
- Cut off frayed edges, measure and cut to desired width (7.5 cm) and length (188 cm). Sew together if necessary.
Fabric Preparation Ironing and Finishing Fabric Edges
- Iron the raw edges inward using a cardboard guide.
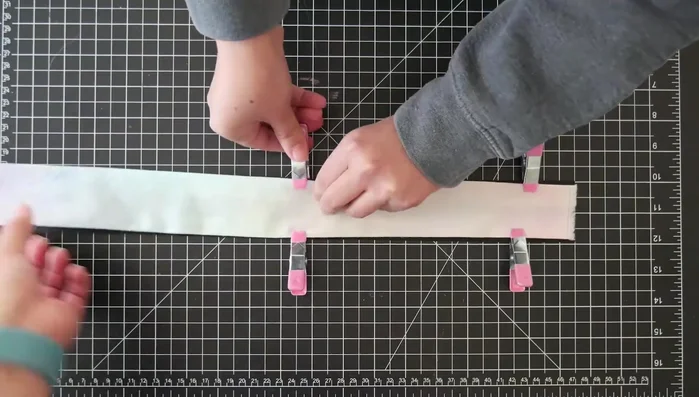
Ironing and Finishing Fabric Edges Attaching Fabric to Strap
- The creators found clips unhelpful and recommend sewing directly without them).
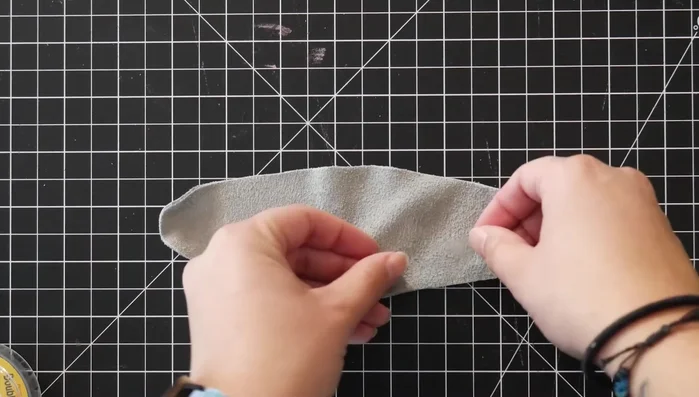
Attaching Fabric to Strap Leather Preparation
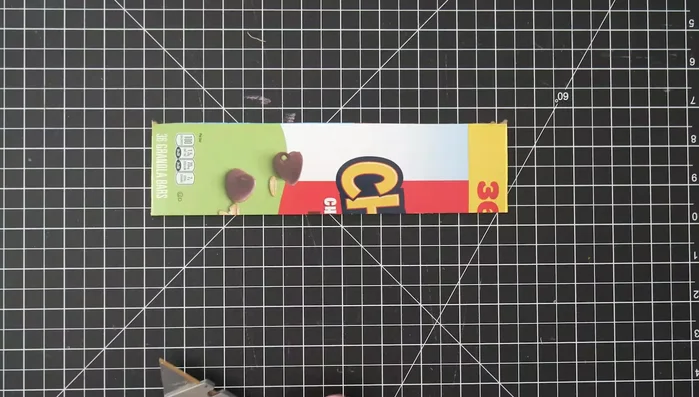
- Cut out the leather patterns (one large, two small).
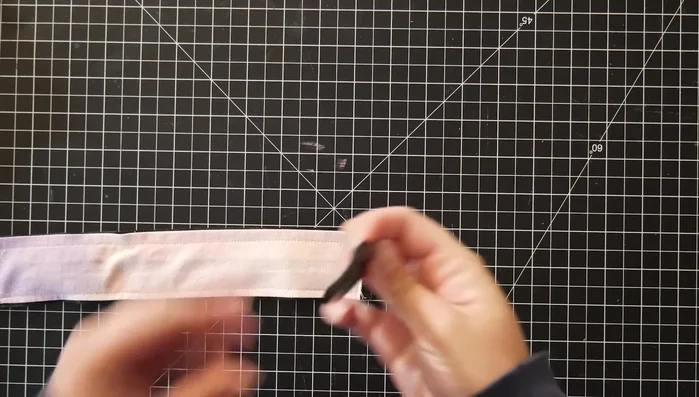
Leather Preparation Attaching D-ring to Leather
- Attach the D-ring to the large leather piece using double-sided tape, then sew.
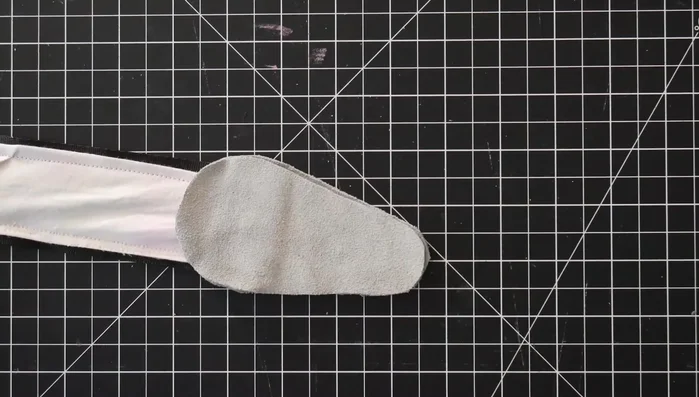
Attaching D-ring to Leather Sewing Leather End Pieces
- Sew the two smaller leather pieces together with the end of the strap sandwiched between them (using double-sided tape to hold).
Sewing Leather End Pieces Strap Assembly
- Assemble the strap correctly (see video for detailed instructions). This step involves feeding the strap and bracket pieces through the D-ring and securing everything by sewing.
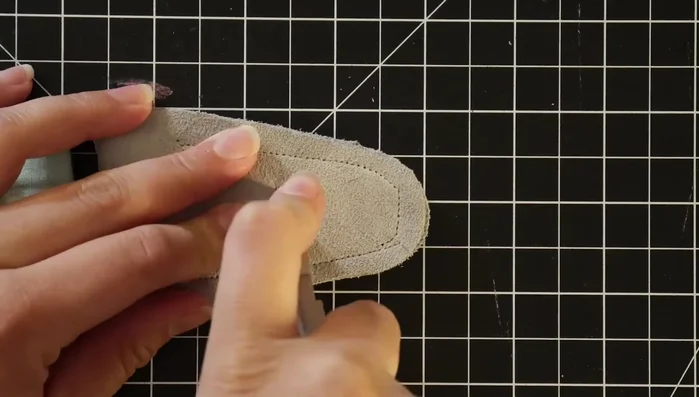
Strap Assembly Leather Hole Preparation
- Cut holes (or a slit) in the leather for attaching to the guitar.
Leather Hole Preparation Final Assembly
- Attach the strap to the guitar.
Final Assembly

Tips
- Dampen the fabric slightly before tie-dyeing for better color blending and softer edges.
- Use a wet brush to help blend tie-dye colors.
- Ironing the fabric edges with a cardboard guide makes for a cleaner finish.
- Avoid using clips when sewing the fabric to the strap; it can cause bunching. Sew directly.
- Use denim needles for sewing thicker leather pieces.