Protecting your musical instruments from the damaging effects of dry air is crucial, but commercial humidifiers can be expensive. This often leaves musicians, especially those on a budget, searching for affordable solutions to maintain optimal humidity levels. The cost of professional-grade humidifiers can be a significant barrier, limiting access to essential instrument care for many. This DIY project offers a simple, cost-effective alternative, allowing you to safeguard your valuable instruments without emptying your wallet.This article guides you through creating a homemade humidifier using readily available materials: a sponge, a plastic bag, scissors, and water. The design is incredibly adaptable, easily customized to fit various instruments, from guitars and ukuleles to other stringed instruments. This budget-friendly solution offers a practical and accessible approach to instrument humidity control, empowering musicians of all skill levels to protect their investments and ensure their instruments remain in peak playing condition. Learn how to build your own humidifier today!
Pros And Cons
- Affordable
- Suitable for multiple instruments of different sizes
- Can be easily refilled with water
- Does not put pressure on the instrument
Read more: Refresh Your D'Addario Humidipak: A Cost-Effective DIY Guide
The Problem: Expensive Commercial Humidifiers
Maintaining proper humidity for musical instruments is crucial to prevent damage from dryness. Commercial humidifiers like the Oasis or Dampit are effective, but they can be quite expensive. This often leaves musicians, especially those on a budget, with limited options for protecting their instruments.
The high cost of these humidifiers can be a significant barrier for many musicians, particularly those starting out or with multiple instruments. The need for a more affordable and accessible solution is evident.
The DIY Solution: A Homemade Humidifier
This project presents a simple and cost-effective alternative: a homemade humidifier using readily available materials. It's a great solution for musicians looking to maintain the humidity levels of their instruments without breaking the bank.
The design is adaptable to various instruments. By adjusting the size of the sponge, you can easily customize the humidifier to fit guitars, ukuleles, or other stringed instruments.
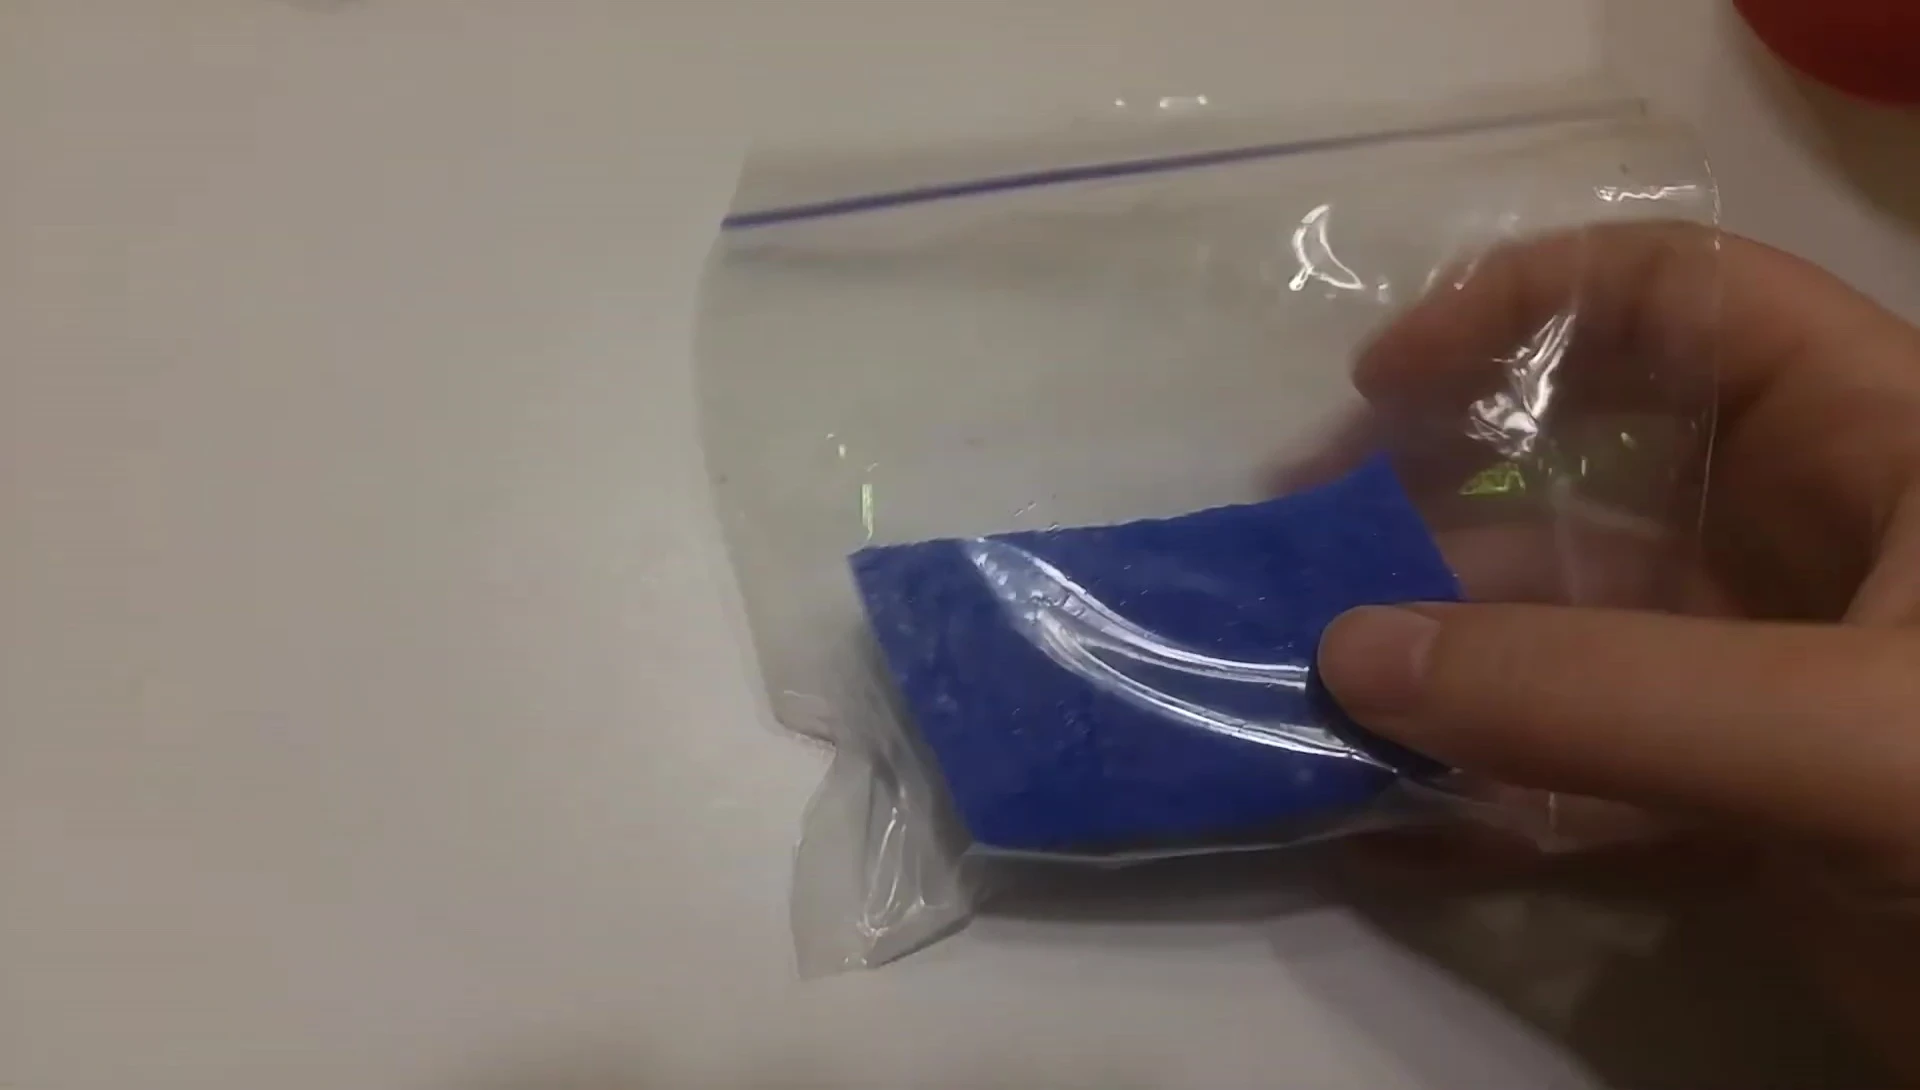
Materials and Construction
The materials required are incredibly basic: a new sponge, a plastic bag, scissors, and water. The sponge is cut to size, depending on the instrument, and placed inside the plastic bag.
Holes are cut into the plastic bag to allow water vapor to escape. The sponge is thoroughly saturated and squeezed to remove excess water before being placed into the bag, preventing dripping on the instrument.
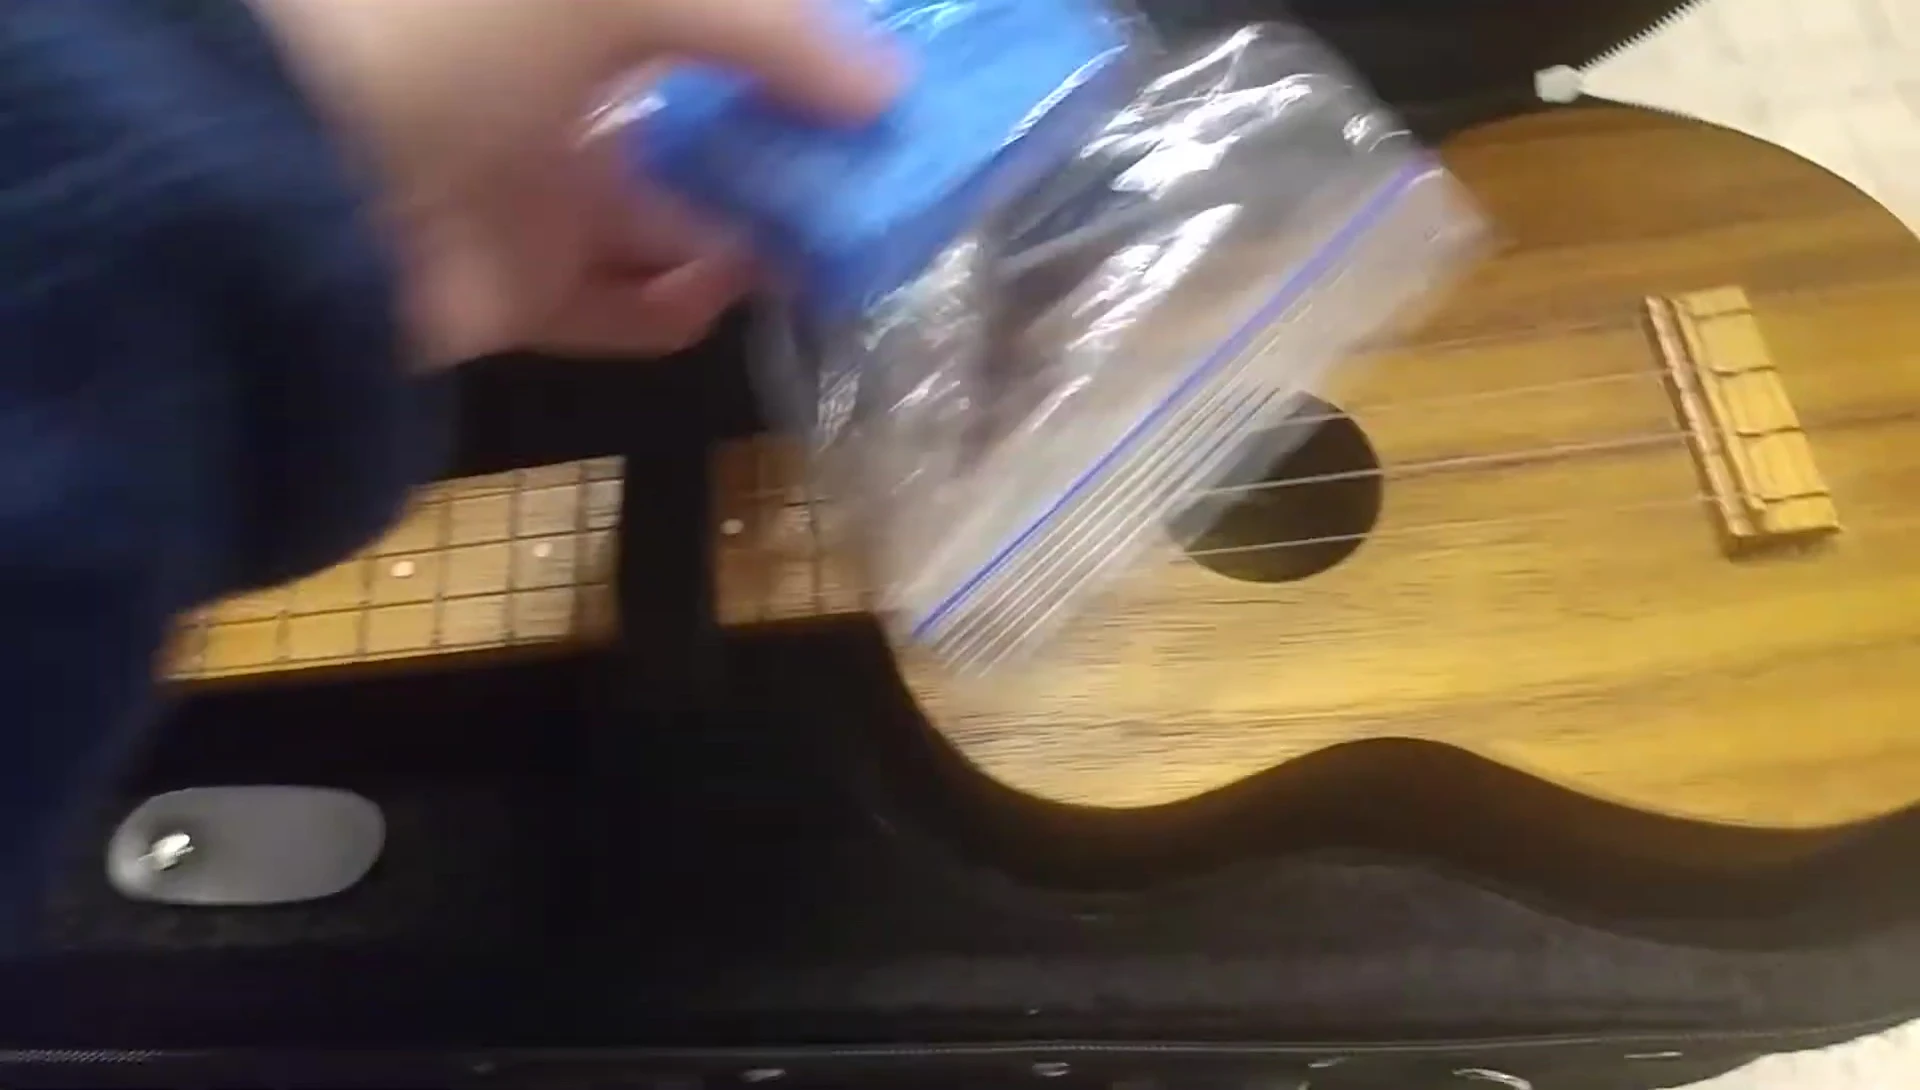
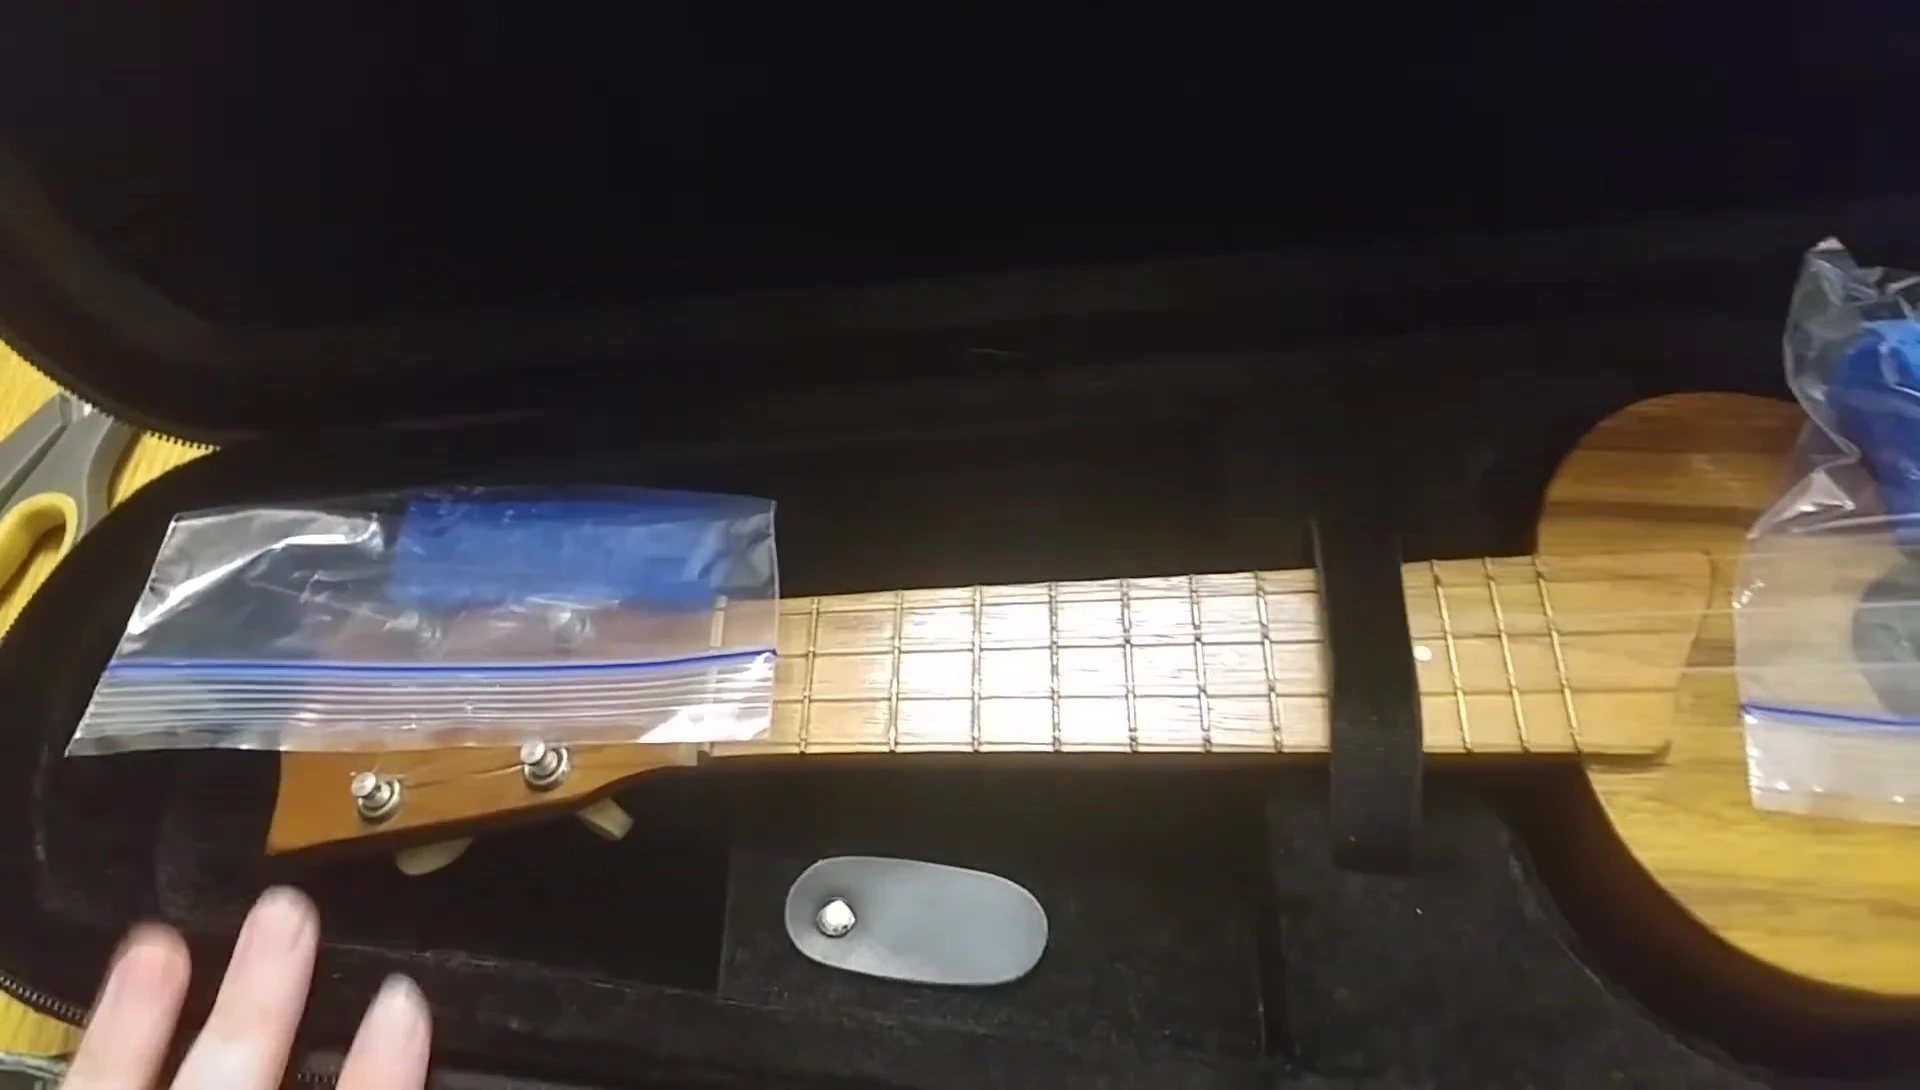
Application and Usage
The humidifier is placed inside the instrument's case, positioned strategically to maximize humidity distribution while minimizing contact with the instrument itself. The soft nature of the sponge prevents any damage to delicate surfaces.
The design is versatile enough to accommodate different instrument sizes and cases. You can use multiple humidifiers for larger instruments or those requiring more intensive humidity control.
Conclusion
This DIY humidifier provides a practical and affordable solution for maintaining the humidity of musical instruments. Its simple design and ease of construction make it accessible to musicians of all skill levels.
The use of a sponge as the moisture source is especially beneficial due to its softness, which prevents any pressure damage to the instrument. The adaptable design allows for customization based on the specific instrument's needs. While not a replacement for high-end humidifiers, this project offers a significant advantage for those on a tighter budget.