This DIY guide details the repair of a Gibson leather guitar strap that was too long. A friend's high-quality Gibson strap lacked an adjustable mechanism, creating discomfort during playing. Instead of purchasing a new strap, a simple alteration was undertaken to shorten the existing one to the perfect length. This tutorial provides a step-by-step approach to achieving this, focusing on precise measurements and careful techniques to maintain the strap's original aesthetic and functionality. We'll cover everything from carefully removing excess leather to expertly recreating the rounded end and employing a durable saddle stitch for a professional finish.The process includes essential steps such as cutting the existing stitching, precisely measuring and adjusting the strap length, creating a clean edge using a leather punch, and carefully stitching the leather back together using a strong, visually appealing saddle stitch. This guide aims to empower you with the confidence and knowledge to tackle similar leather repair projects at home, resulting in a perfectly fitted and beautifully repaired guitar strap. Whether you're a seasoned craftsperson or a DIY enthusiast, this guide provides the necessary instructions and insights for a successful outcome.
Read more: 5 Best Black Guitar Straps: A Buyer's Guide
The Problem: A Too-Long Strap
My friend Dave had a Gibson leather guitar strap that was too long. He owned another strap of the perfect length and wanted this one altered to match. The excess length was causing discomfort and affecting his playing experience.
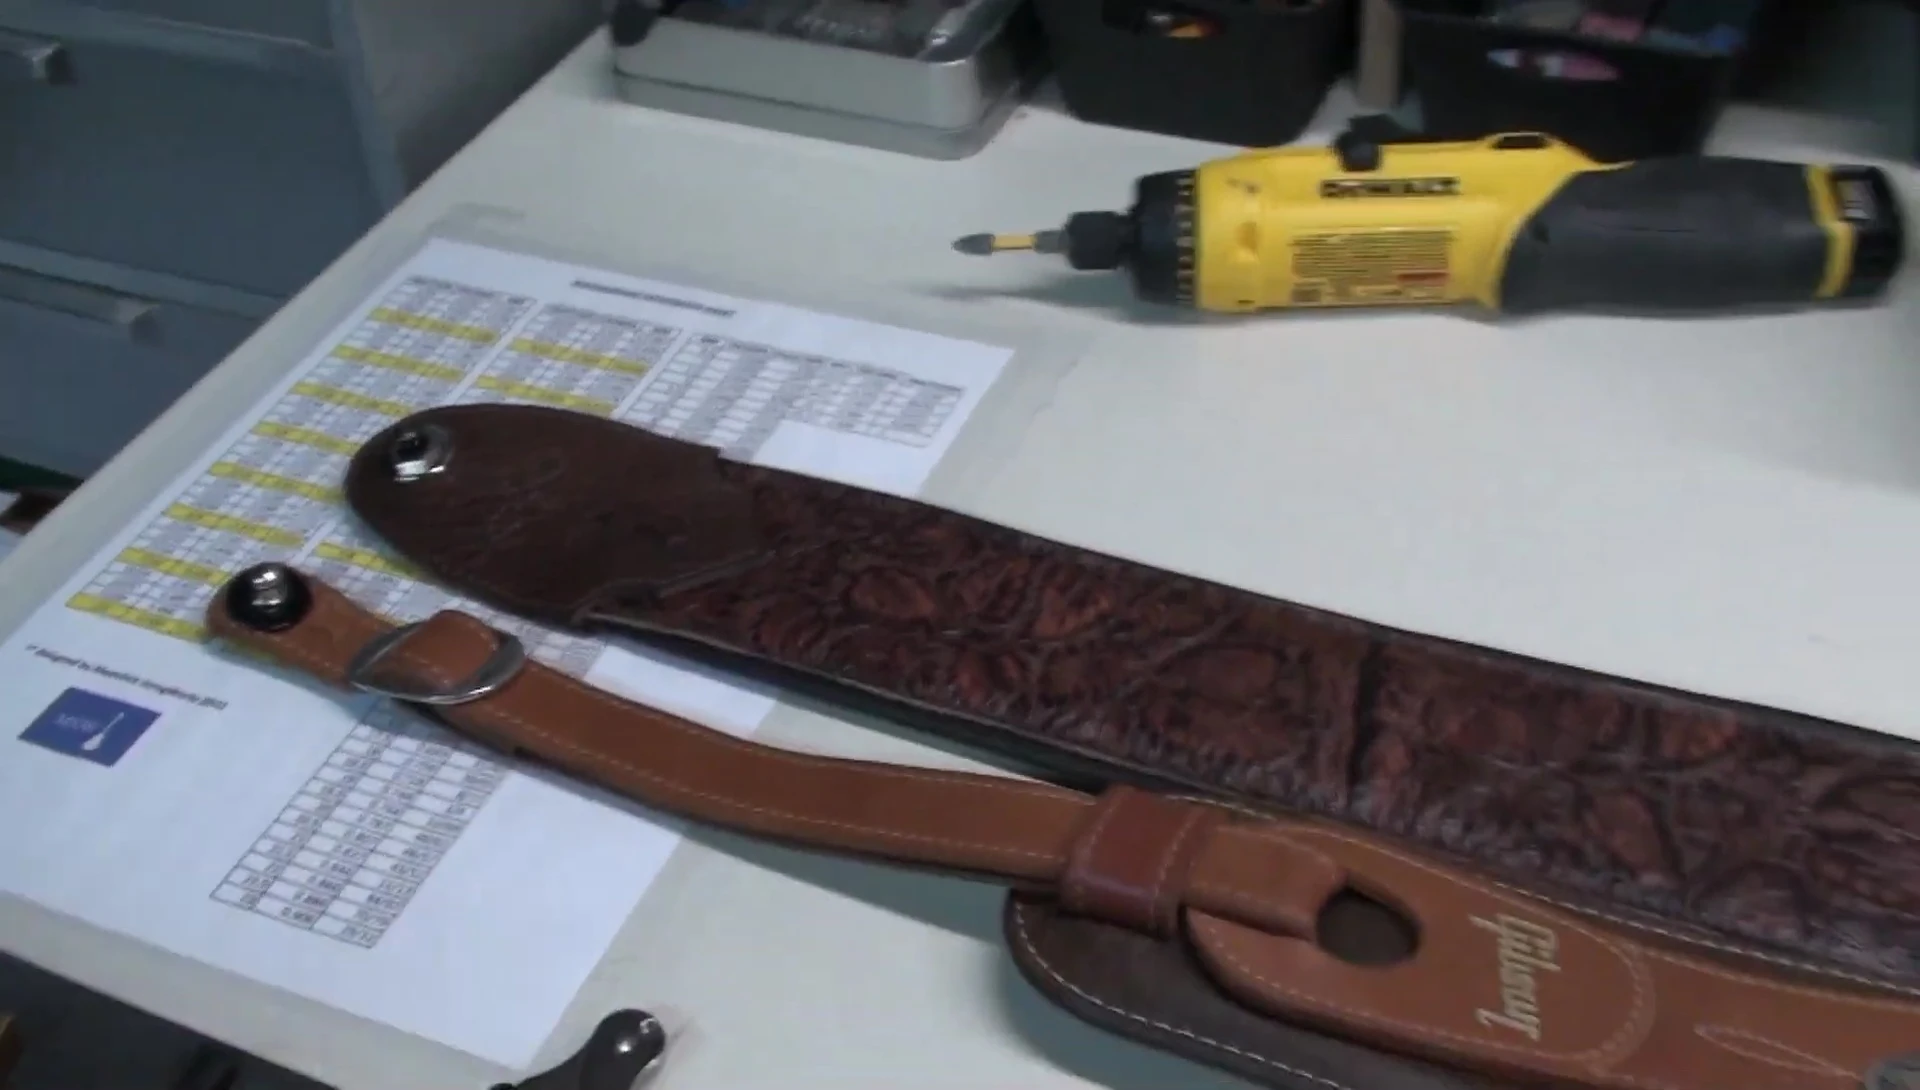
The strap, while high-quality, lacked an adjustable feature to easily shorten it. This meant a repair was necessary to achieve the desired length.
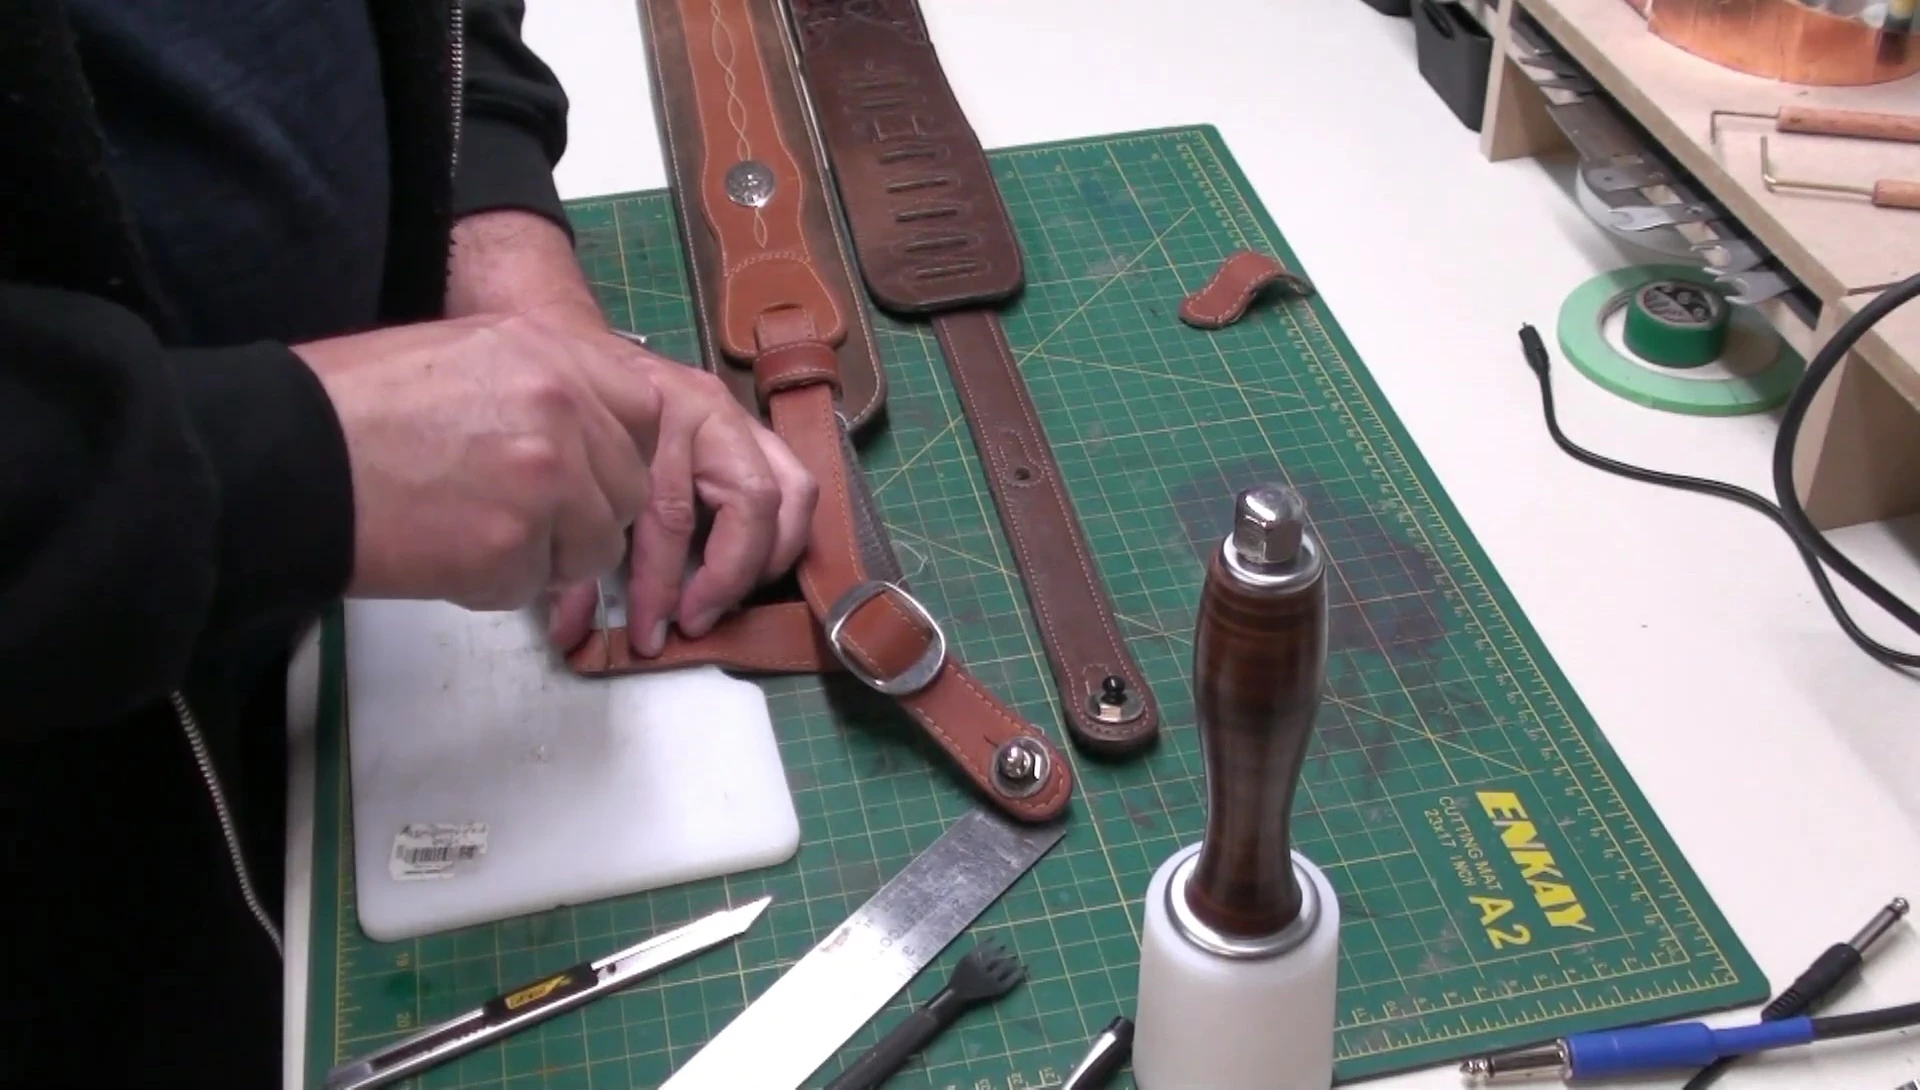
Measuring and Preparing for Repair
After carefully measuring the excess length (about 3.5 inches), I decided against completely cutting off the extra portion. This was a precaution, allowing for potential adjustments later if needed.
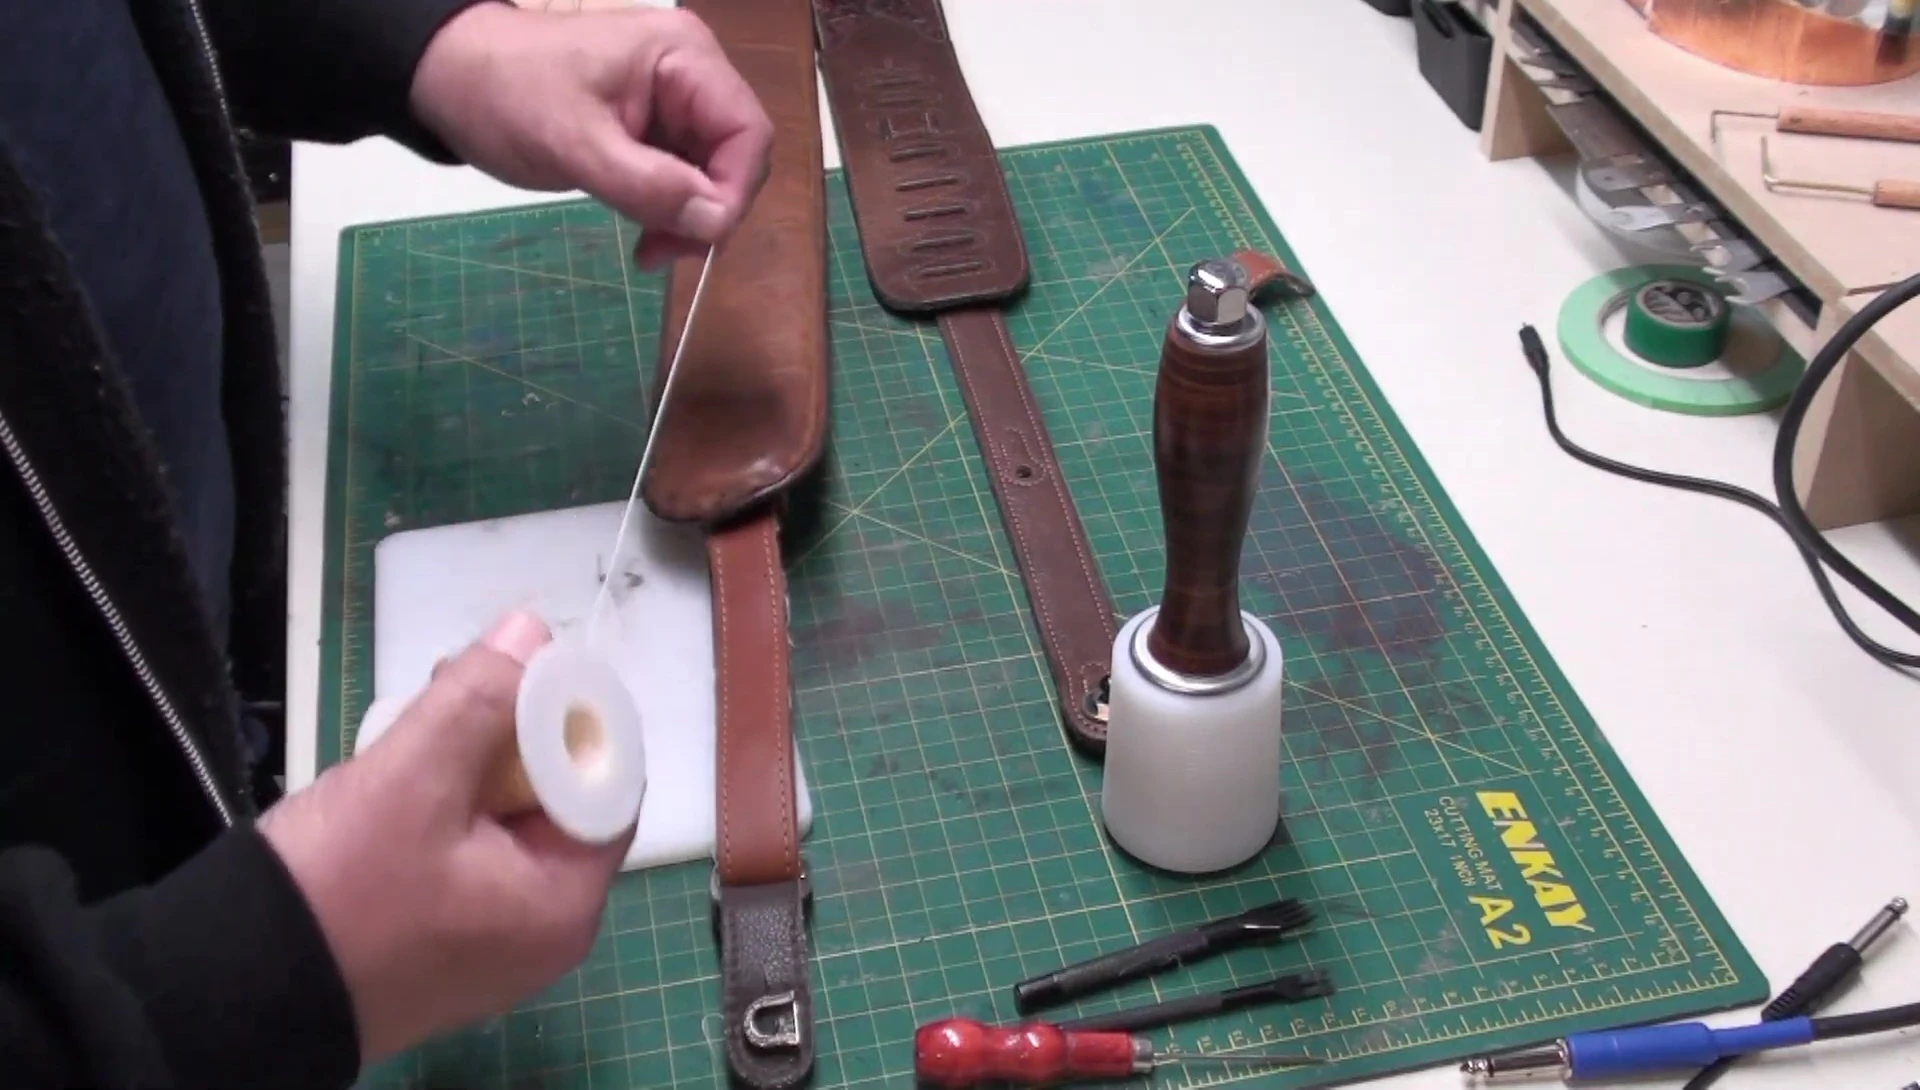
The next step involved using a sharp blade to carefully cut the existing stitching, separating the leather layers. I took great care to avoid cutting into the leather itself.
Adjusting and Re-measuring
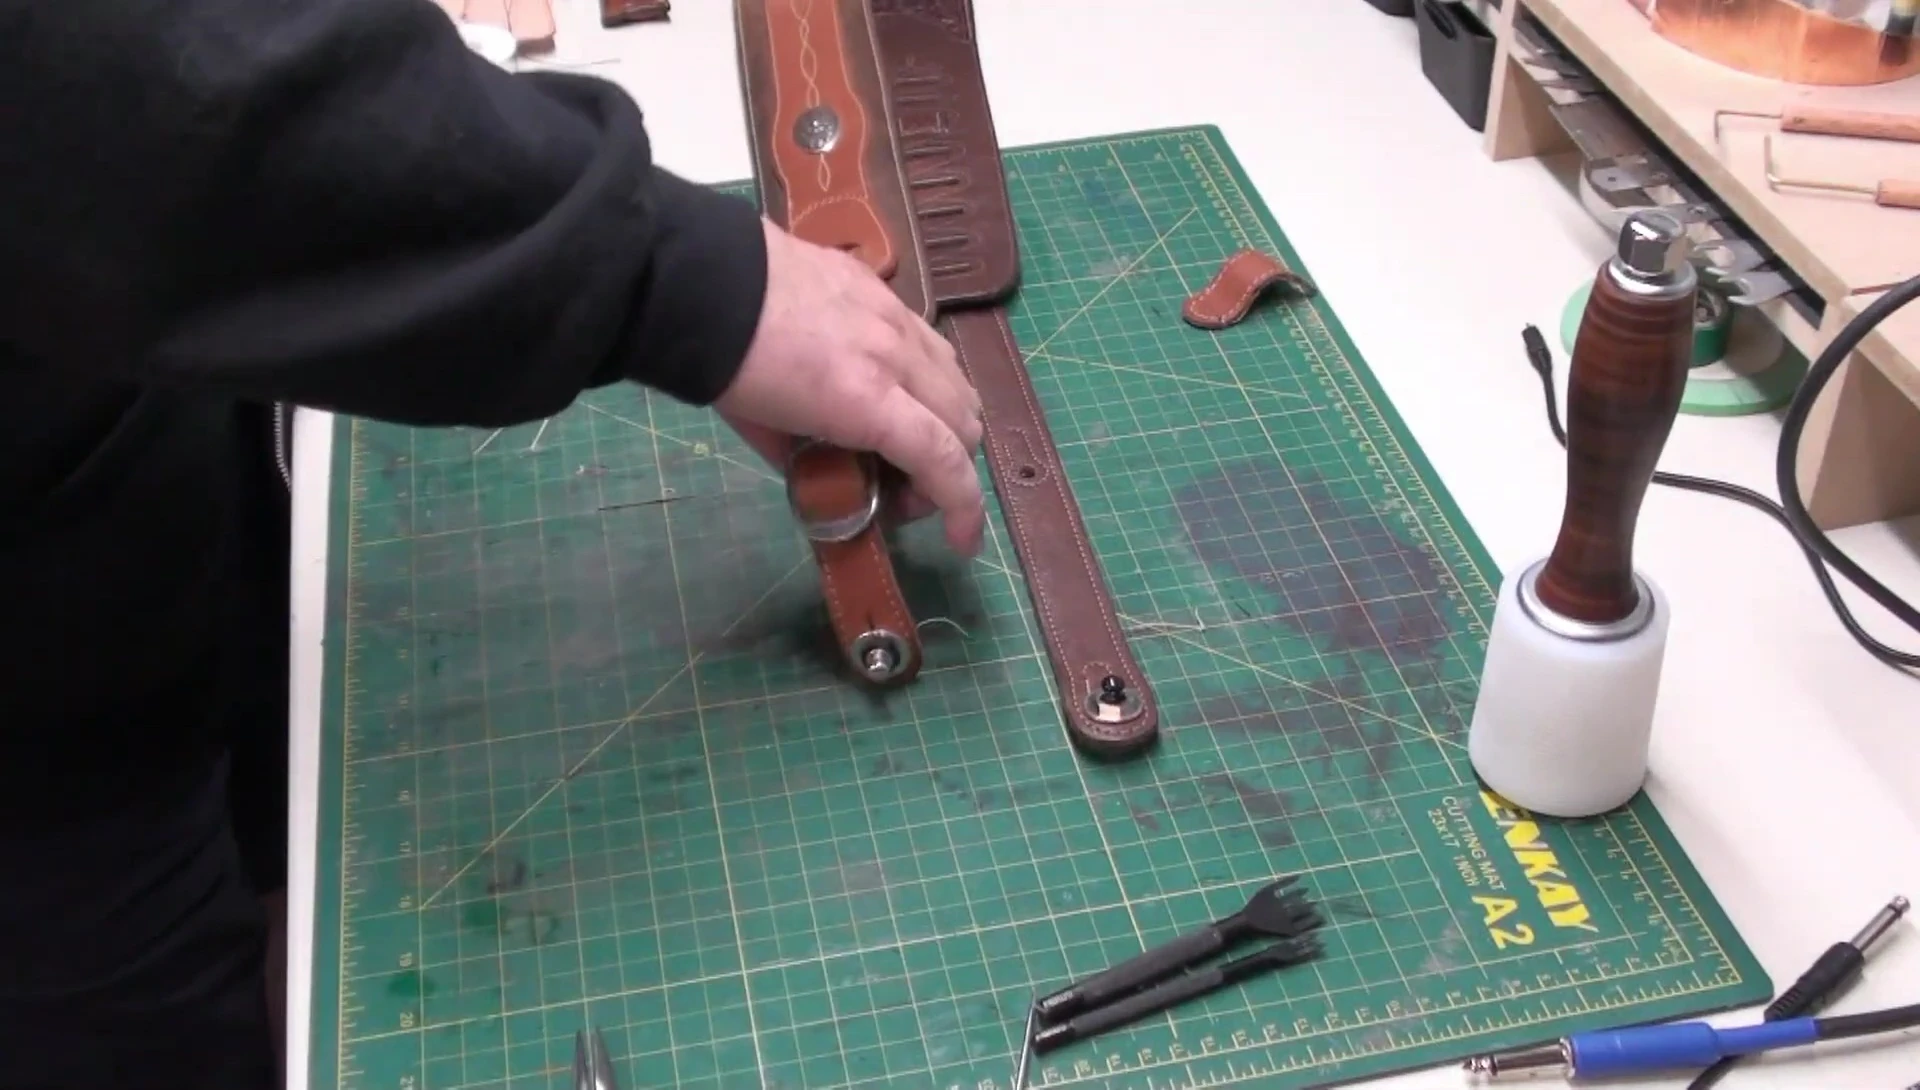
After cutting the stitching, I pulled the strap to the desired length. However, I quickly realized that simply removing 3.5 inches wasn't enough due to the buckle's placement and the strap's design.
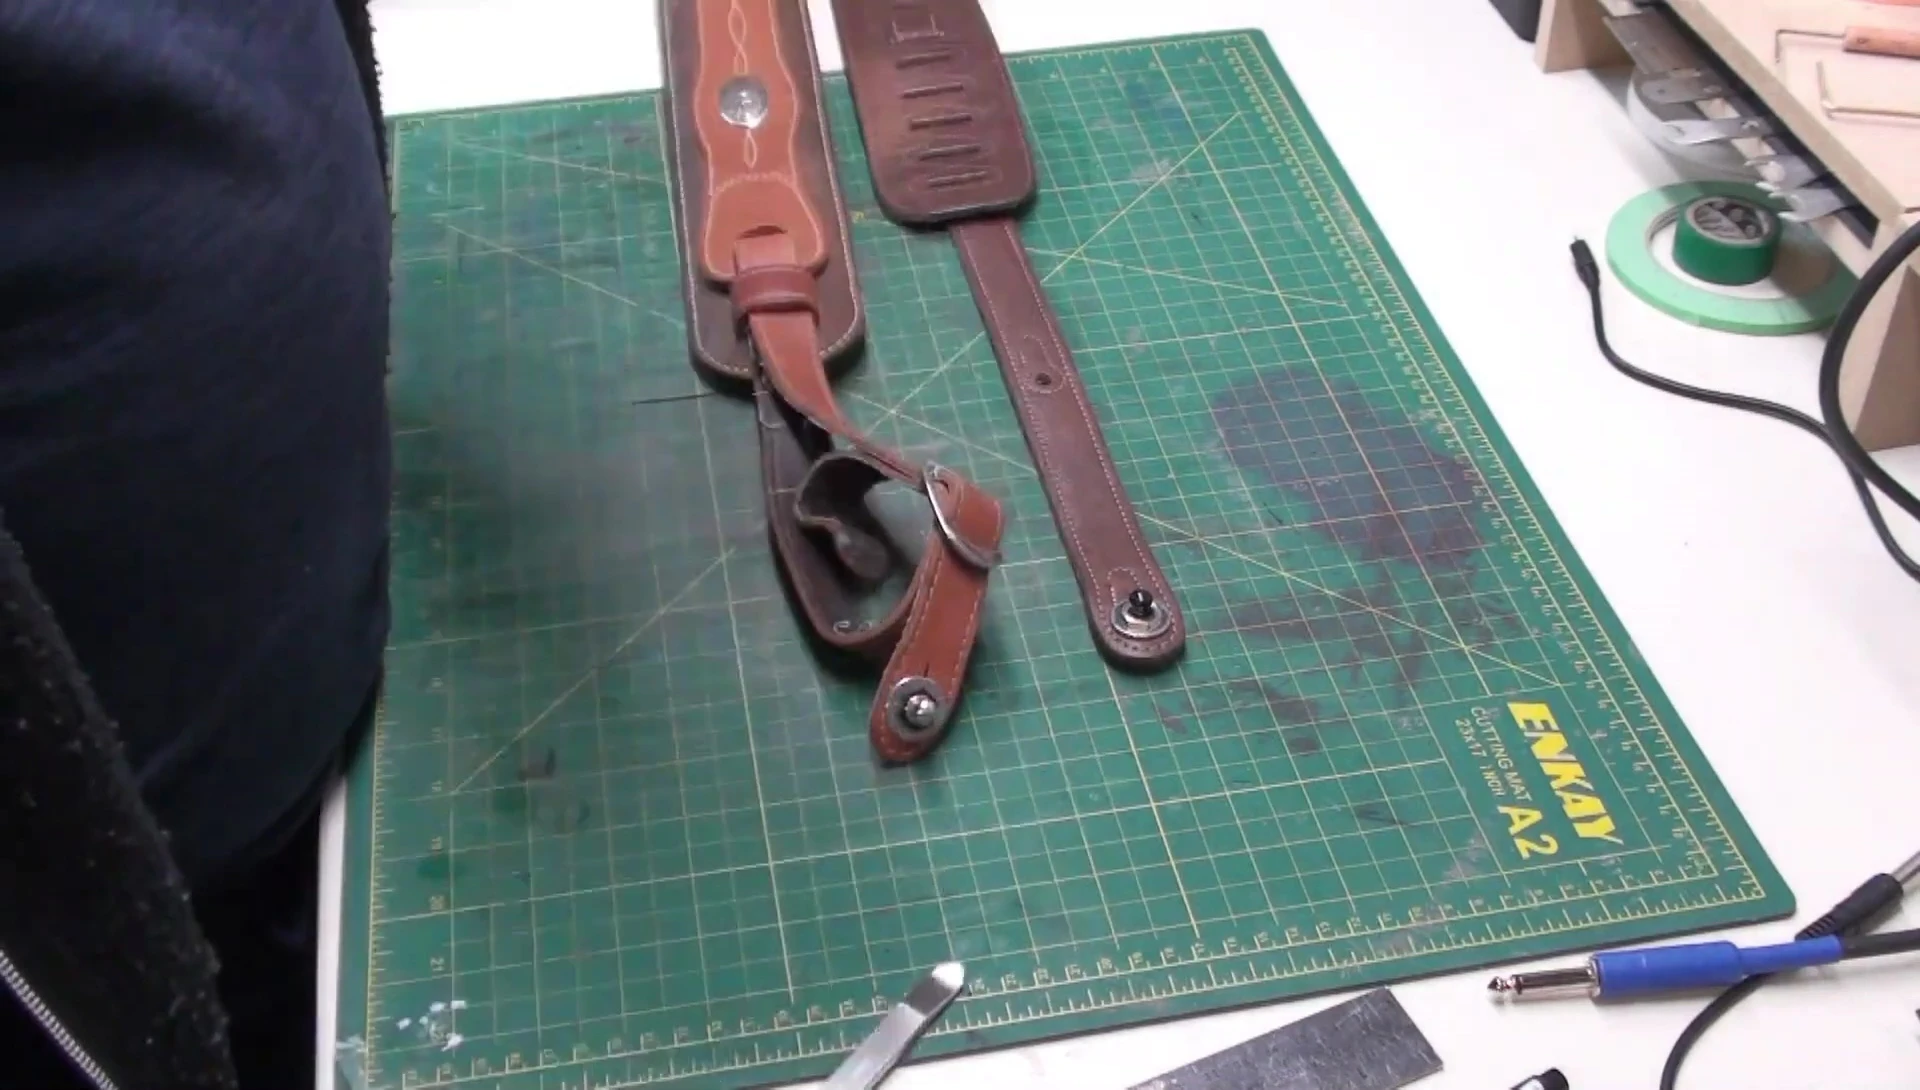
This highlighted the importance of precise measurements and anticipating the strap's construction elements before making any cuts. I adjusted the strap again, ensuring that the ends aligned perfectly.
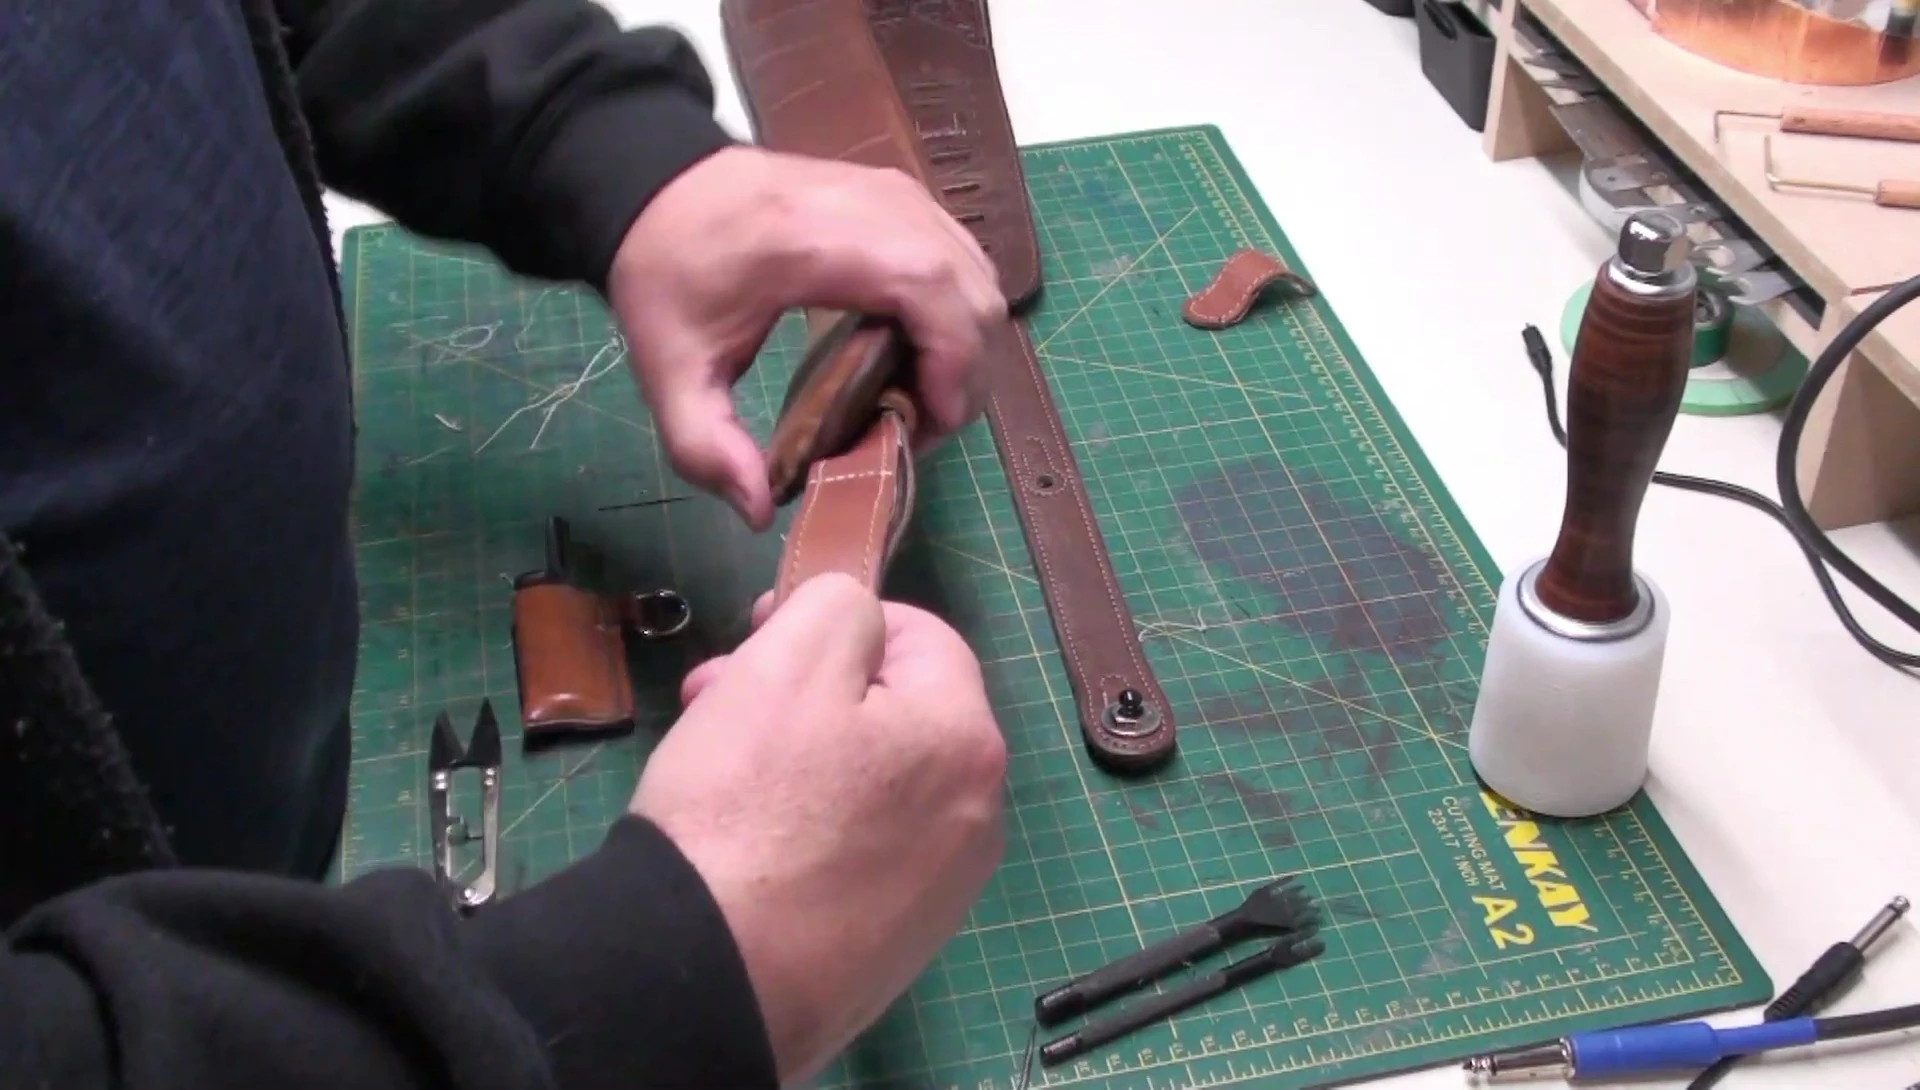
Recreating the Strap End and Preparing for Stitching
To maintain the strap’s original aesthetic, I needed to recreate the rounded end. This involved using a leather punch to create a clean, even edge.

After marking and carefully cutting away the excess leather, I used a leather awl to create new stitch holes, aligning them with the original stitching for a seamless repair. I used a thin awl because the original stitch holes were quite small.
Saddle Stitching and Finishing
I opted for a strong saddle stitch, using two needles and cream-colored thread to match the original stitching. This stitch is known for its durability and is commonly used in high-quality leatherwork.
The stitching process involved carefully threading the needles and working through each hole. I finished the stitch with a secure knot and burned the ends of the thread to prevent fraying.
Conclusion: A Successful Repair
The repair was a success! The Gibson guitar strap was shortened to the perfect length, matching its counterpart. The saddle stitch provided a durable and visually appealing finish.
This project demonstrates that with the right tools, patience, and a little know-how, even complex leather repairs can be tackled at home. The final product looks great, and Dave is happy!