This DIY guide details the complete replacement of a broken guitar case handle. The original handle suffered significant damage, rendering previous repair attempts ineffective. This project showcases a cost-effective solution, utilizing a readily available replacement part sourced online for under $8. The guide walks you through each step of the process, from the initial assessment of the damage and ordering a replacement, to the final securing of the new handle and restoration of the case's interior lining. Even with the challenges presented by a slightly oversized replacement handle, a sturdy and functional repair is achieved.This step-by-step tutorial provides practical solutions to common problems encountered during the replacement process, including drilling new screw holes, modifying hardware for a snug fit, and ensuring a secure attachment. Learn how to adapt standard fasteners for a superior hold and prevent damage to your valuable instrument. The guide also includes tips on restoring the case's interior lining for a professional-looking finish. Whether you're a seasoned DIY enthusiast or a beginner, this guide offers a clear and concise approach to repairing your guitar case handle and keeping your instrument safe and secure.
Read more: 5 Must-Have Electric Guitar Cases
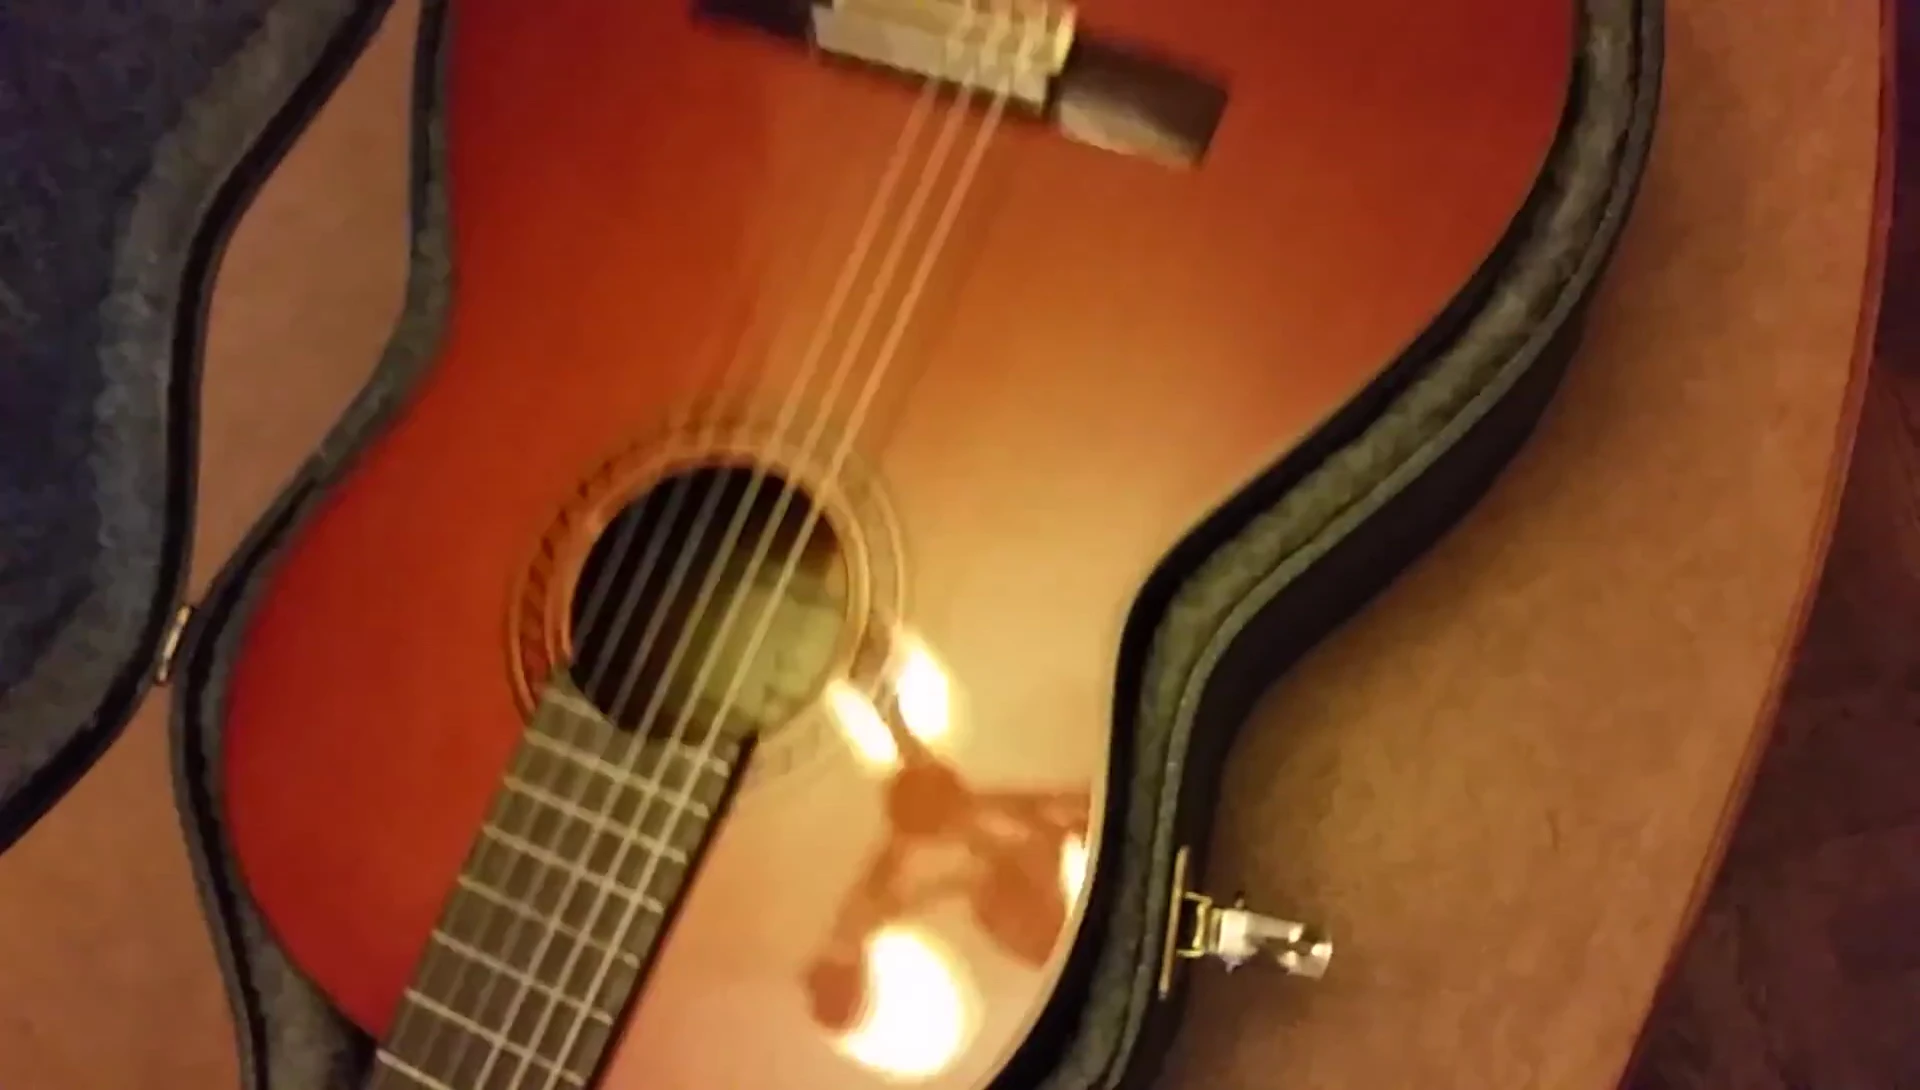
Assessing the Damage
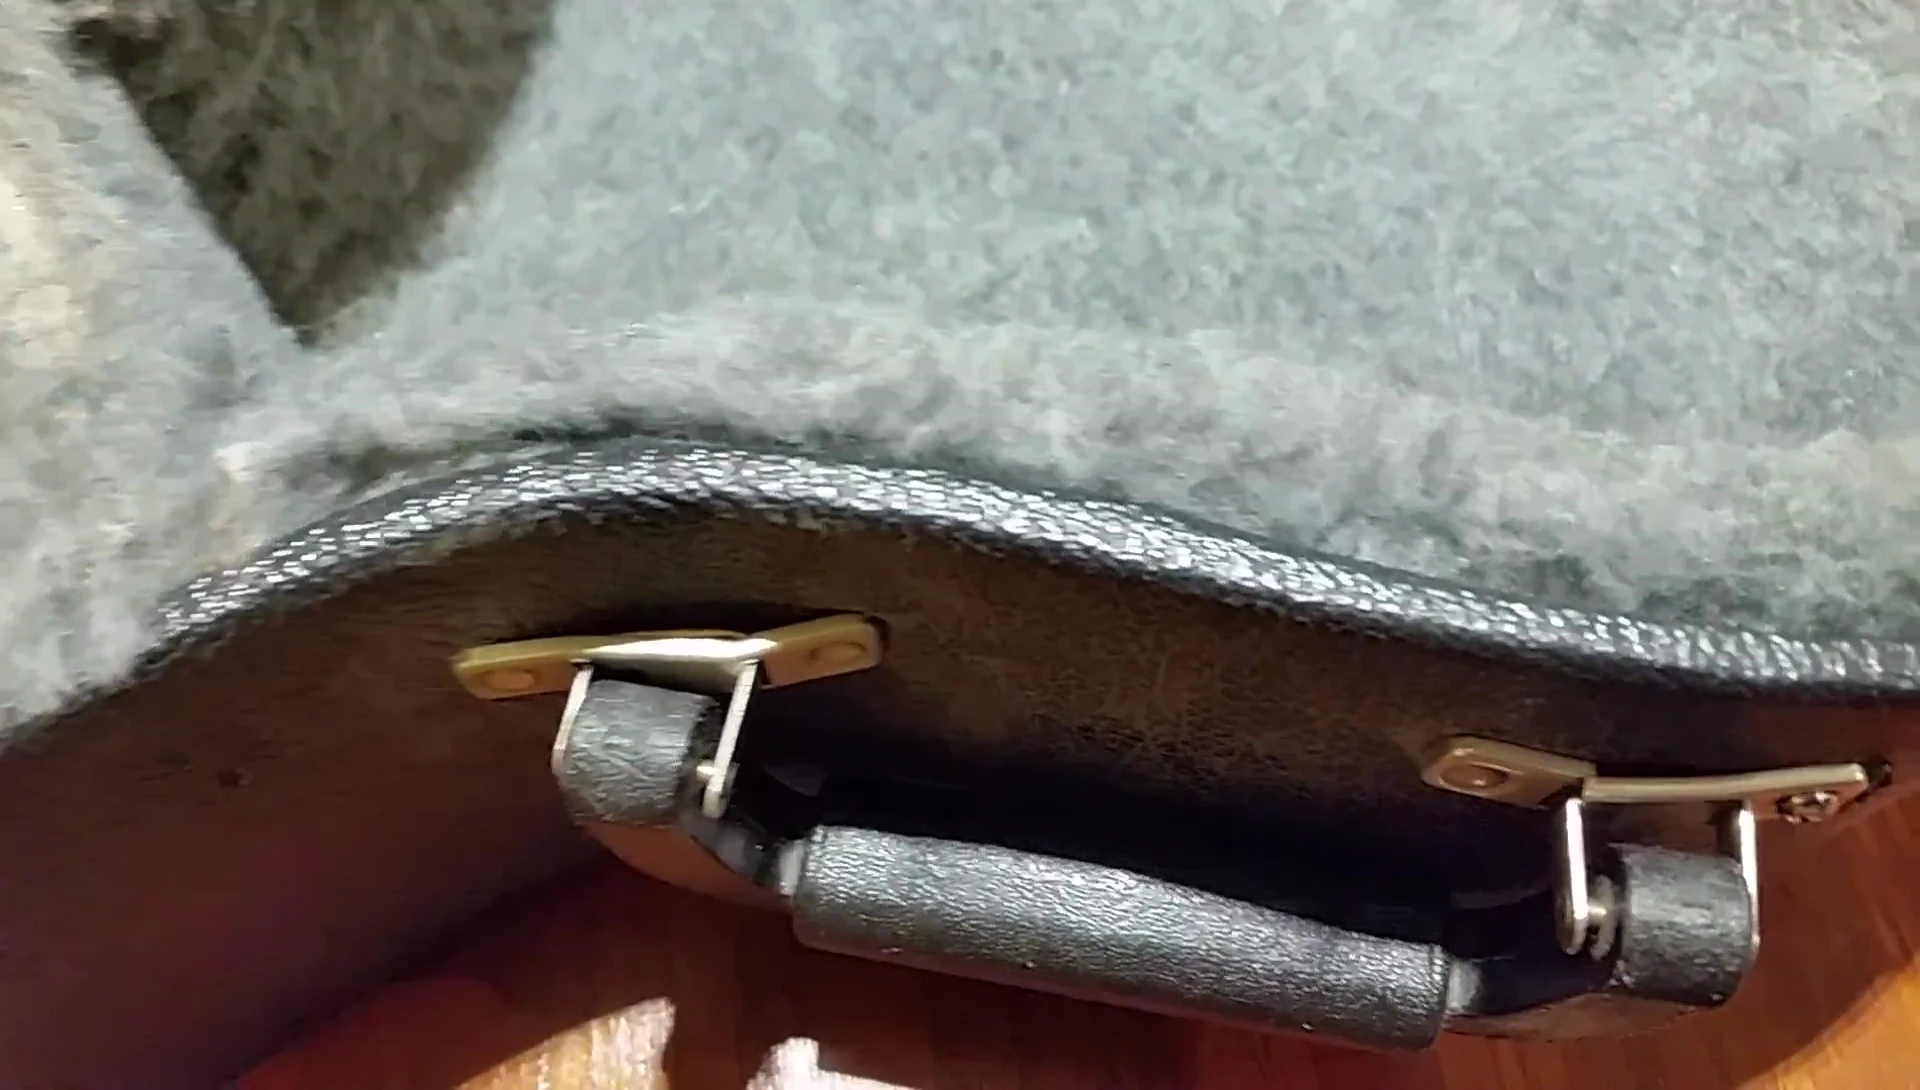
My guitar case handle was in dire need of repair. The right side was completely broken off, while the left side showed significant cracking and was on the verge of failure. A previous attempt at repair using a bolt proved insufficient. The handle was clearly beyond simple patching.
Acquiring a Replacement Handle
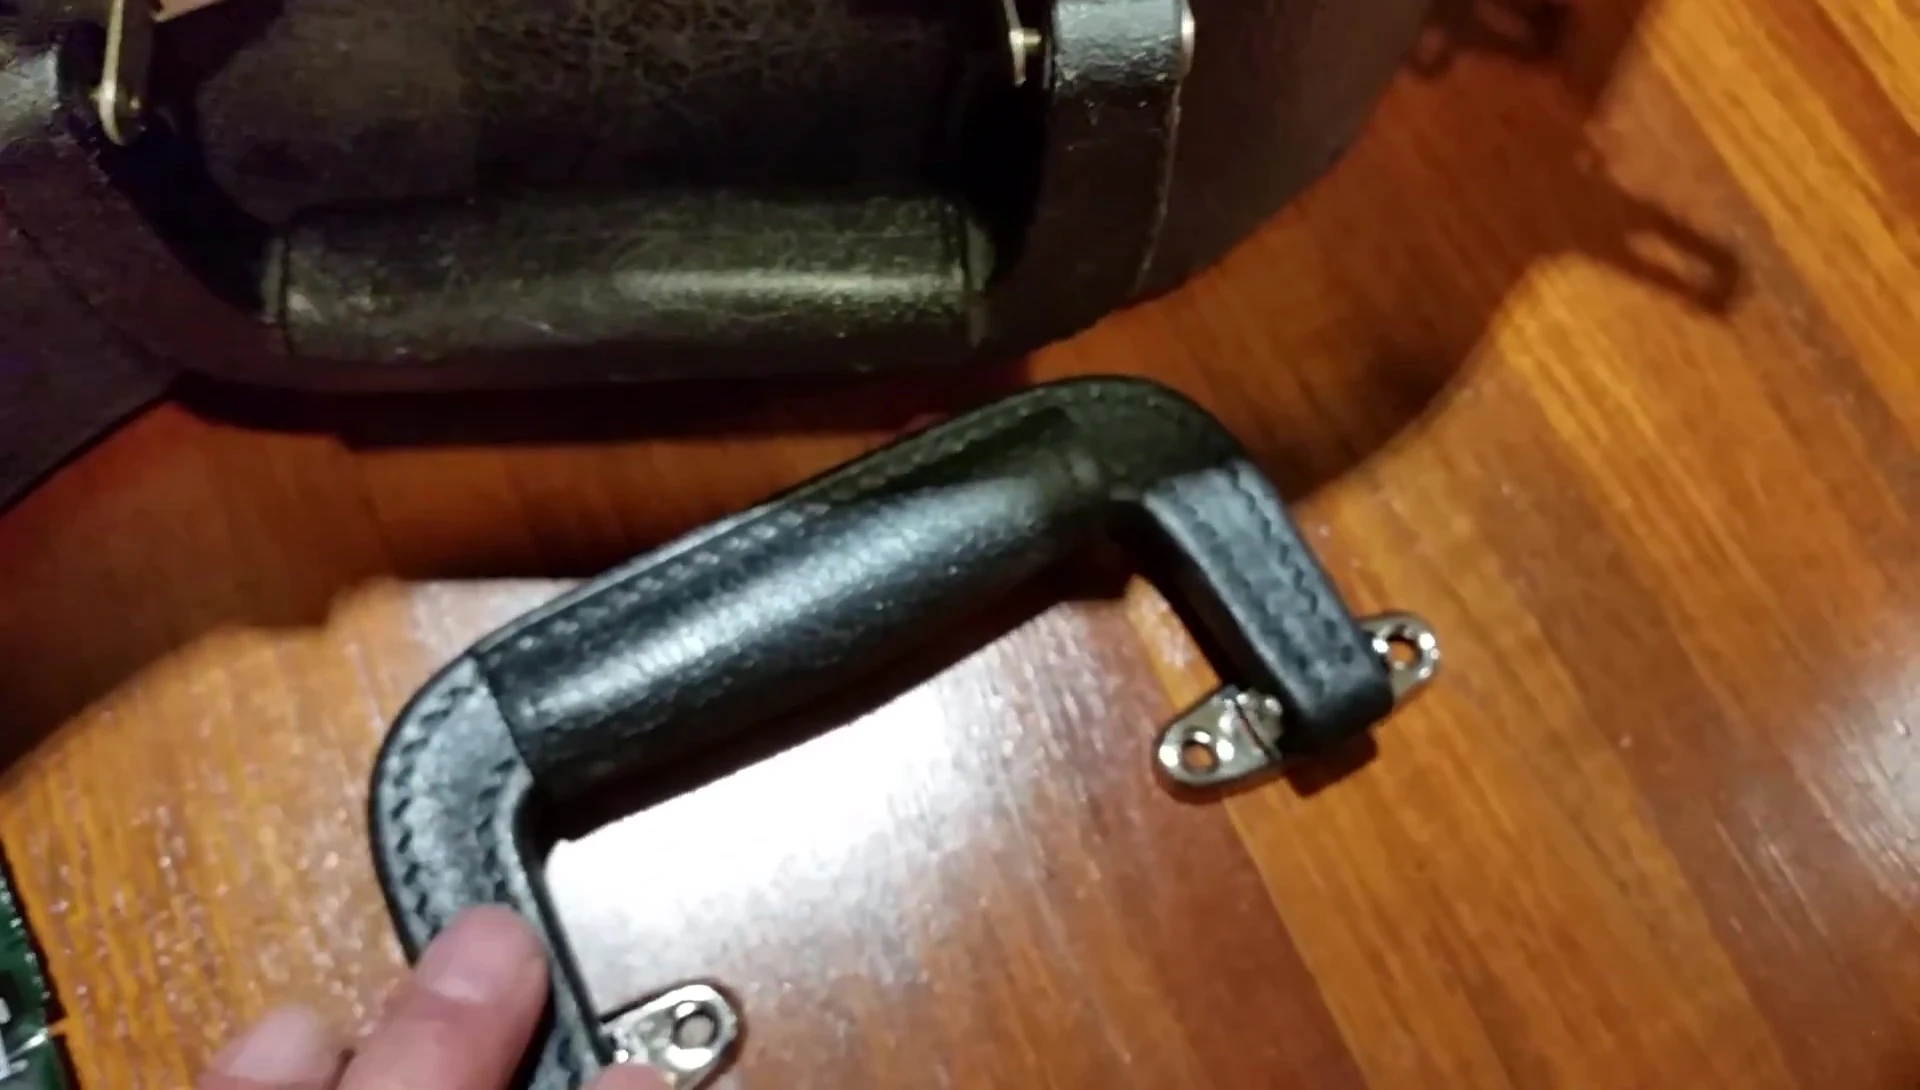
I sourced a replacement handle online for a reasonable price of $3.78, plus $3.95 for shipping. The replacement arrived quickly, within two days. While similar in design, the new handle was slightly larger than the original.
Installation Process
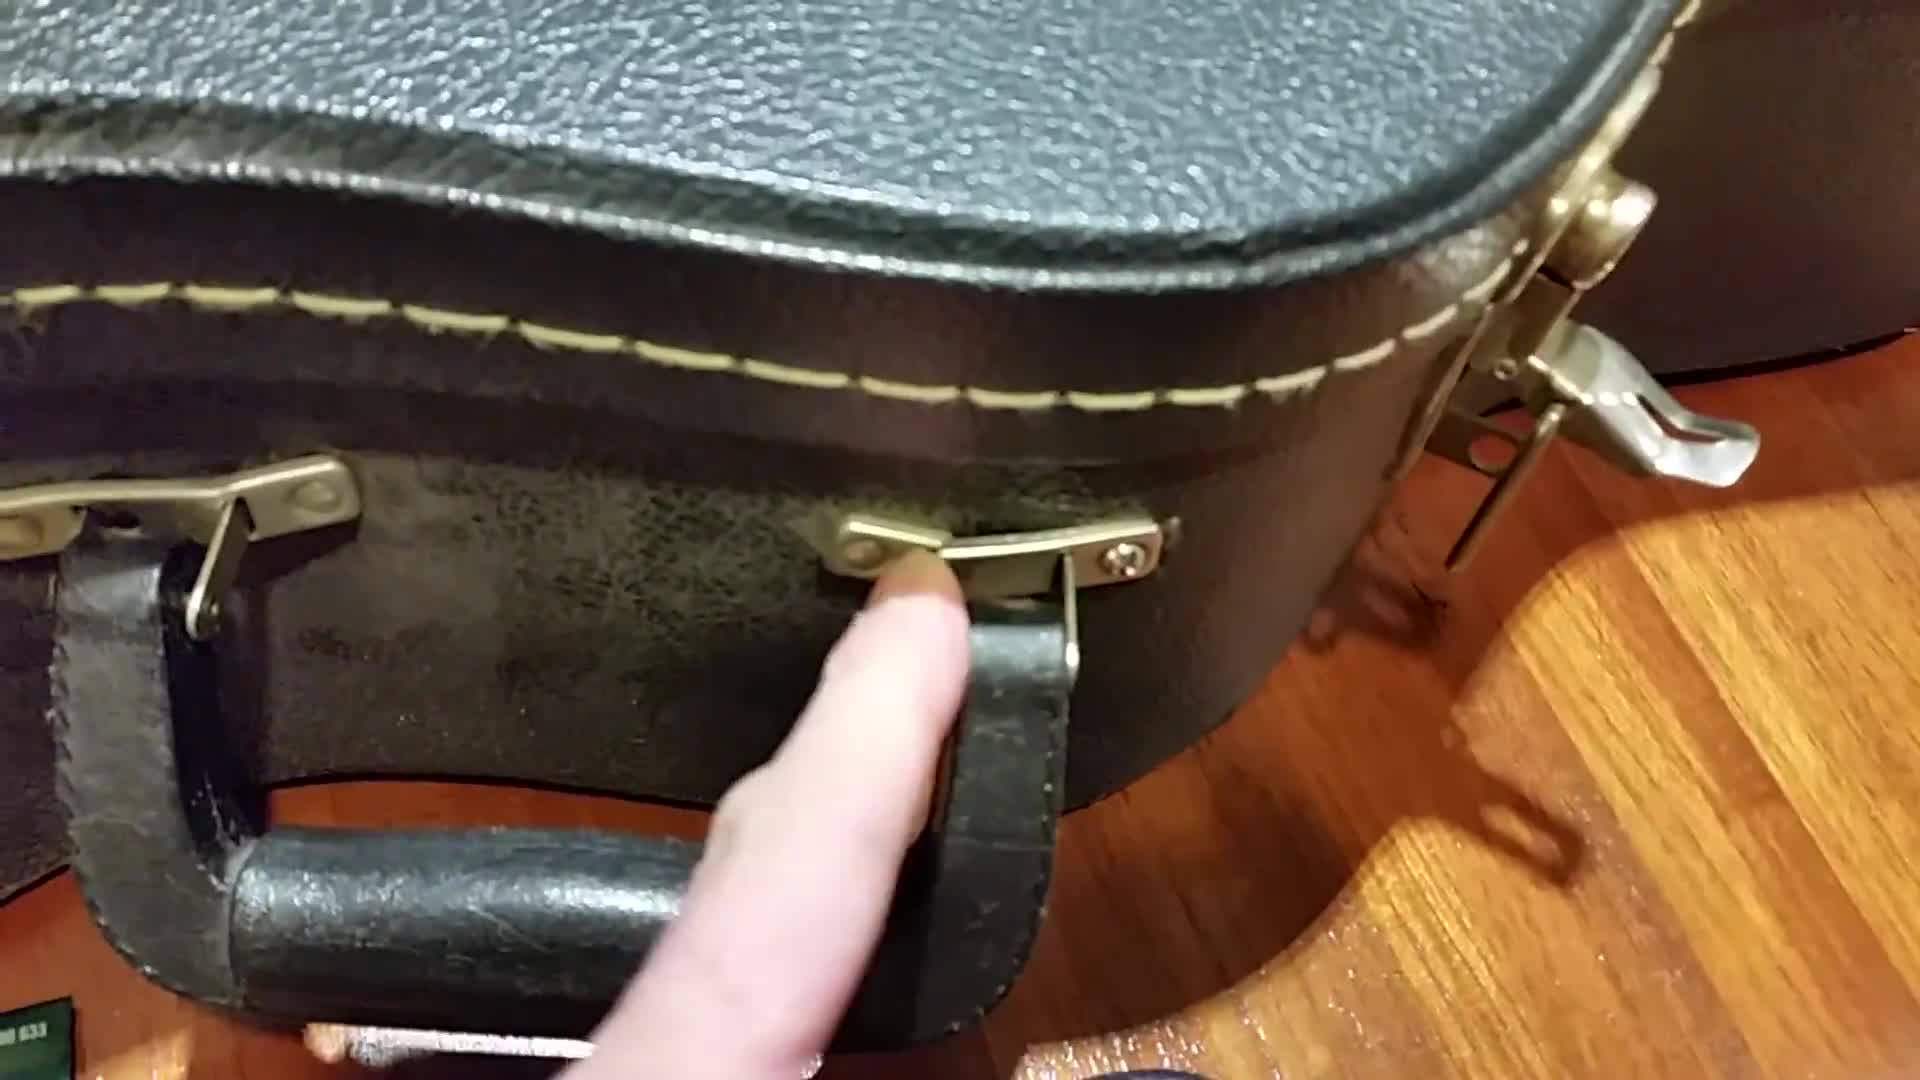
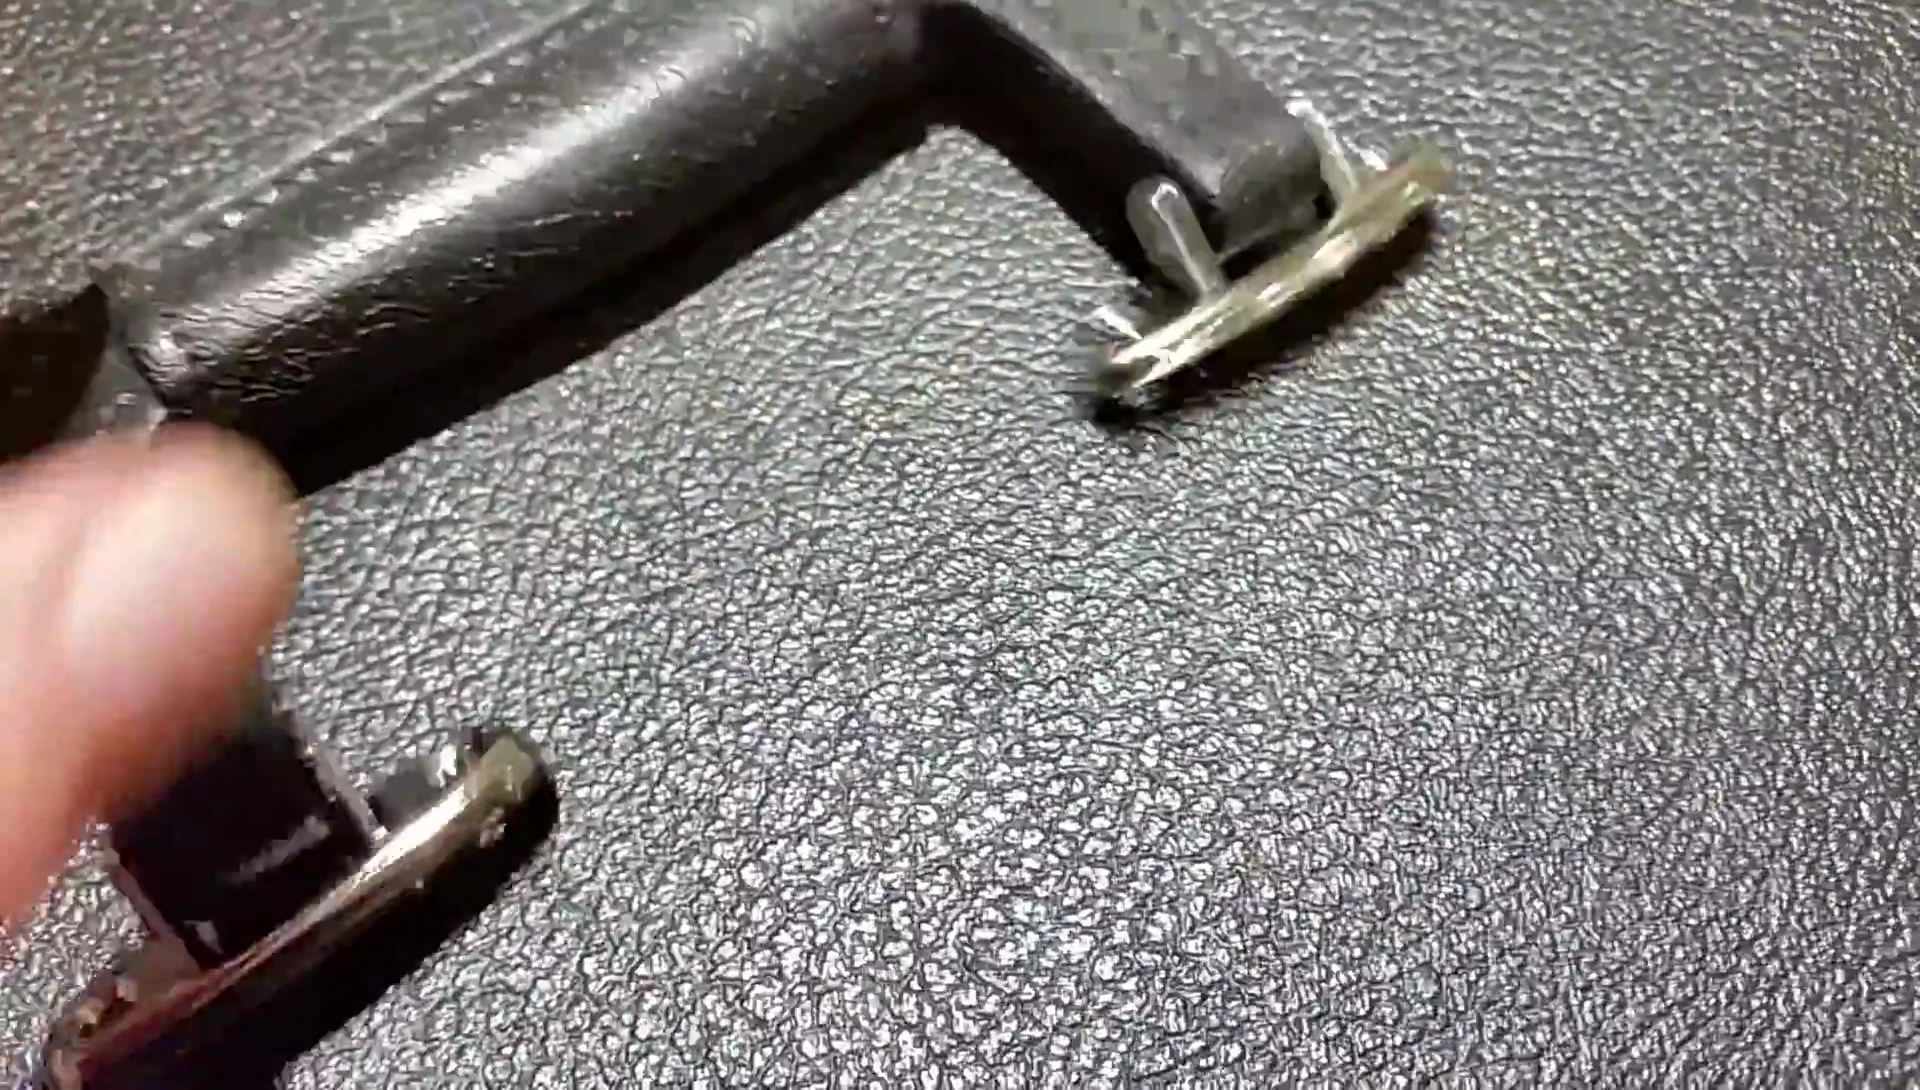
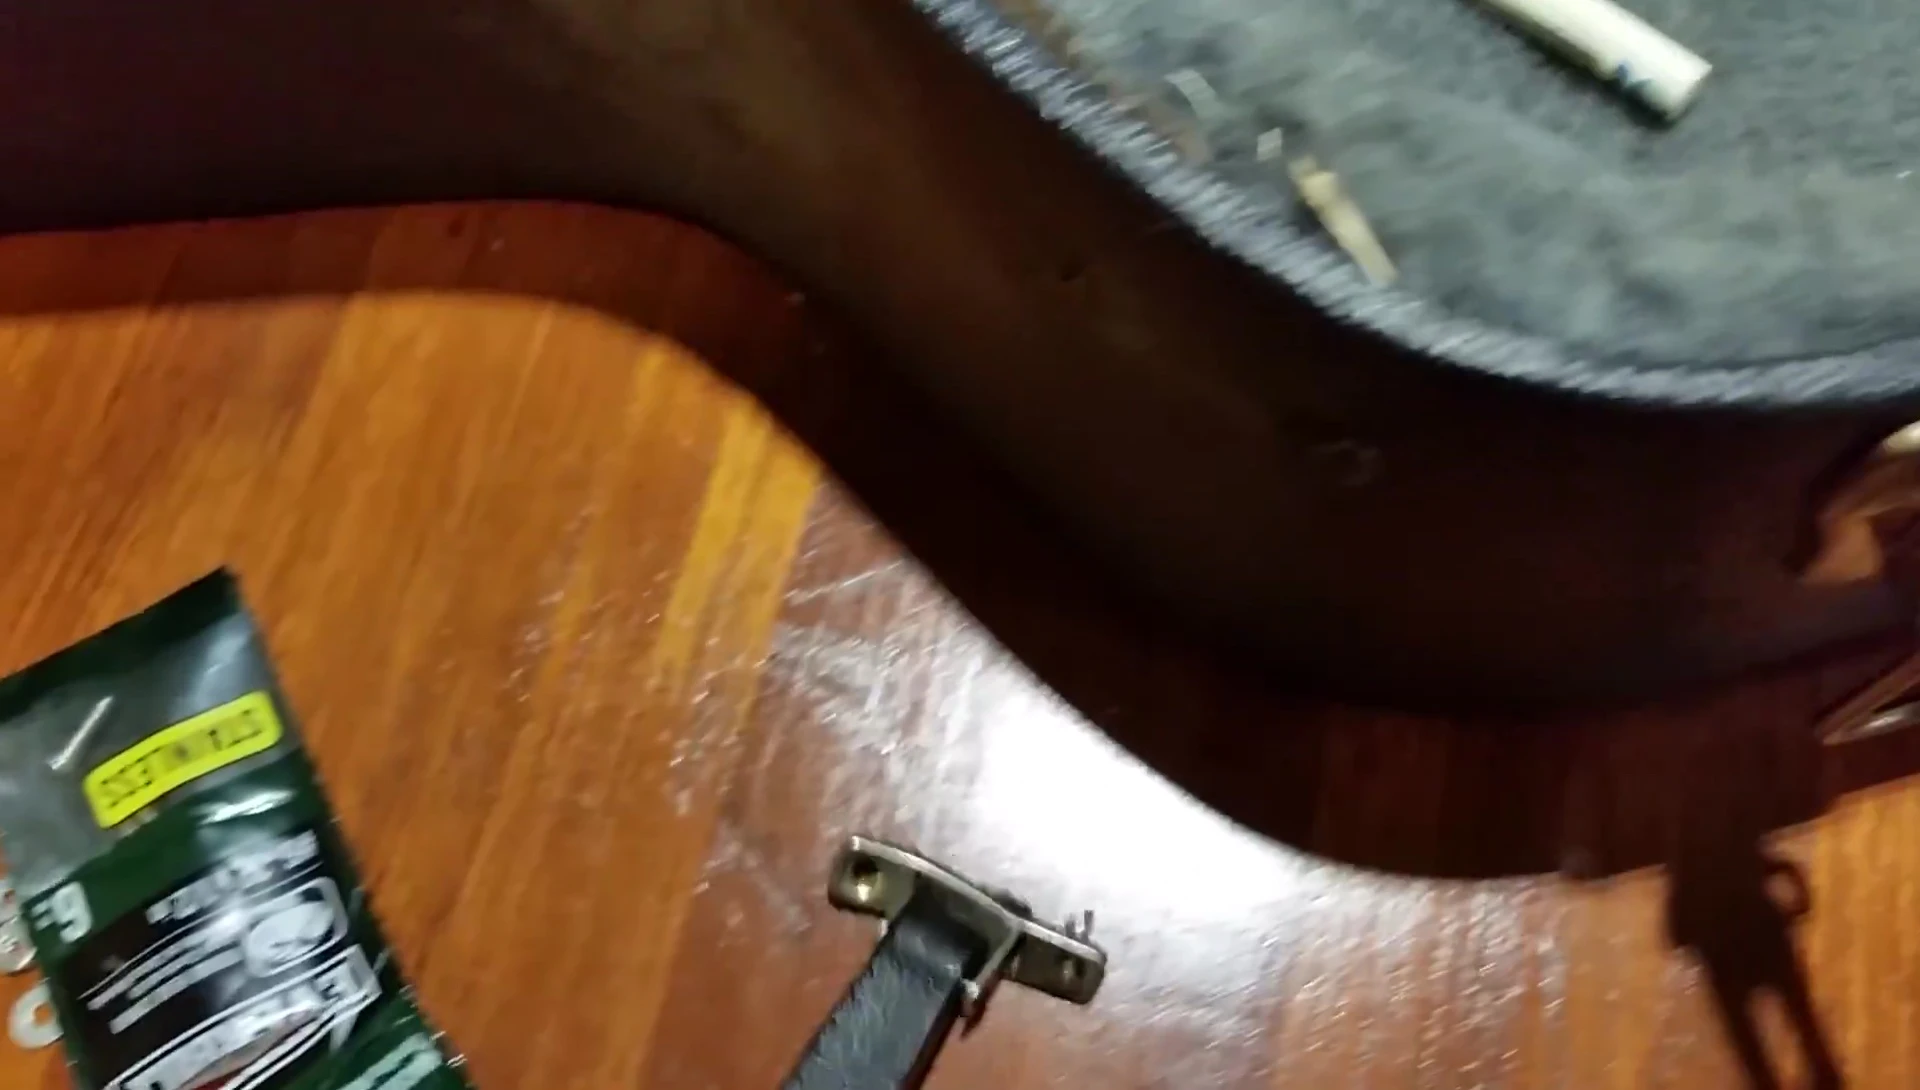
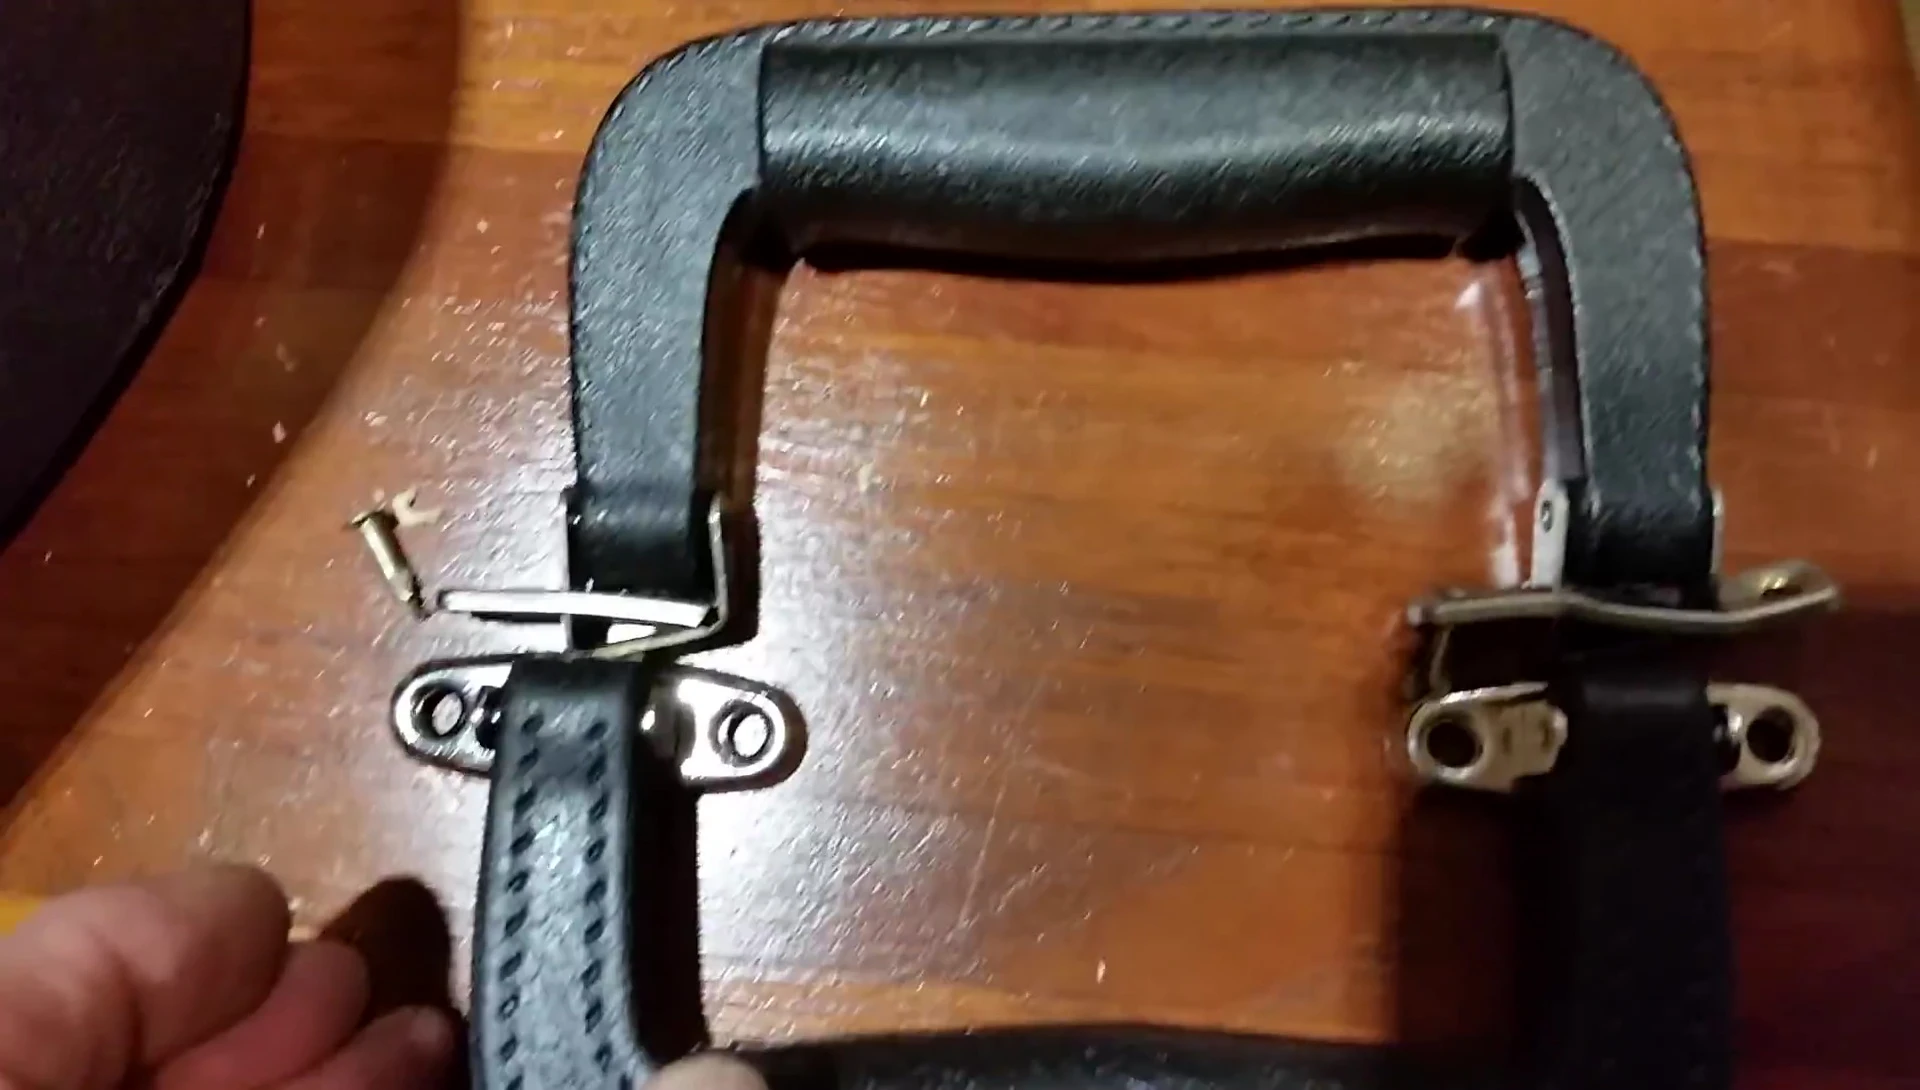
Because the new handle was larger, I couldn't use the existing screw holes. I started with one side, reusing the original holes, then carefully drilled new holes on the other side to accommodate the larger replacement. The original fasteners were unusual, resembling split fasteners that gripped the wood. I opted for standard screws and nuts for a more secure and easier installation.
Handle Modification and Installation
The new handle hardware wasn't flat, requiring modification to match the case's curved surface. Using pliers and a screwdriver, I carefully bent the hardware to achieve a snug fit. I secured the handle with screws and nuts, adding washers to prevent pull-through. The long screws required trimming with a Dremel tool after tightening.
Final Touches and Conclusion
After attaching the new handle, I reglued the felt lining using Loctite vinyl fabric glue. Clamps ensured a proper bond while the glue dried overnight. The final result is a securely attached, functional replacement handle. The added cushioning prevents any contact with the guitar, even though one nut might be very close.