This comprehensive guide walks you through the process of changing your acoustic guitar strings, a crucial maintenance task for any guitarist. Whether you're a seasoned player or just starting out, learning to change your strings will significantly improve your guitar's sound and playability. Old strings lose their vibrancy, impacting tone and making playing more difficult. This step-by-step tutorial will equip you with the knowledge and confidence to perform this essential maintenance procedure yourself, saving you money and ensuring your guitar always sounds its best.We'll cover everything from identifying when your strings need changing and gathering the necessary tools, to the meticulous process of removing old strings, cleaning your guitar, and installing a fresh set. Learn how to properly thread strings through the bridge and tuning pegs, and discover helpful tips to minimize breakage and optimize tuning stability. By the end, you'll be able to enjoy the satisfying sound and effortless feel of a newly strung guitar, ready to make beautiful music.
Pros And Cons
- Improved playability
- Smoother fingering
- Clearer picking
- Louder and crisper strumming
Read more: String Winder Shootout: Daddario, Dunlop, & Music Nomad Compared
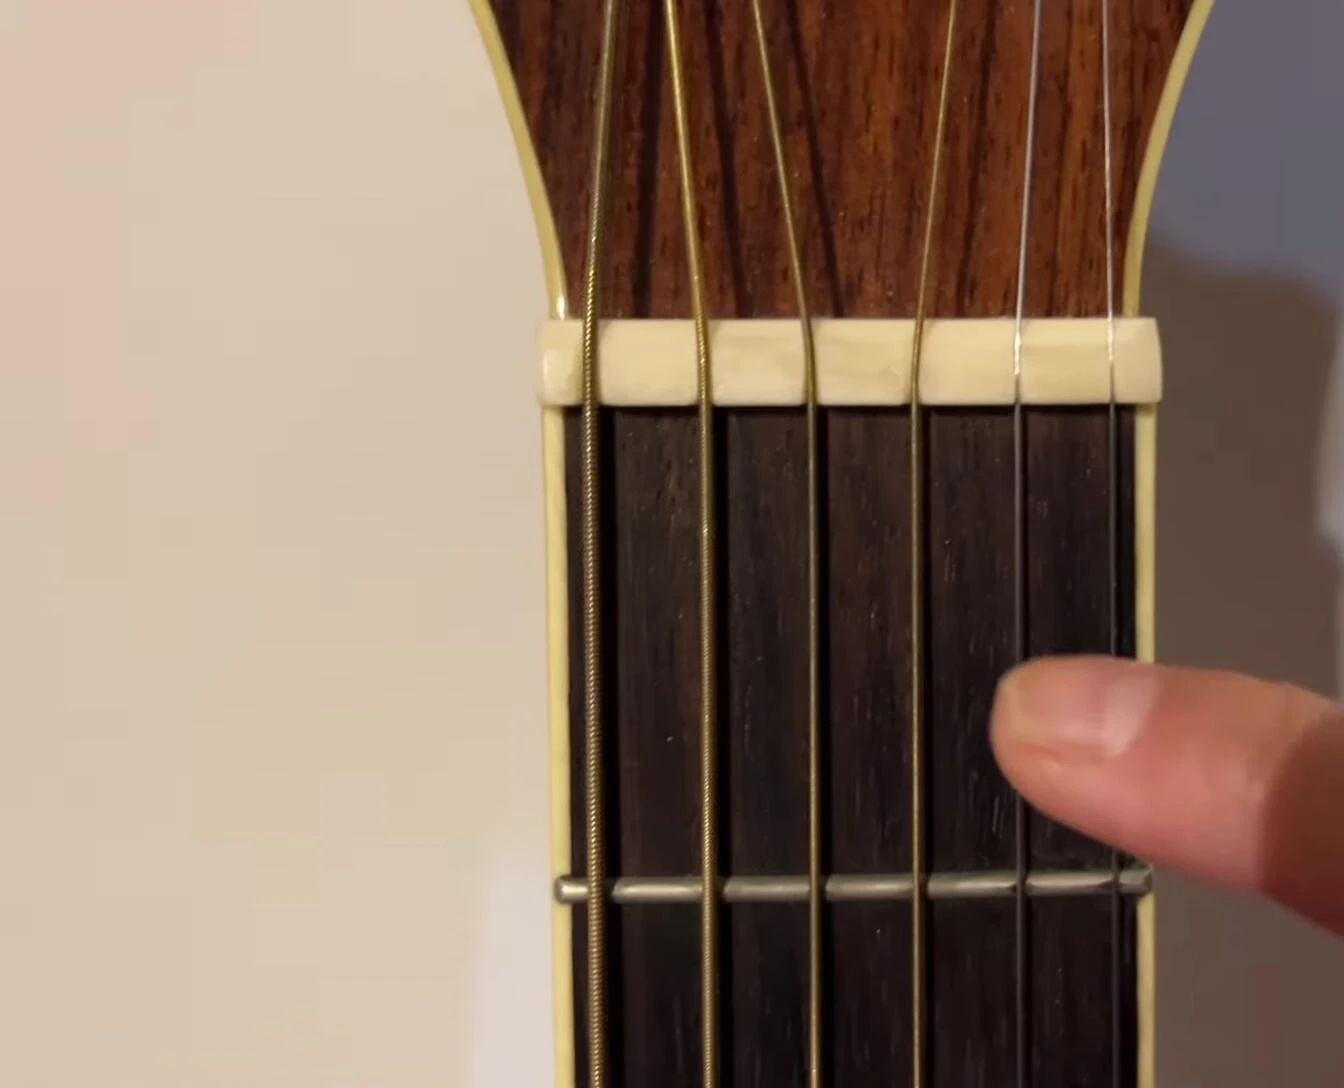
Why and When to Change Your Guitar Strings
Changing your guitar strings is crucial for maintaining optimal playability and tone. Old strings become dull, lose their vibrancy, and can hinder your playing technique. You'll notice a significant difference in how smoothly your fingers move across the fretboard.
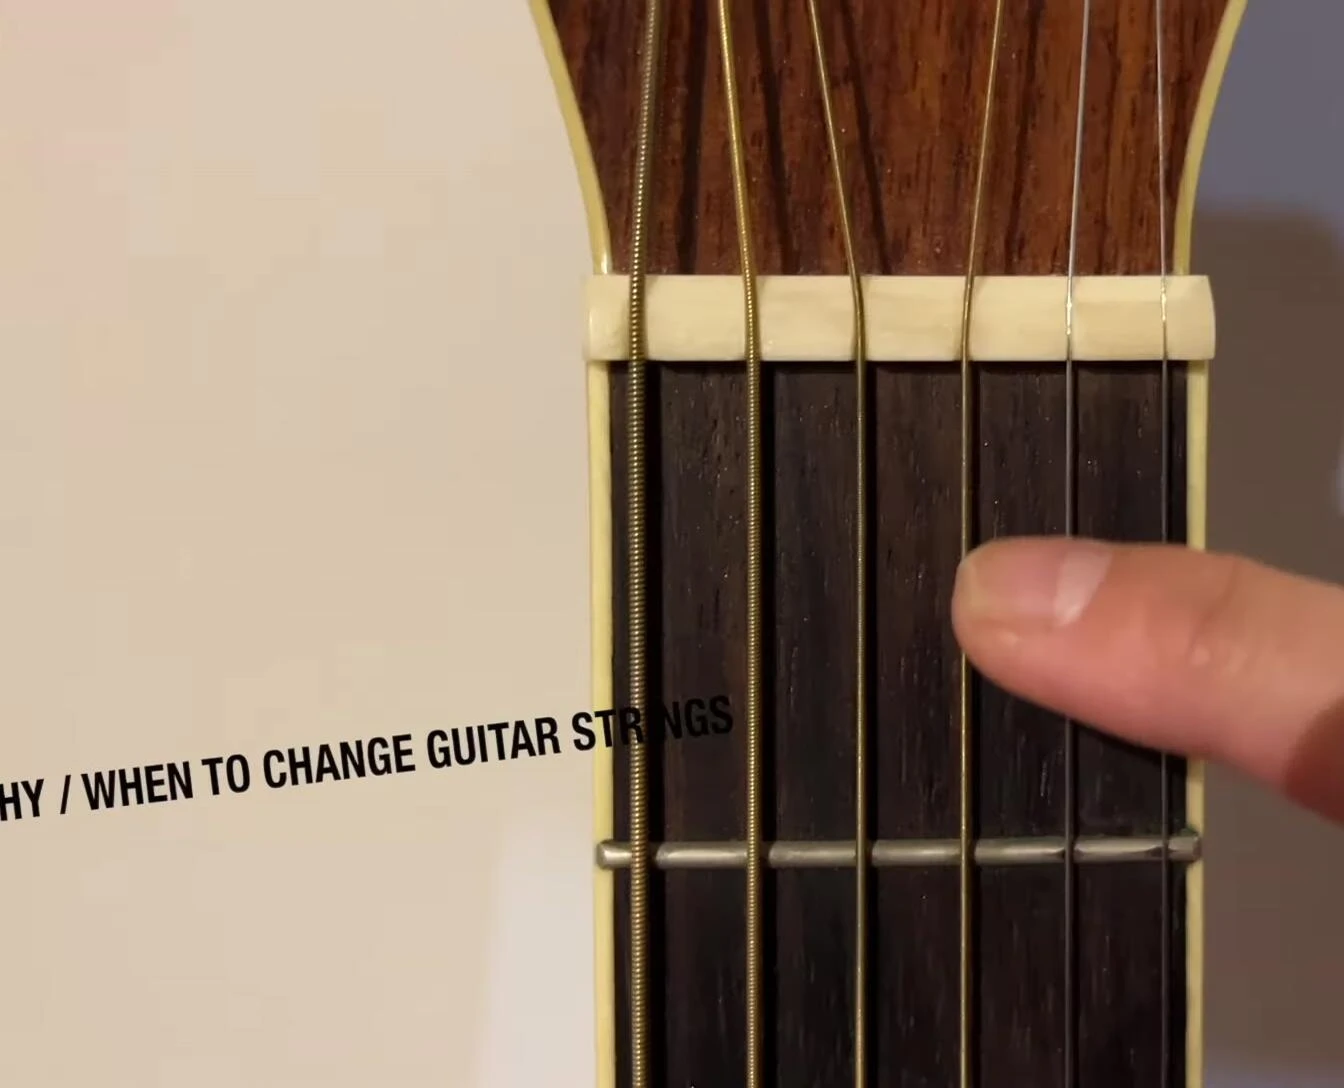
Several factors determine when you should change strings. Frequent playing (daily) necessitates monthly changes. Improper storage, allowing moisture to affect the strings, will also shorten their lifespan. Visual cues, such as dullness, fuzziness, or difficulty fretting, indicate it's time for a change.
Essential Materials and Tools
Before you begin, gather the necessary materials. You'll need a new set of strings with the correct gauge for your guitar (light, extra-light, or medium – check your guitar's specifications).

Additionally, you'll need something to prop up your guitar's neck, ensuring the fretboard is level. Optional but helpful tools include wire cutters for string removal and a peg winder to speed up the process. Cleaning supplies (lemon oil, guitar polish, microfiber cloths) are also recommended for fretboard and guitar body maintenance.
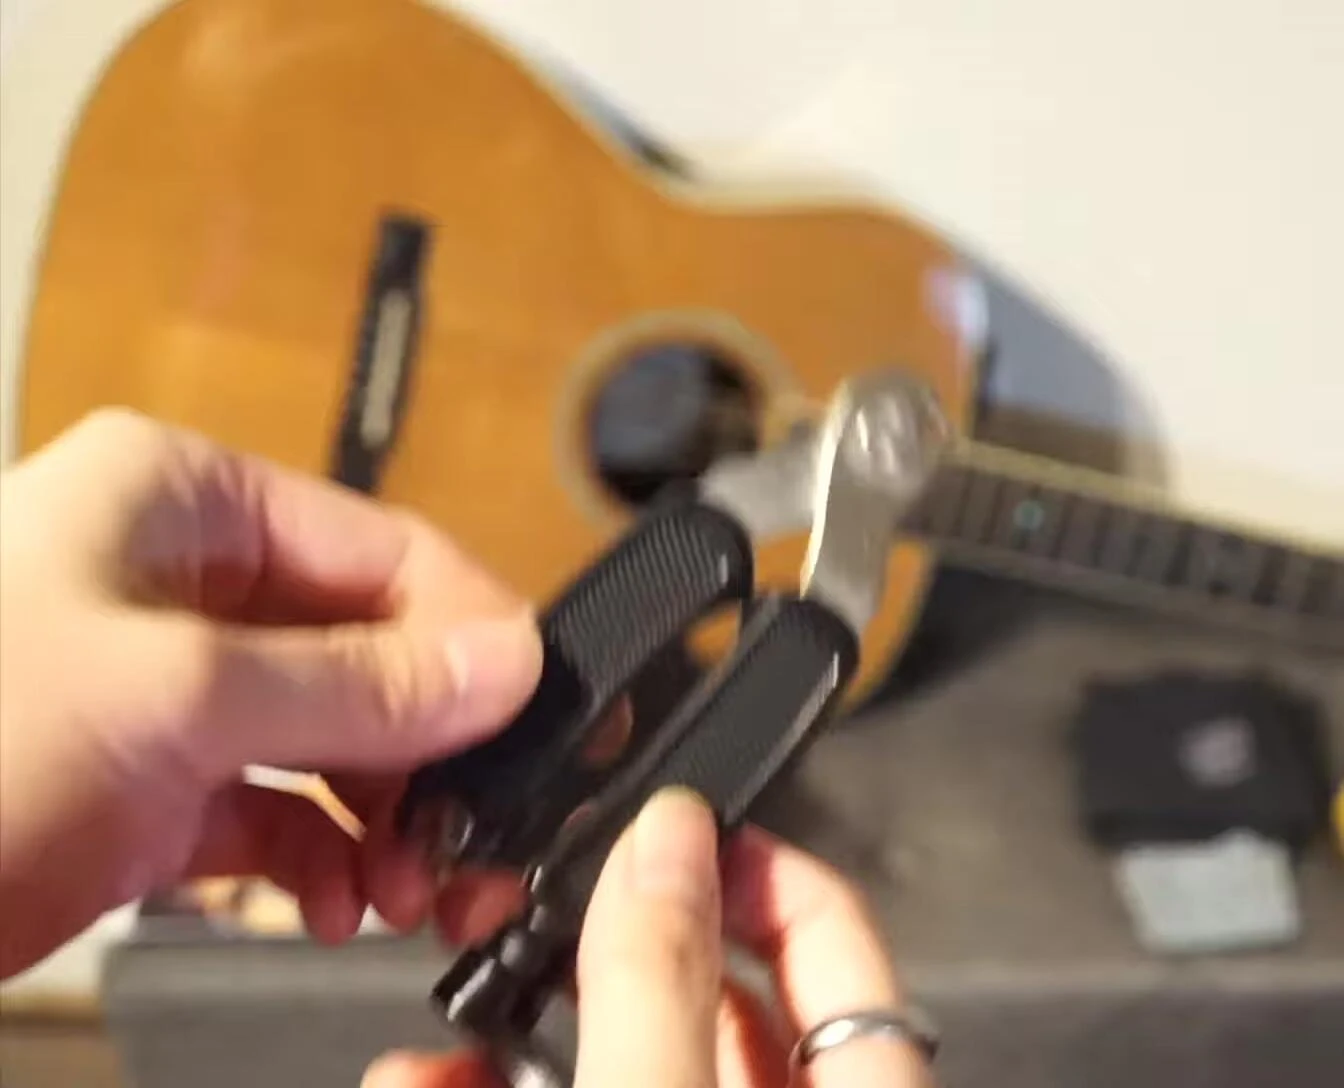
Removing Old Strings
Place your guitar on a flat surface with the neck propped up. Loosen the strings one by one using a peg winder if available. Cut the strings in the middle with wire cutters for easier removal.
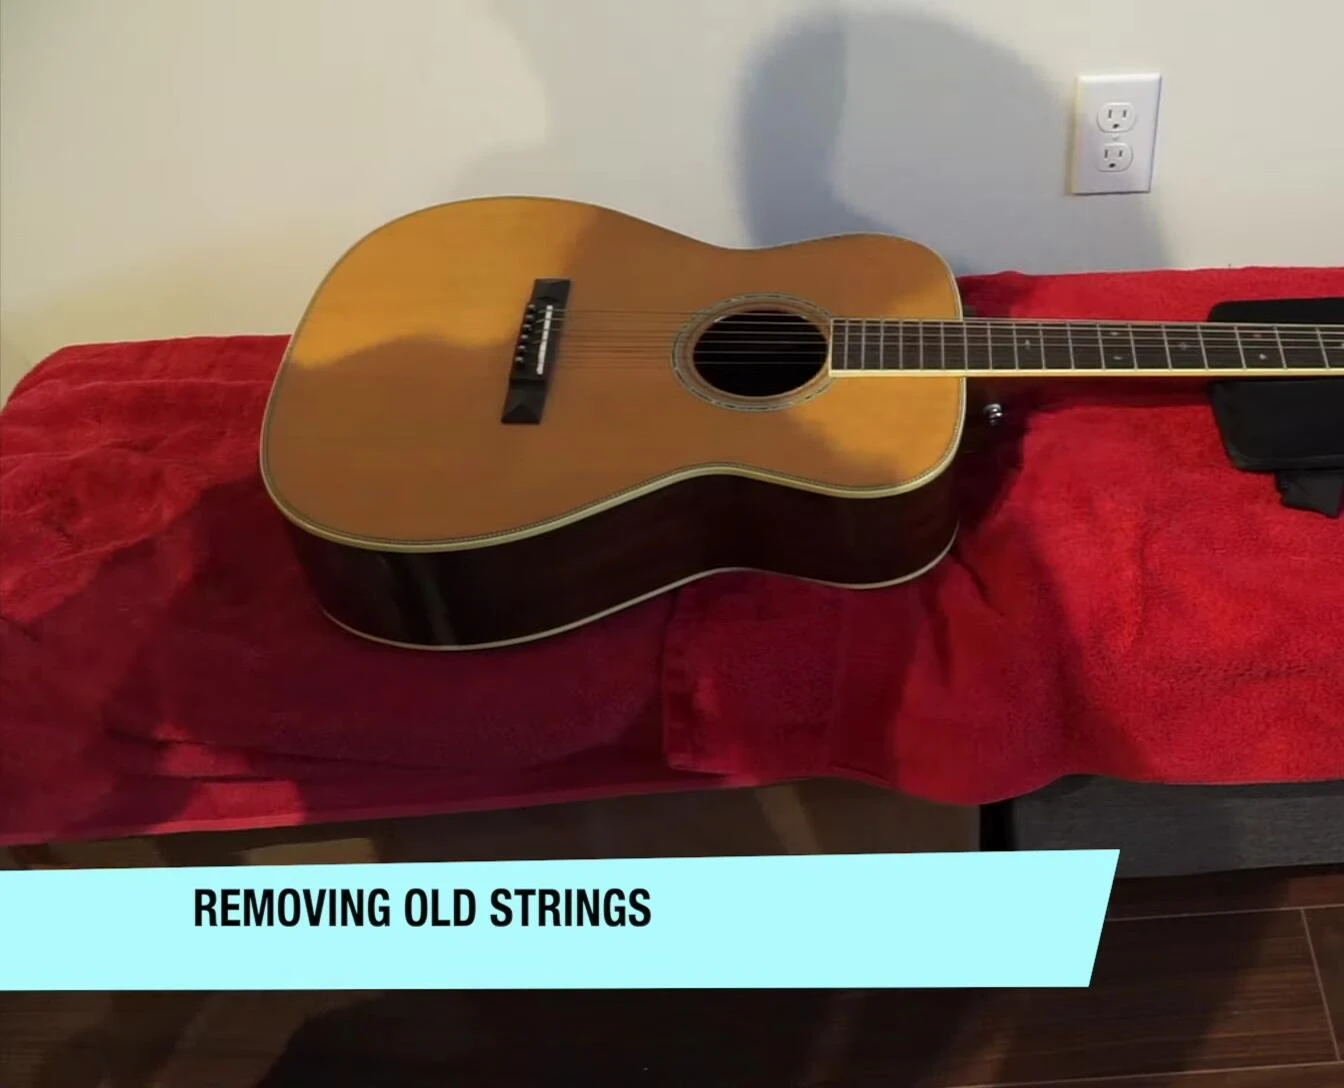
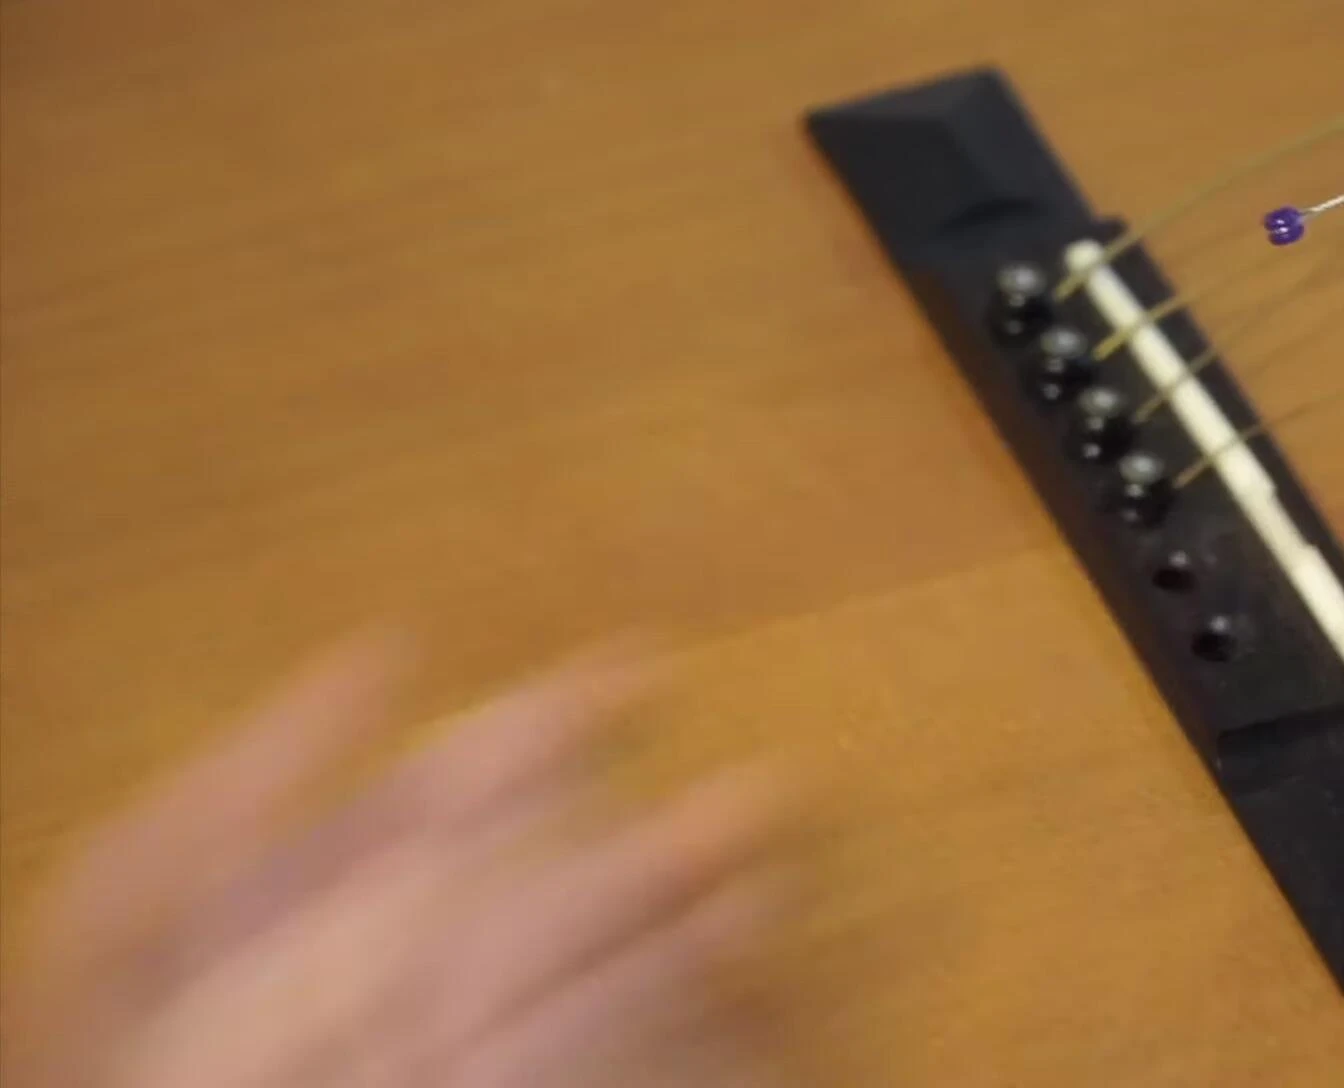
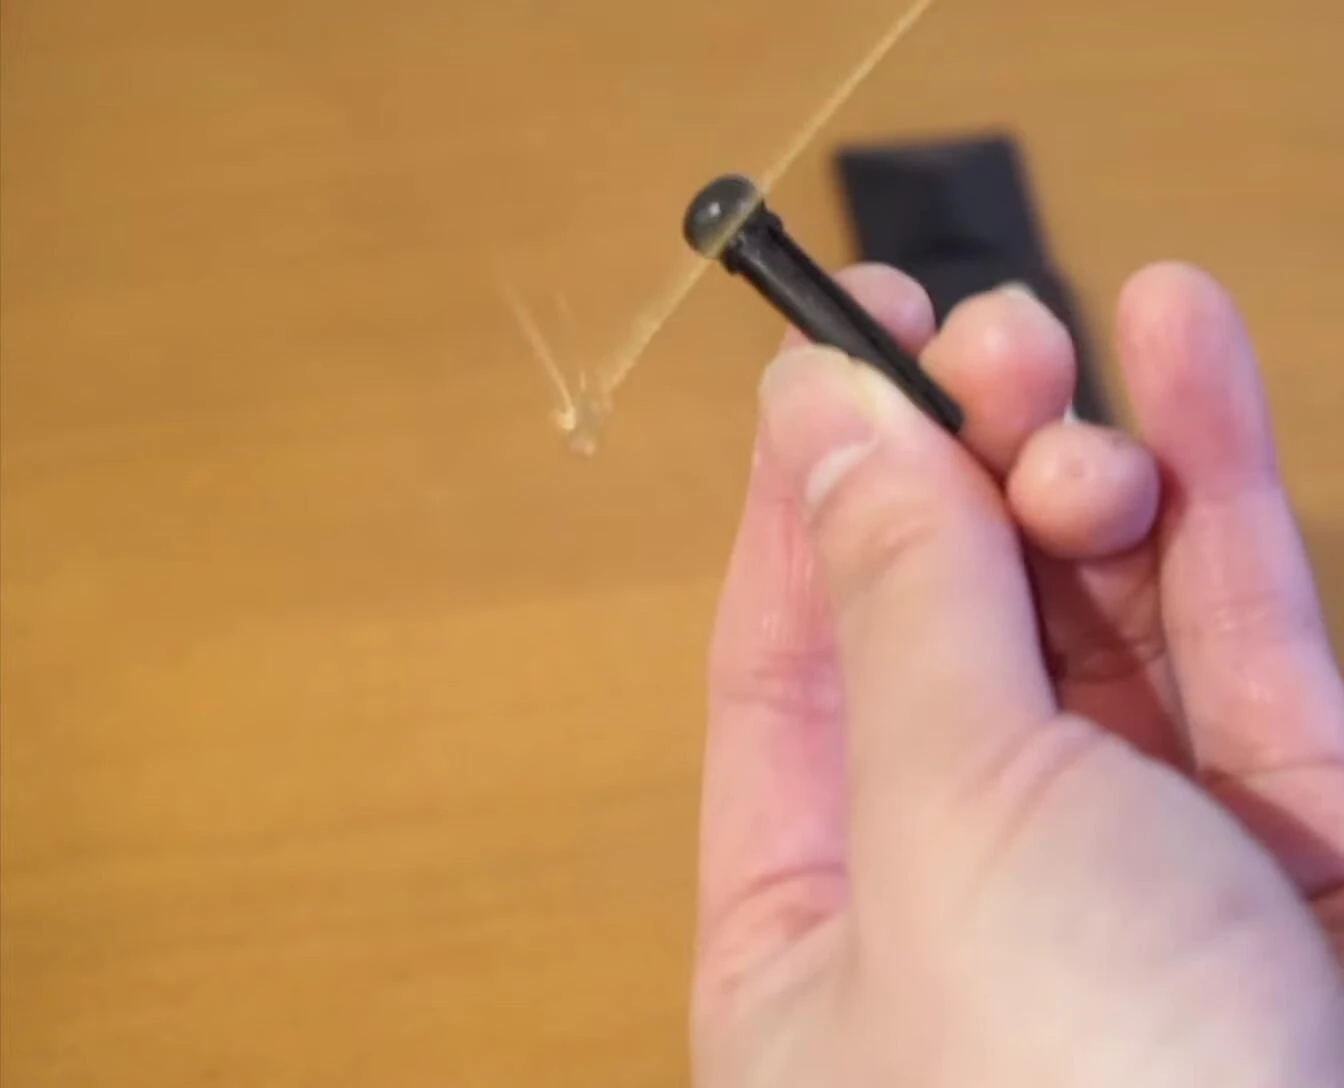
Remove the strings from the bridge. For guitars with bridge pins, use your finger to push from underneath to remove them. Carefully remove the strings from the tuning pegs.
Cleaning and Polishing Your Guitar
Now's the perfect time to clean and polish your guitar. Use a microfiber cloth to remove any dust or grime from the fretboard and body.
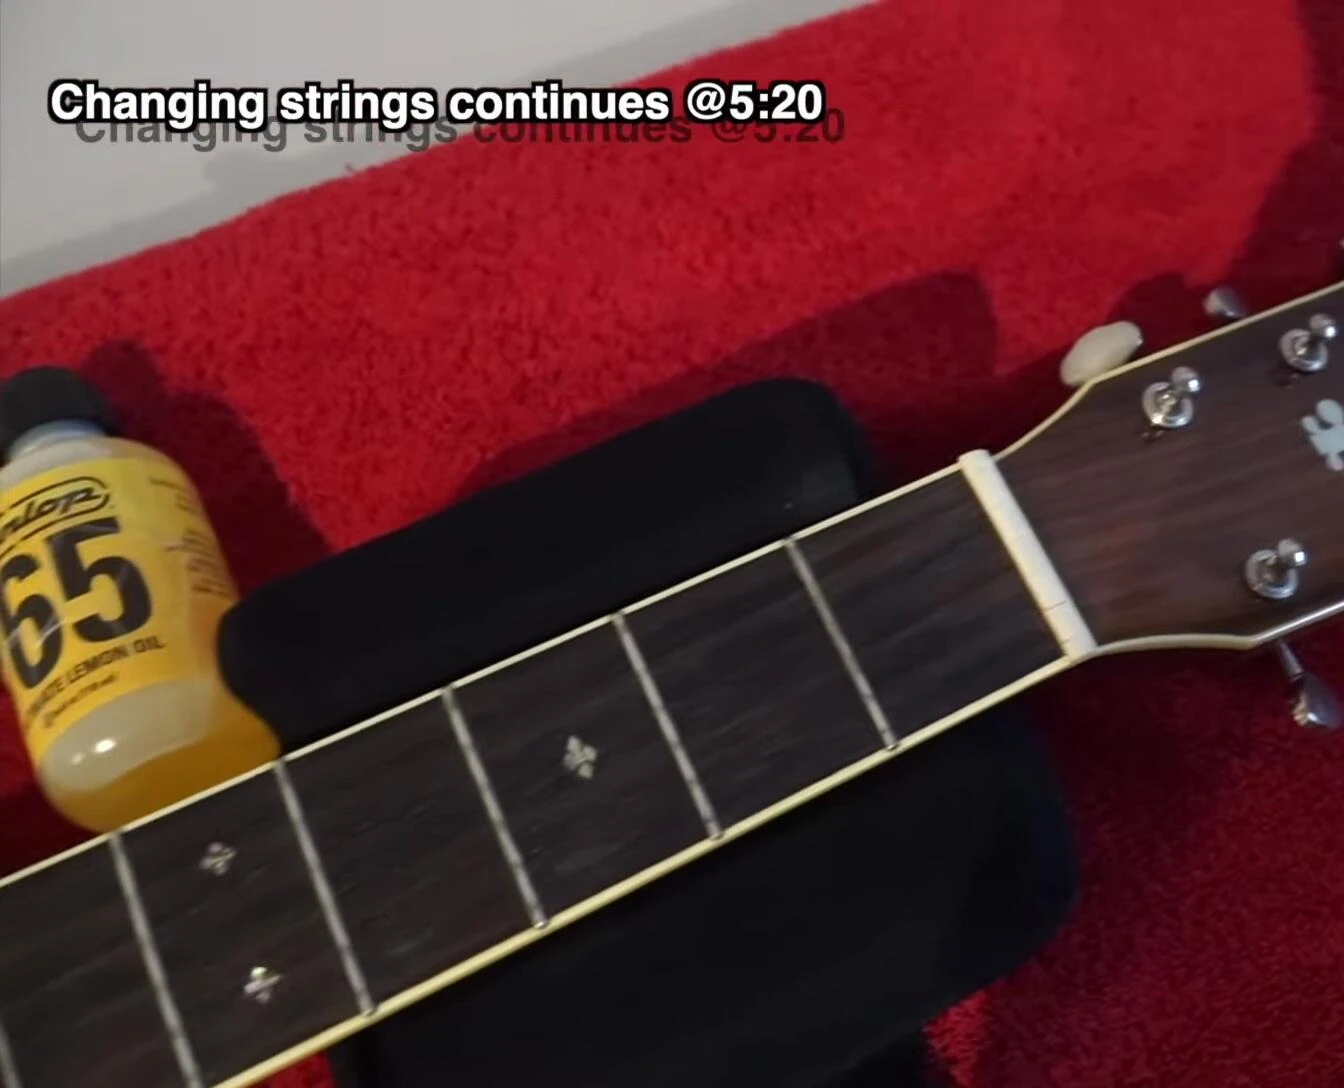
Apply lemon oil to the fretboard, rubbing it into each fret. For glossy finishes, use guitar polish, carefully avoiding satin or matte surfaces. Buff everything thoroughly until dry and clean.
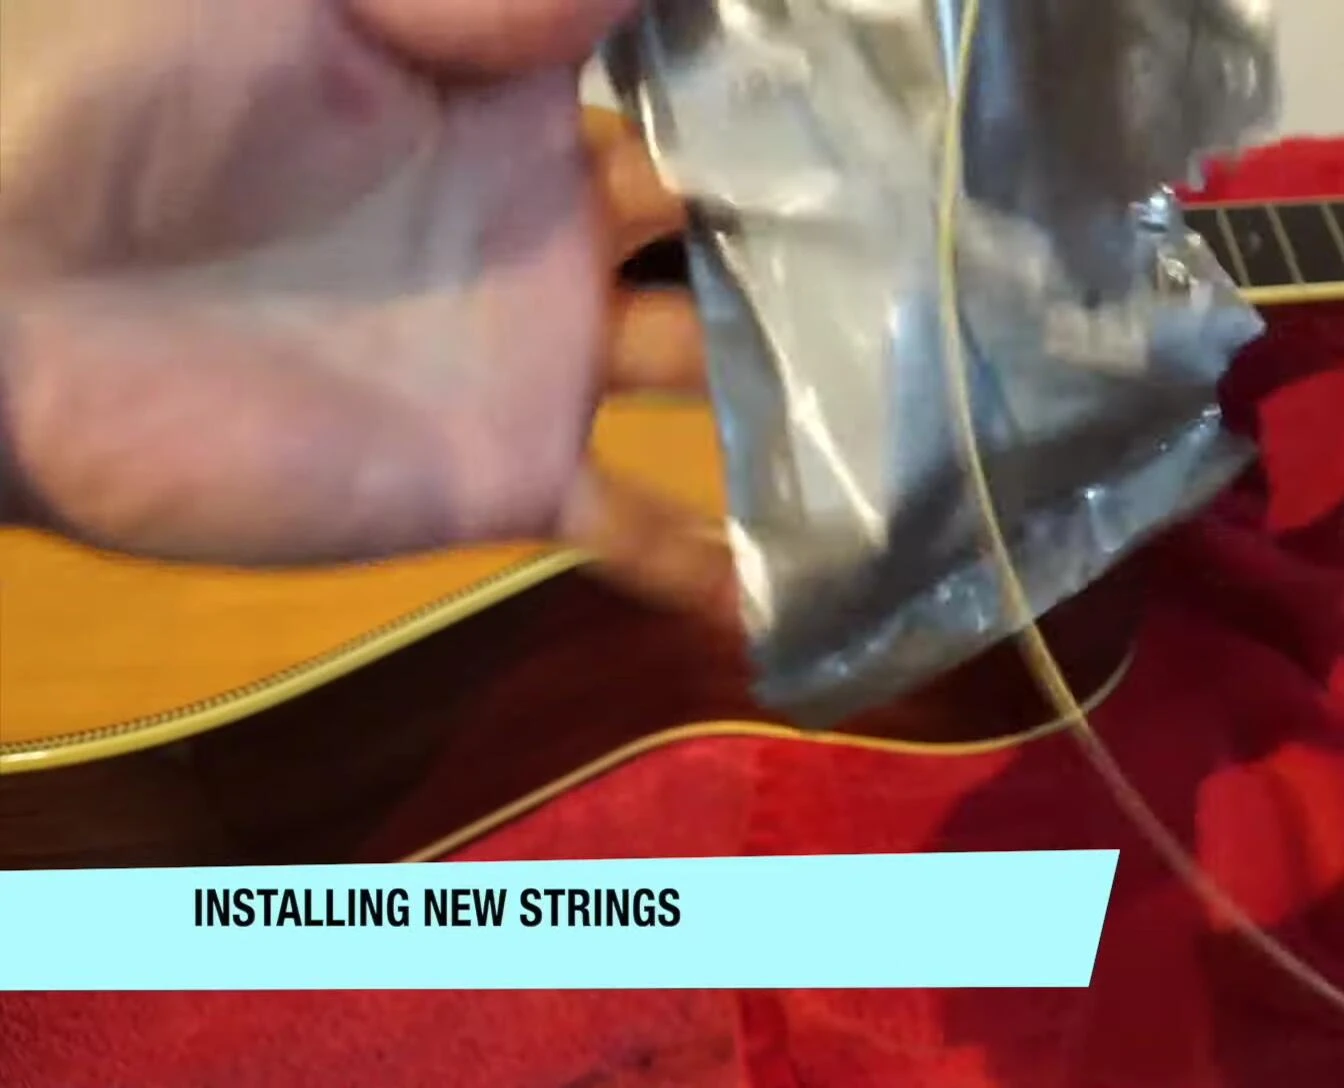
Installing New Strings
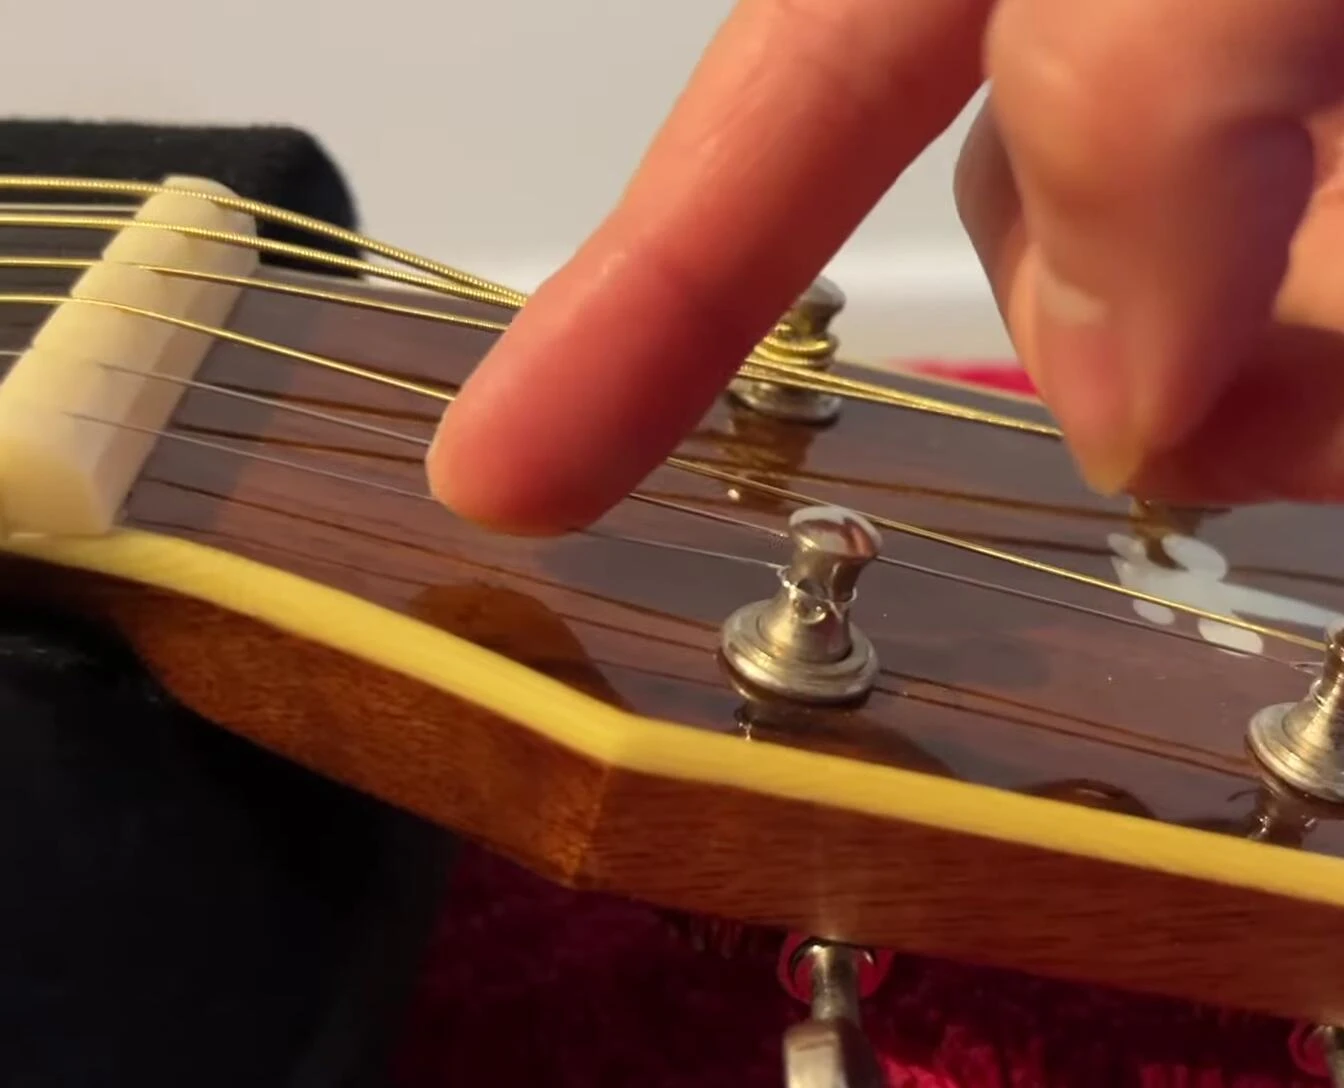
Open your new string pack, noting the string order. I recommend starting with the thickest (low E) string. Thread the loop of the string through the bridge pin hole.
Position the bridge pin with the slotted side facing the string. Pull the string taut and ensure both are securely in place. Thread the string through the nut and tuning peg. Tighten the tuning peg counterclockwise, ensuring the string loops downwards towards the bottom (this prevents buzzing).
Tuning and Final Touches
Repeat the process for all strings. Periodically check the bridge pins to make sure they stay in place. Tune your guitar and use a light stretching exercise on each string to reduce break-in time and improve playability.
Finally, enjoy the improved sound and playability of your guitar! The difference in tone and clarity is immediately noticeable. The strings will be much brighter and clearer compared to old strings.