Winter's dry air can wreak havoc on your home, leading to dry skin, cracked wood, and static electricity. The AprilAire 550 humidifier is a popular choice for combatting these issues, offering effective moisture control. However, like any appliance, it's susceptible to problems, and a leaky humidifier can be a frustrating inconvenience, leading to water damage and potential electrical hazards. A malfunctioning unit not only defeats its purpose but can also create additional issues within your home. This is particularly problematic if the leak isn't identified and addressed quickly.
This guide provides a comprehensive, step-by-step approach to fixing a leaky AprilAire 550 humidifier. We'll walk you through the most common causes of leaks and offer practical solutions to get your humidifier back up and running efficiently and safely. Follow these instructions carefully to diagnose and resolve the issue and prevent further damage.
Preparation and Safety Guidelines
- Screwdriver
- Flashlight
- Multimeter
- New Solenoid Valve
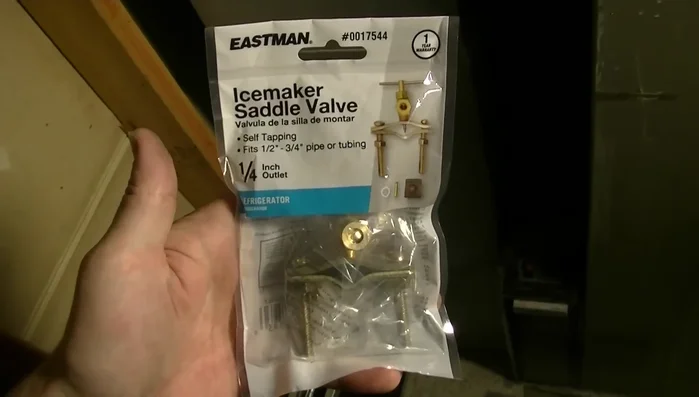
- New Saddle Valve
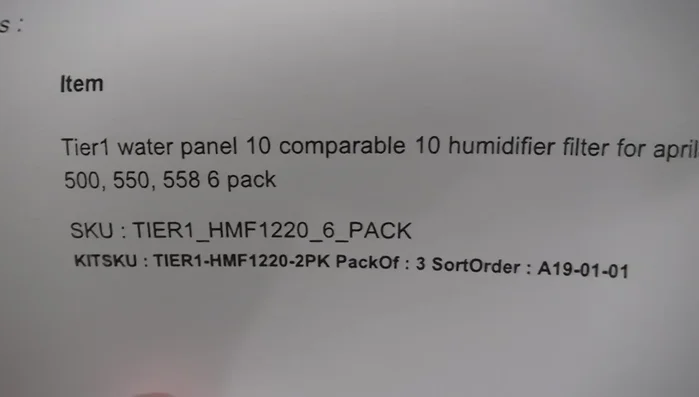
- New Filters
- Magnet
- Always unplug the AprilAire 550 humidifier from the power outlet before performing any maintenance or repairs to prevent electric shock.
- Allow the humidifier to completely cool down before handling to avoid burns from hot water or components.
- Use caution when handling water; spilled water can cause damage to electronic components and create a slipping hazard.
Step-by-Step Instructions
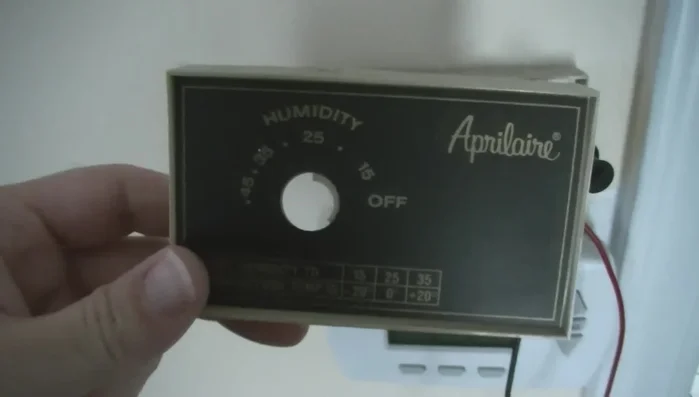
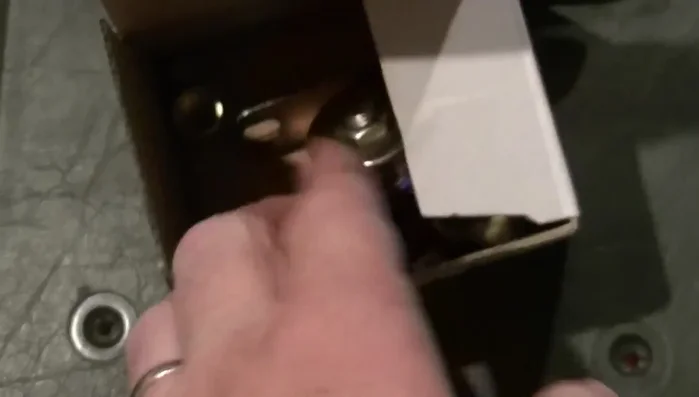
Problem Identification and Initial Inspection
- Humidifier not working, low voltage reading.
- Check for visible damage, mold, and clogged filter.

Problem Identification and Initial Inspection Cleaning and Filter Replacement
- Remove the filter, clean it thoroughly, and remove any build-up inside the unit.
- Install a new filter.
Cleaning and Filter Replacement Solenoid Valve Diagnosis and Replacement
- Test the solenoid valve to see if it is functioning properly; it might need replacement.
- Carefully remove and replace the faulty solenoid valve with a new one.
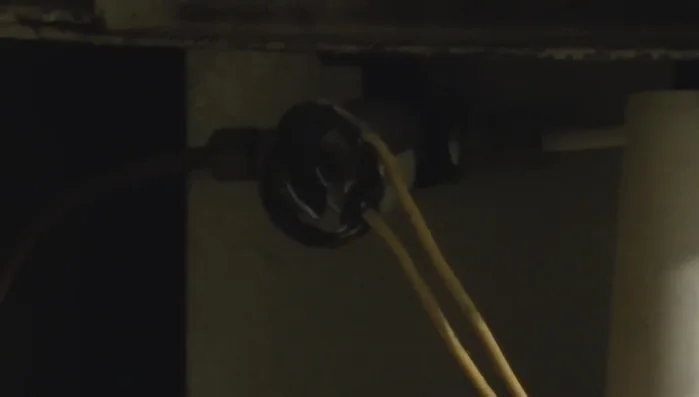
Solenoid Valve Diagnosis and Replacement Saddle Valve Inspection and Replacement
- Check the saddle valve for corrosion and leaks; replace if necessary.
- Install a new saddle valve using proper plumbing techniques.
Saddle Valve Inspection and Replacement System Testing and Leak Resolution
- Turn on the humidifier and check for leaks and proper functionality. Address any remaining leaks.
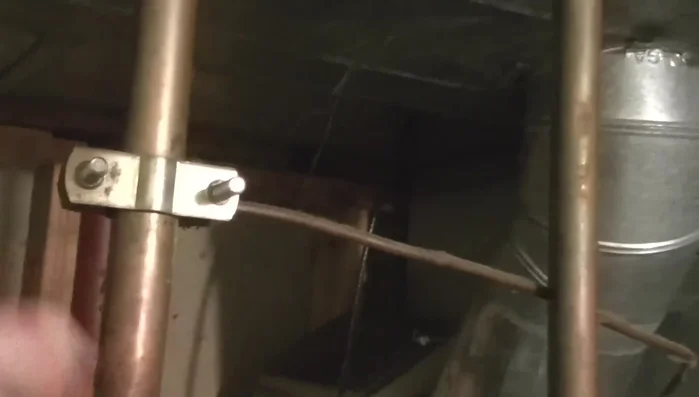
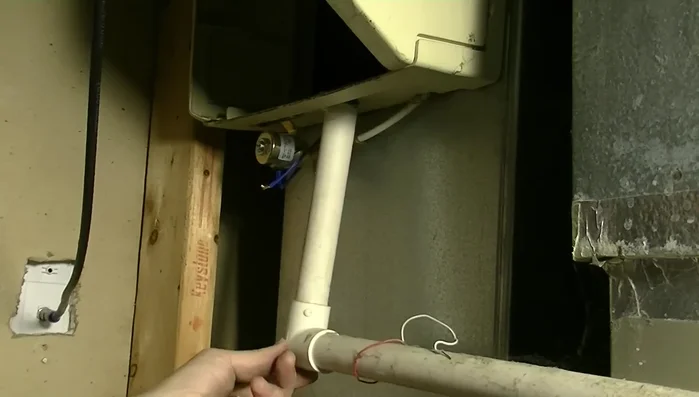
System Testing and Leak Resolution Drain Pipe Securing
- Find a secure and safe way to support the drain pipe, avoiding the use of electrical cords.
Drain Pipe Securing


Read more: DIY Long-Lasting Guitar Humidifier for Your Case (Cheap & Effective)
Tips
- Regularly clean and replace the filter to prevent calcium buildup and improve efficiency.
- Shut off the water supply to the humidifier during periods of non-use to prevent water stagnation and potential damage.
- Consider using a magnet to secure the drain pipe instead of relying on electrical cords.