The humble guitar pick, a seemingly simple object, holds the key to unlocking countless musical expressions. While readily available in mass-produced forms, crafting your own unique picks offers a rewarding blend of artistry and precision. This opens a world of personalized design possibilities, allowing you to create picks perfectly tailored to your playing style and aesthetic preferences. Beyond the simple carving knife, CNC machining offers a powerful and accurate method for achieving intricate designs and consistent quality, particularly useful for producing multiple picks with identical specifications.
This guide will delve into the process of CNC machining wooden guitar picks, taking you from the initial design concepts to the finished product. We’ll explore material selection, CAD design considerations, machine setup, cutting parameters, and finishing techniques. Prepare to unlock the potential of CNC technology to craft exquisite, high-quality guitar picks, precisely tailored to your individual needs. Let's get started with the step-by-step instructions.
Preparation and Safety Guidelines
- CNC machine
- 3.175mm (1/8 inch) bit
- 0.1mm V-bit
- 1mm end mill
- Jig
- Sandpaper (400 grit, 1200 grit)
- Needle file
- CA glue
- Waxed paper
- Always wear appropriate safety glasses and hearing protection while operating the CNC machine. Wood dust can be irritating and loud machinery can damage hearing.
- Securely clamp your workpiece to prevent movement during machining. A moving workpiece can cause damage to the machine and injury to the operator.
- Use a dust collection system to minimize wood dust exposure. Wood dust can be a respiratory irritant and a fire hazard.
Step-by-Step Instructions
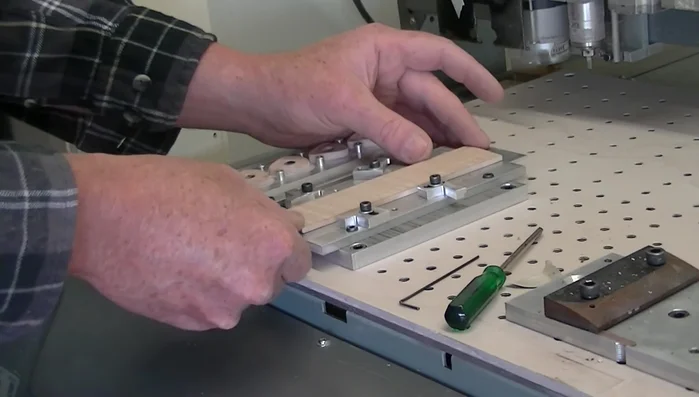
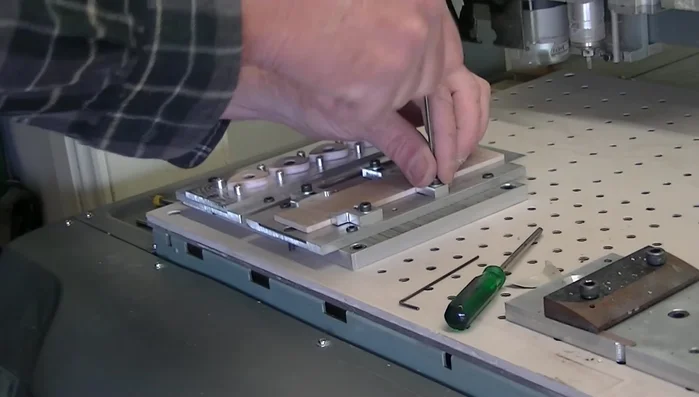
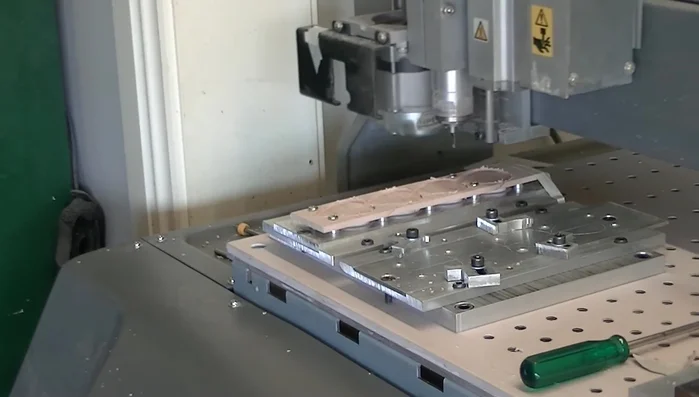
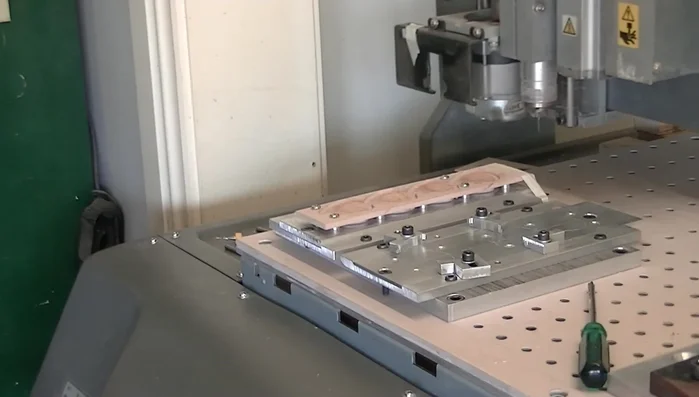
Jig Setup and Alignment
- Secure the wood in the jig. Center a piece of flame maple (3.5-4mm thick) on the jig and lock it in place.
- Drill alignment holes using the 3.175mm bit.

Jig Setup and Alignment First Side Carving
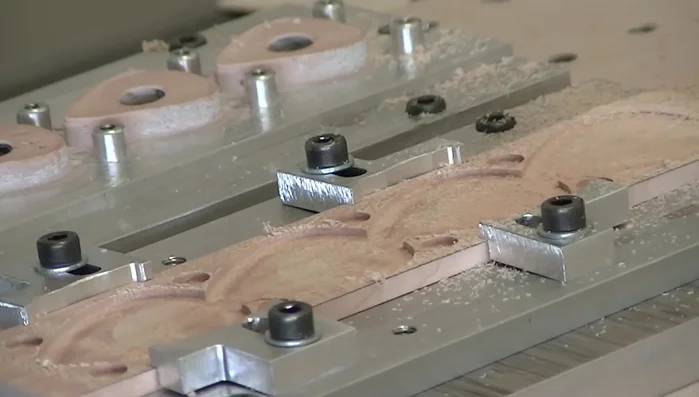
- Carve the top side of the picks.
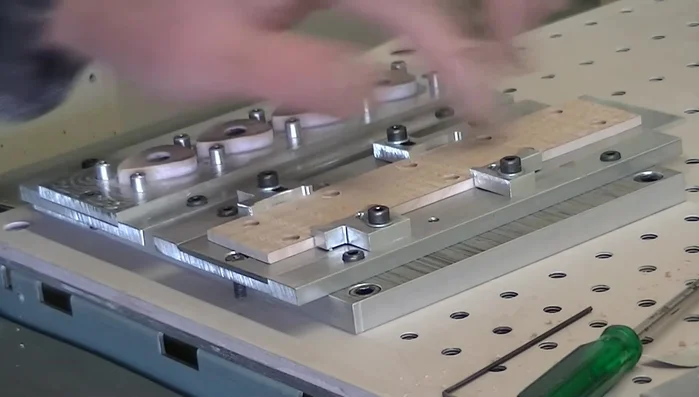
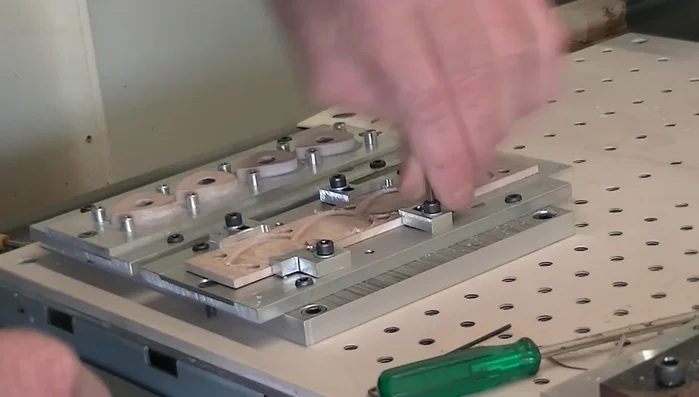
First Side Carving Flipping and Securing for Second Side
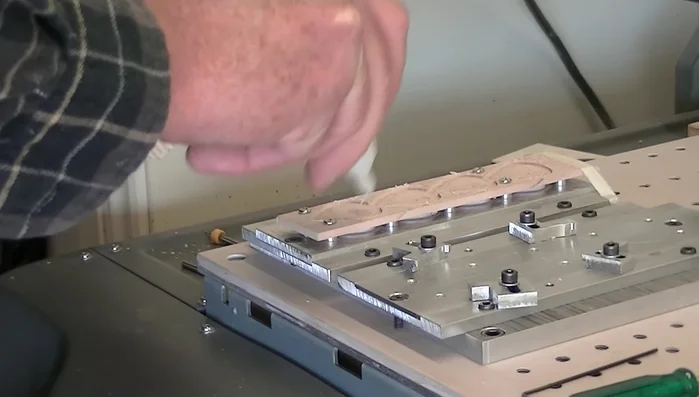
- Flip the wood over, aligning it with the jig using the alignment holes and securing it with screws.
Flipping and Securing for Second Side Second Side Carving
- Flip the wood over again, secure it in the jig, and carve the bottom side of the picks.
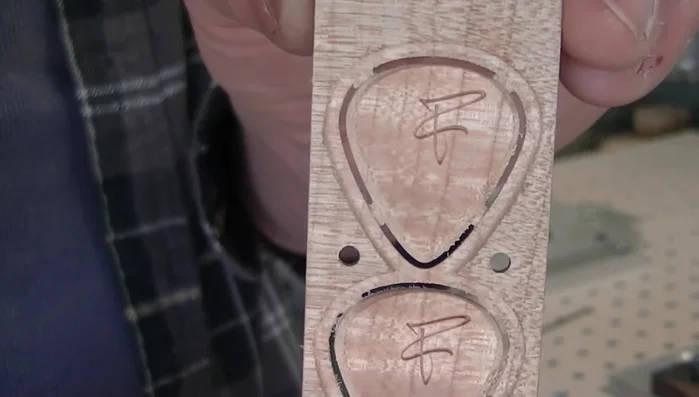
Second Side Carving Logo Engraving
- Change the bit to a 0.1mm V-bit and engrave the customer's logo.
Logo Engraving Glue and Grain Hardening
- Apply CA glue to harden the wood grain and fill the pores, especially in the engraved area. Let it dry.
Glue and Grain Hardening Surface Finishing (Sanding)
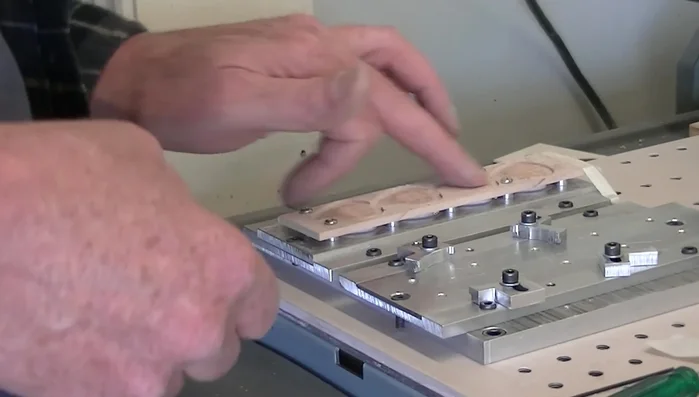
- Sand the surface to smooth it and remove excess glue.
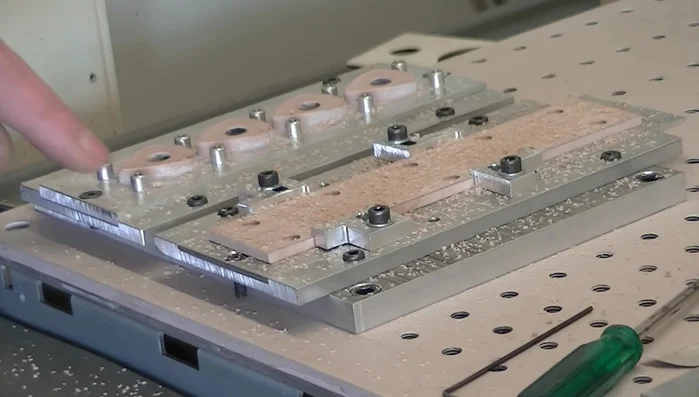
Surface Finishing (Sanding) Final Shape Cutting
- Change the bit to a 1mm end mill and cut out the final shape of the picks.
Final Shape Cutting Deburring and Finishing
- Remove the picks from the jig.
- Remove the breakout tabs and sand the edges of the picks with 400 and then 1200 grit sandpaper.
Deburring and Finishing
Read more: DIY Guitar Picks from Old CDs: The Clear Pick Method
Tips
- Use a vacuum hose to remove dust during the cutting process for cleaner work.
- Adding CA glue hardens the wood and prevents color bleeding during filling.
- Using breakout tabs prevents the picks from breaking away from the main piece during cutting.