Changing guitar strings is a rite of passage for every musician, but it's a task often met with frustration and fumbling. The traditional method, using your fingers and a little bit of brute force, can be slow, tedious, and even lead to accidental damage to your instrument. Imagine a world where string changes are quick, efficient, and even…enjoyable? That world is closer than you think, thanks to the ingenious DIY guitar string winder drill bit. This simple, yet remarkably effective tool transforms the string-changing process from a chore into a breeze.
This article will guide you through a simple, step-by-step process to build your own guitar string winder drill bit. We'll cover the materials you'll need, the construction process, and some helpful tips and tricks to ensure a smooth and efficient string change every time. Ready to revolutionize your string-changing routine? Let's get started!
Preparation and Safety Guidelines
- broken guitar tuner
- 3/32 inch drill bit
- Phillips head screwdriver
- power drill
- pliers
- Always wear safety glasses to protect your eyes from flying debris or broken strings.
- Ensure the drill is securely clamped and the bit is firmly attached to avoid slippage and potential injury.
- Use low drill speeds to prevent string breakage and damage to the tuning pegs. Start slowly and increase speed gradually if needed.
Step-by-Step Instructions
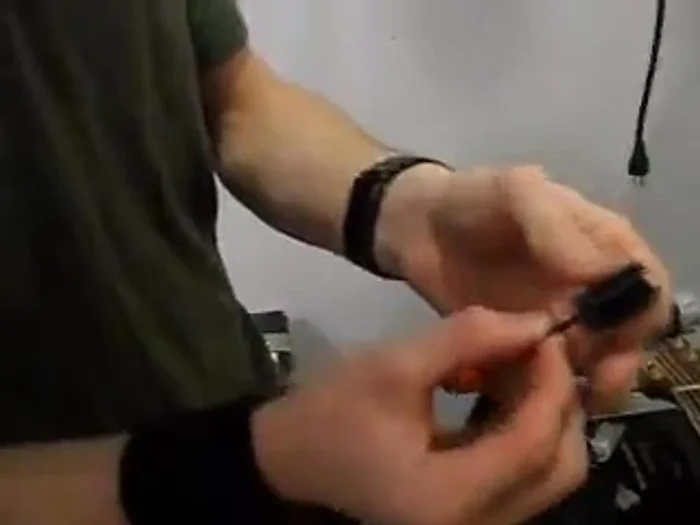
Prepare the Tuner
- Break off the plastic casing of a broken guitar tuner.
- Using a Phillips head screwdriver, unscrew the internal mechanism of the tuner.
- Remove the internal mechanism from the tuner casing. The screw will be on the handle.

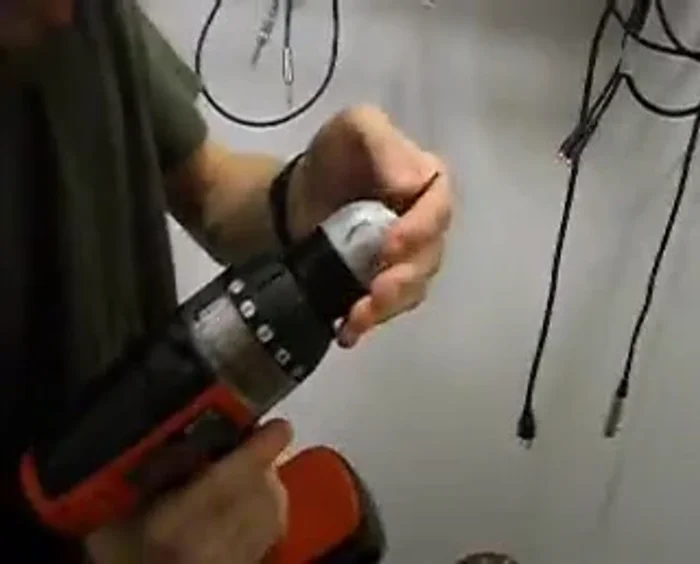
Prepare the Tuner Secure and Drill
- Securely clamp the tuner handle to a stable surface. (The video suggests using a vise or a heavy surface.)
- Using a 3/32 inch drill bit, drill a hole through the center of the tuner handle.
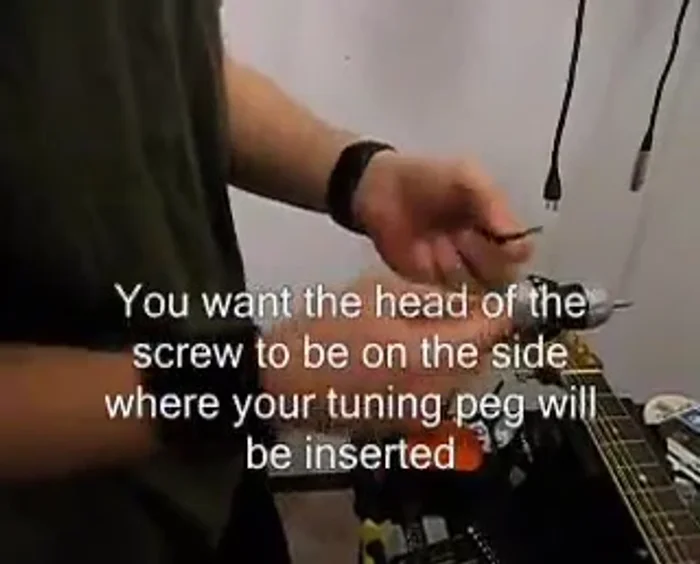
Secure and Drill Assemble the Bit
- Insert a Phillips head screw into the hole. The long side of the screw should go through the long side of the handle.
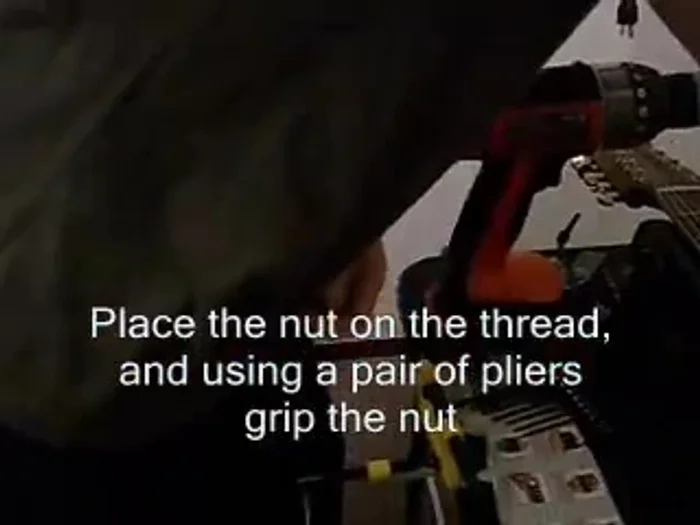
- Push the screw all the way through, and attach a nut to the other side.
- Tighten the nut using pliers, ensuring it's secure.
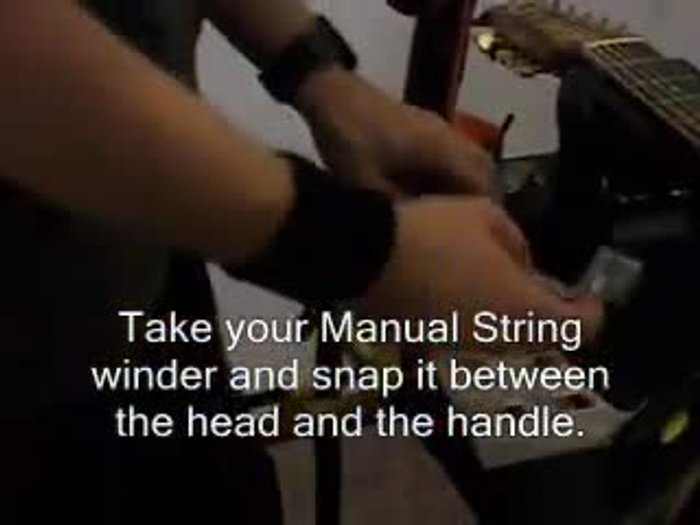
Assemble the Bit Attach and Use
- Now you have a drill bit for your string winder. Attach it to your drill driver.
- To wind the string, turn the drill to the *right* (opposite of a typical screw). Be careful not to overtighten and break the string.
Attach and Use


Read more: Fast & Easy Guitar Stringing: The Winder Method
Tips
- Clamp the tuner handle securely before drilling to prevent movement.
- Use caution when drilling and winding to avoid overtightening the string.
- Keep one hand near the string to feel tension while using the drill.
- Slow down the drill as the string becomes tighter.