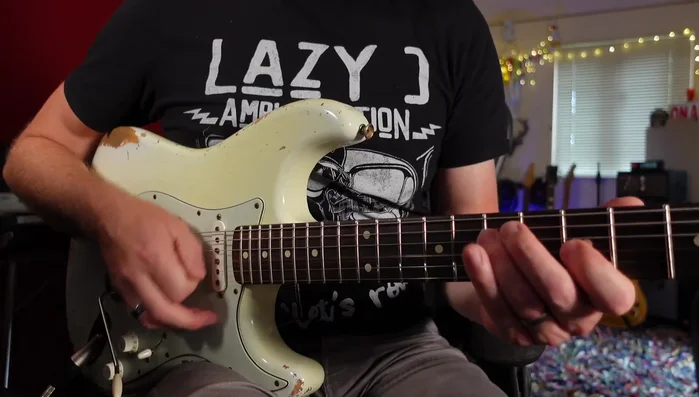
Reverb. The subtle shimmer on a clean chord, the vast expanse echoing behind a powerful solo – it's a crucial element shaping the sonic landscape of countless guitar masterpieces. Mastering this effect, however, goes beyond simply adding a "wet" knob to your pedalboard. It's about understanding the nuances of different reverb types, decay times, and how to integrate them seamlessly into your overall mix, creating depth and atmosphere that elevates your playing from good to truly captivating. Many guitarists struggle to harness the power of reverb effectively, resulting in muddy mixes or overly processed sounds.
This guide will equip you with the knowledge and techniques to conquer the complexities of guitar reverb. We'll delve into a step-by-step process that will unlock your potential to achieve a professional-sounding reverb tone, regardless of your experience level or equipment. From choosing the right reverb type to mastering essential parameters, prepare to transform your sound and unlock the true potential of this essential effect.
Safety Guidelines
- Don't overdo it! Too much reverb can make your guitar sound muddy and unclear. Start with subtle amounts and gradually increase until you find the sweet spot.
- Experiment with different reverb types (plate, spring, hall, room) to find what best suits your genre and playing style. Each type creates a unique sonic space.
- Consider the context. The appropriate amount of reverb will vary depending on whether you're recording a single guitar part, a full band mix, or performing live. Adjust accordingly.
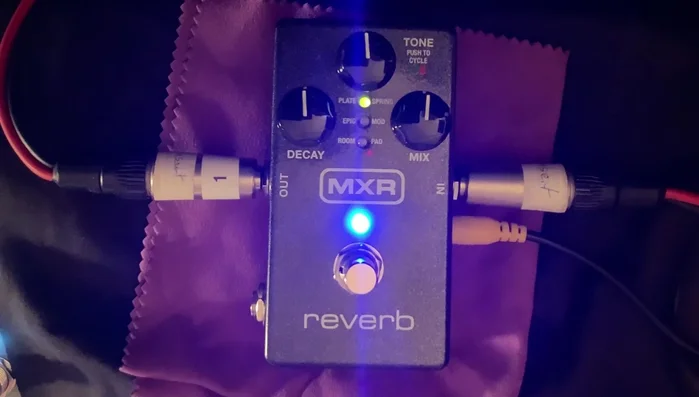
Methods: High-Quality Compact Pedal Reverb (MXR Reverb)
Tools Needed
- MXR Reverb Pedal
Step-by-Step Instructions
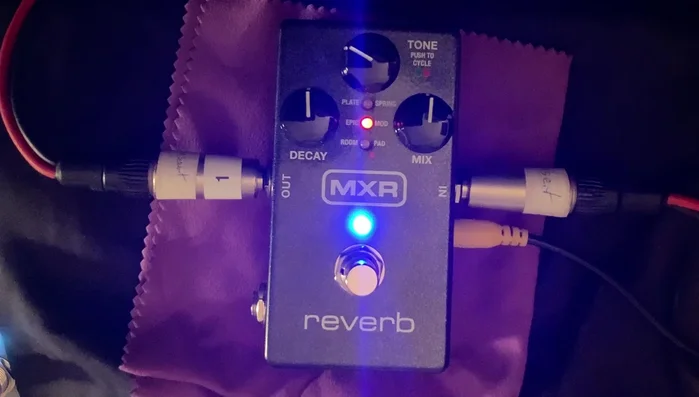
Selecting Reverb Type
- Choose reverb type (Plate, Spring, Epic, Modulated, Room, Pad).

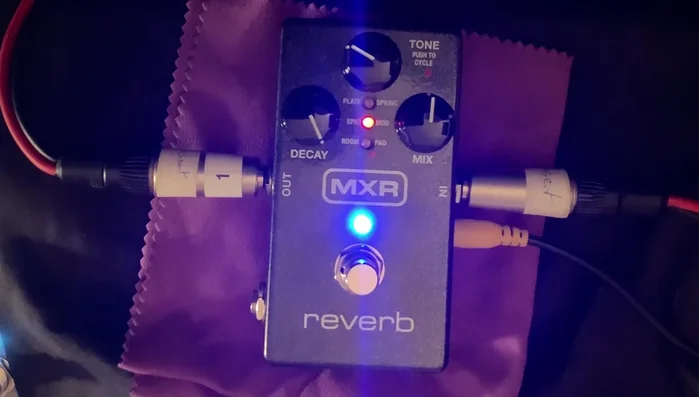
Selecting Reverb Type Fine-Tuning Reverb Parameters
- Adjust Tone control for brightness/dullness.
- Adjust Decay control for reverb length (2 seconds recommended for whole feel).
- Adjust Mix control for the amount of reverb effect (around 50% works well).
Fine-Tuning Reverb Parameters
Tips
- Modern compact pedals offer high-quality effects comparable to multi-effects units.
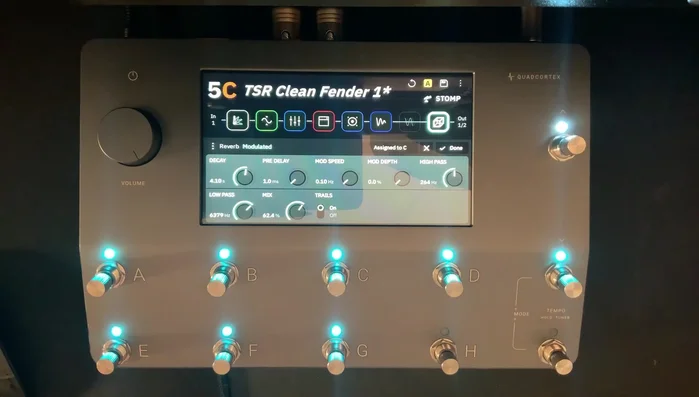
Methods: In-depth Digital Reverb (Neural DSP Quad Cortex)
Tools Needed
- Neural DSP Quad Cortex
Step-by-Step Instructions
Setting Reverb Time and Pre-Delay
- Set Decay (reverb length) to approximately 2-4 seconds for a full sound.
- Adjust Pre-delay to control the amount of clean signal before reverb (60 milliseconds recommended).
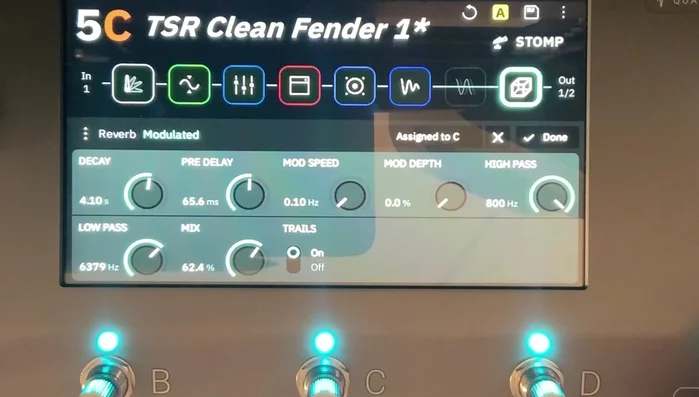
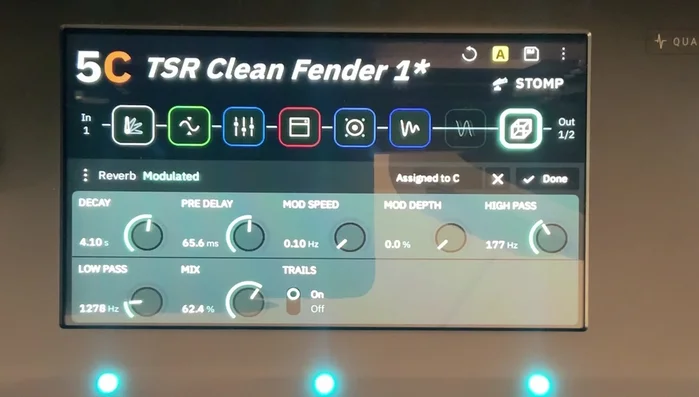
Setting Reverb Time and Pre-Delay Filtering Reverb Frequencies
- Use High-pass filter to remove unwanted low-end frequencies in reverb (800Hz recommended).
- Use Low-pass filter to control high-end frequencies (5kHz recommended).
Filtering Reverb Frequencies Balancing Reverb and Dry Signal
- Adjust Mix for the balance of reverb and clean guitar signal.
Balancing Reverb and Dry Signal Fine-Tuning Reverb Character
- Enable Trails to let reverb decay continue even when switched off.
- Adjust Modulation Speed and Depth for a wider, more dimensional sound (slow speed, high depth recommended).

Tips
- Pre-delay is useful with larger reverbs to prevent interference with the guitar signal.
- High/low pass filters help the guitar cut through the reverb.
- Excessive high-end in reverb can sound dated.
Read more: 3 Killer Stereo Guitar Rig Setups: Pro Tips & PDF Downloads!