The frustration of a broken guitar string mid-song is a universal experience for musicians. That jarring snap, the sudden silence, and the inevitable disruption of the flow – it's enough to drive any guitarist to distraction. But what if we told you there's a way to not only prevent these frustrating occurrences but also unlock a richer, more resonant tone from your instrument? This isn't just about replacing strings; it's about a proactive approach to string maintenance that significantly enhances both the longevity and the sonic quality of your guitar. We're talking about a game-changer, a superior hack that transcends simple string changes.
This article unveils a detailed, step-by-step process for implementing this superior hack – a preventative maintenance strategy that addresses the root causes of string breakage and significantly improves tuning stability. Prepare to experience a dramatic improvement in your guitar's sound and eliminate the headache of broken strings once and for all, allowing you to focus on what truly matters: your music.
Safety Guidelines
- Always use the correct gauge strings for your guitar. Using heavier strings on a guitar not designed for them can lead to increased tension and breakage.
- Never tune your guitar too quickly or sharply. Gradually bring it up to pitch to avoid putting sudden stress on the strings.
- Inspect your strings regularly for signs of wear and tear, such as fraying or corrosion. Replace worn strings promptly to prevent breakage.
Methods: Eliminating String Breakage with Ball End String Modification
Tools Needed
- Set of strings
- Allen key
- Screwdriver
- String Cutters
Step-by-Step Instructions
Prepare Ball Ends
- Cut the ball ends off of your old strings.
- Carefully remove the remaining wire from the ball ends.
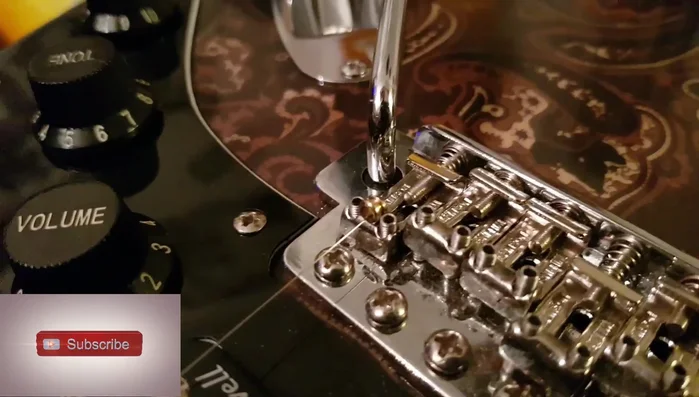
Install Ball Ends on Strings
- Thread the string through the ball end.
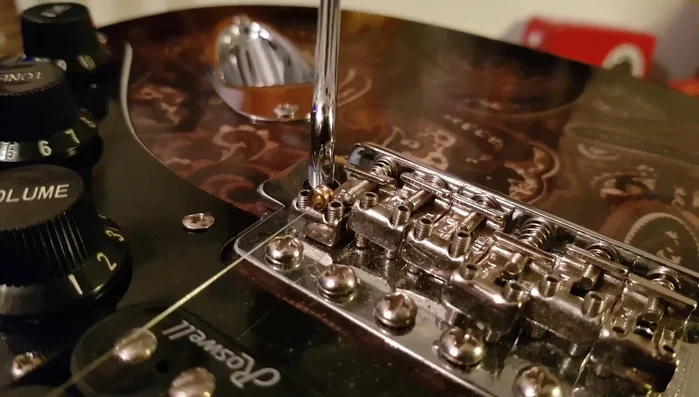
- Place the ball end on top of the saddle, wedged between two grub screws.
- Hold the ball end down with your finger until the string's downward force holds it in place.

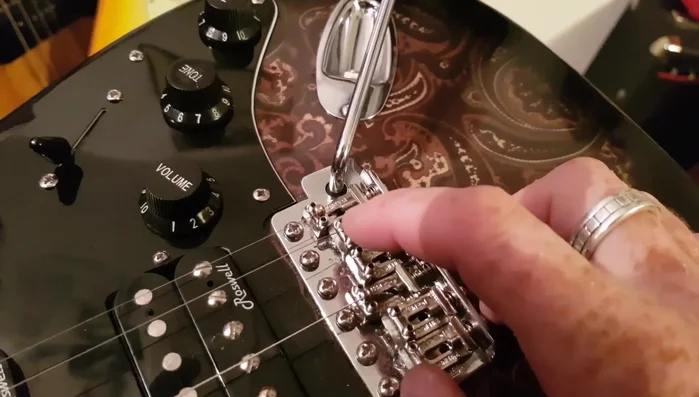
Install Ball Ends on Strings Final Adjustments
- Adjust the height of the strings accordingly.
Final Adjustments
Tips
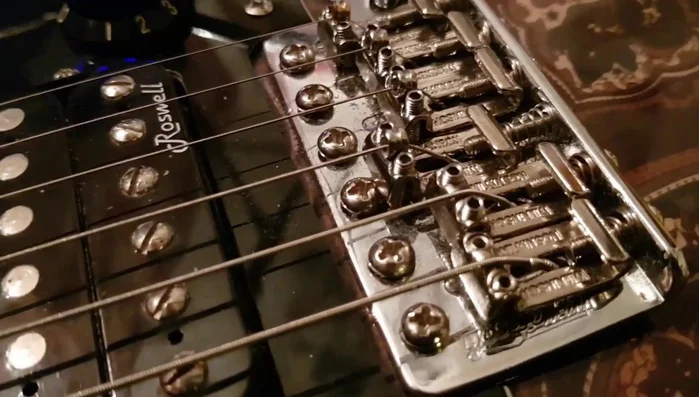
- You only need to do this modification on four strings (not the low E string).
Methods: Smoother Tuning Pegs with 3-in-1 Oil
Tools Needed
- 3-in-1 oil
- Rag
- String winder
Step-by-Step Instructions
Access Tuning Peg Spindle
- Remove the tuning peg nut and washer to access the spindle.
Access Tuning Peg Spindle Apply 3-in-1 Oil
- Apply 3-in-1 oil to the spindle.
Apply 3-in-1 Oil Remove Excess Oil
- Wipe off excess oil.
Remove Excess Oil Test Smoothness
- Use a string winder to smoothly turn the tuning peg.
Test Smoothness
Tips
- Spray grease might be even better than 3-in-1 oil
Read more: Fix String Breakage on Your Guitar: Expert Luthier's Guide