The satisfying snap of a broken guitar string can instantly halt even the most passionate musician. It's a frustrating experience, but thankfully, not a catastrophic one. Far from needing a costly repair shop visit, fixing a broken string is a skill easily mastered, saving you time, money, and the agony of musical silence. This common problem affects players of all levels, from beginners just learning their chords to seasoned professionals mid-solo. Understanding the right techniques and having the correct tools can make all the difference in a swift and efficient repair.
This expert luthier's guide will equip you with the knowledge and confidence to tackle string breakage head-on, ensuring you’re back to playing your favourite tunes in no time. We'll walk you through a detailed, step-by-step process, covering everything from identifying the problem to properly installing a new string and tuning your instrument. Let's get started and put an end to those frustrating string breaks!
Safety Guidelines
- Never attempt a string change or repair without properly tuning your guitar down to slacken the tension. High string tension can cause further damage during repairs.
- If you're uncomfortable working on your guitar, take it to a professional luthier. Incorrect repairs can lead to more extensive damage and costly repairs.
- Always use the correct type and gauge of strings for your guitar model. Using incorrect strings can put undue stress on the instrument and cause breakage.
Methods: Fixing String Breakage at the Bridge (Strat-style)
Tools Needed
- Needle files
- Sandpaper (220, 320, 400, 600 grit)
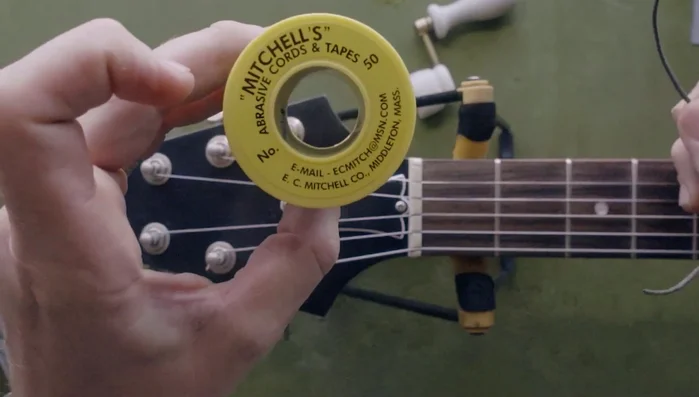
- Mitchell's Abrasive Cord
- Magnifying lens/loop
Step-by-Step Instructions
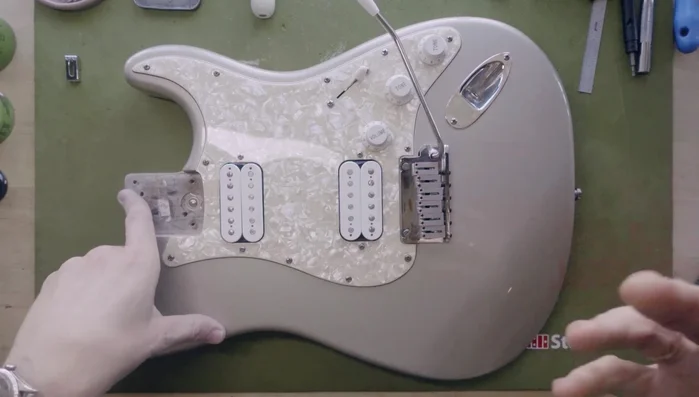
Inspect for Burrs
- Remove strings and inspect saddles individually for burrs or sharp string grooves.

Inspect for Burrs Smooth Saddles with Files
- Use needle files gently to smooth burrs.
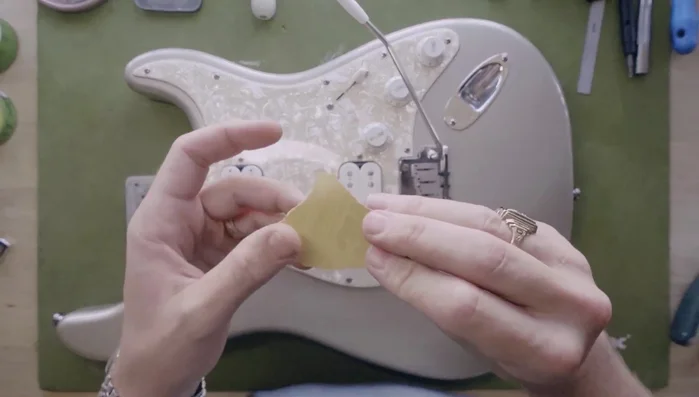
Smooth Saddles with Files Smooth Saddles with Sandpaper
- Alternatively, use sandpaper (starting with 220 or 320 grit, then progressing to finer grits) to smooth the saddles.
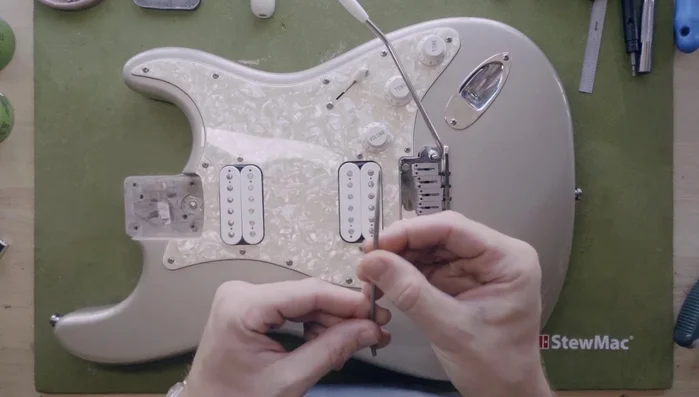
Smooth Saddles with Sandpaper Smooth Saddles with Abrasive Cord
- Use Mitchell's Abrasive Cord, selecting a gauge slightly larger than the broken string, to mimic string movement and smooth the saddle channel.
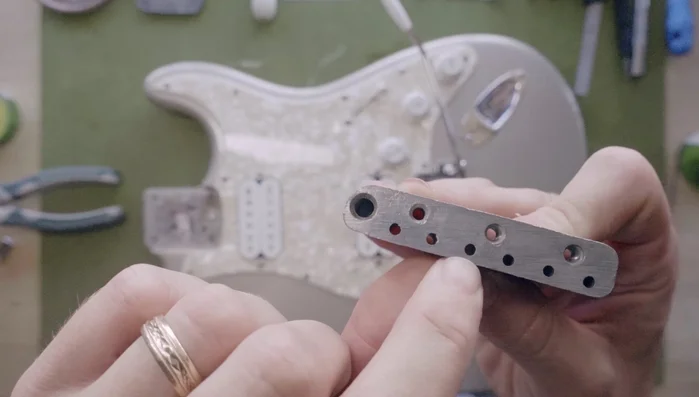
Smooth Saddles with Abrasive Cord Inspect and Smooth Trim Block
- Remove the saddles and trim block to check for burrs where the block meets the saddles. Use abrasive cord or files to smooth any burrs.
Inspect and Smooth Trim Block

Tips
- Use a magnifying lens or loop to better see small burrs.
- Always use a slightly larger gauge abrasive cord than the string gauge to ensure you remove the burr completely.
Methods: Fixing String Breakage at the Bridge (Tune-o-matic style)
Tools Needed
- Nut slotting files (V-notched or round-edged)
- Sandpaper (400, 600 grit)
- Mitchell's Abrasive Cord
Step-by-Step Instructions
Inspect for Burrs
- Slacken the string and check the saddle for burrs using your fingernail.
Inspect for Burrs Smooth Saddle Channel with Files
- Use nut slotting files (round-edged preferred) very lightly to smooth the saddle channel.
Smooth Saddle Channel with Files Smooth Saddle Channel with Abrasive Cord
- Use Mitchell's Abrasive Cord (a gauge similar to the broken string) to floss the saddle and smooth the channel.
Smooth Saddle Channel with Abrasive Cord Final Smoothing with Sandpaper
- Follow up with fine-grit sandpaper (400 or 600) to further smooth the area.
Final Smoothing with Sandpaper


Tips
- Apply very light pressure when using nut slotting files to avoid altering the saddle radius.
Methods: Fixing String Breakage at the Tuning Posts
Tools Needed
- Mitchell's Abrasive Cord
- Needle files
- Sandpaper (400, 600 grit)
- Micro-mesh pads
Step-by-Step Instructions
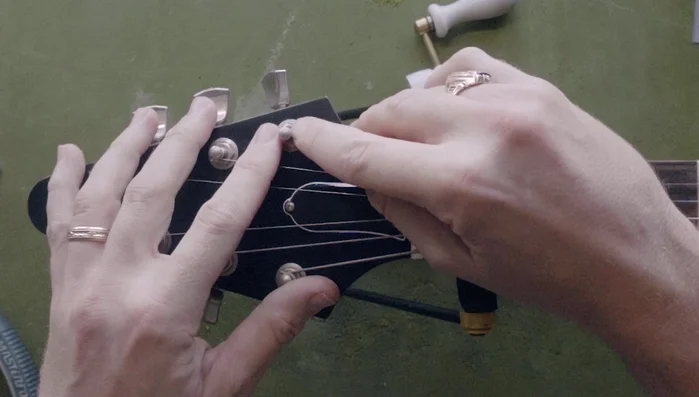
Inspect Tuning Post
- Check the tuning post for burrs using your fingernail.
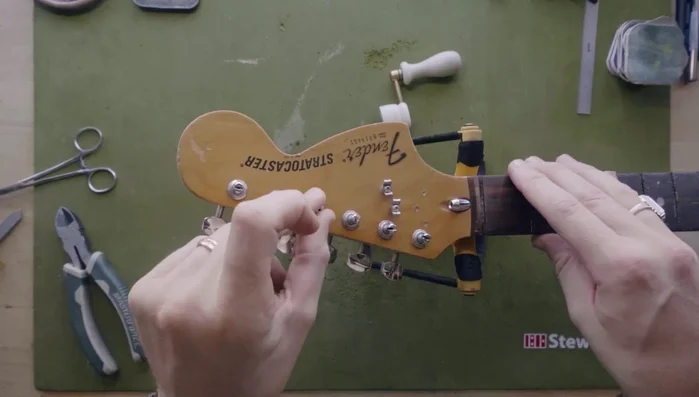
Inspect Tuning Post Smooth Tuning Post with Abrasive Cord
- Use Mitchell's Abrasive Cord (a gauge appropriate for the string size) to floss the tuning post.
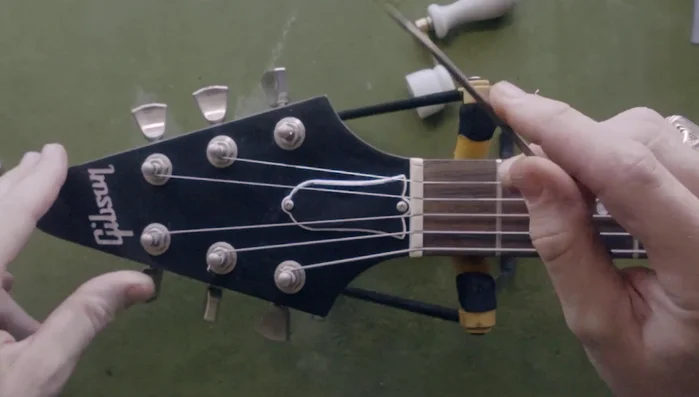
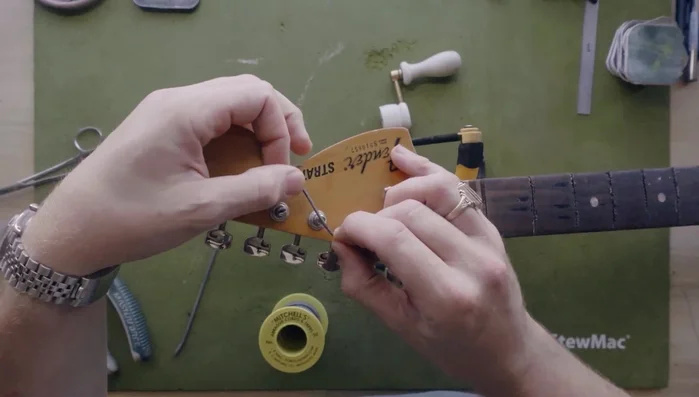
Smooth Tuning Post with Abrasive Cord Smooth Tuning Post with Needle File
- Alternatively, use a needle file to smooth the post, filing lightly and crossways.
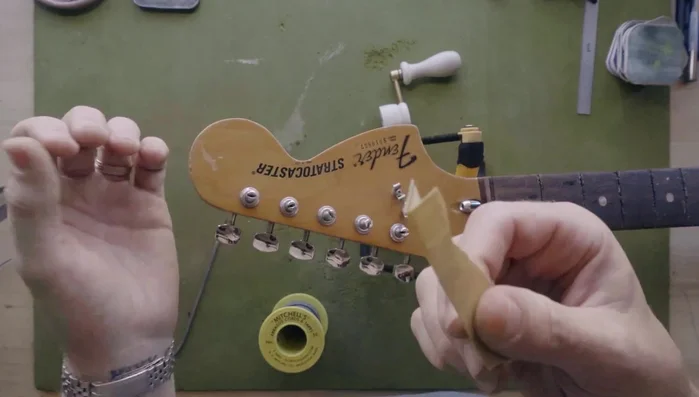
Smooth Tuning Post with Needle File Final Polish
- Follow up with fine-grit sandpaper (400 or 600) and micro-mesh pads to smooth the post.
Final Polish
Tips
- Lightly sand the posts after filing or using abrasive cord for a smooth finish.
Methods: Fixing String Breakage at the String Tree (Fender style)
Tools Needed
- Mitchell's Abrasive Cord
- Sandpaper (400, 600 grit)
- Needle files
Step-by-Step Instructions
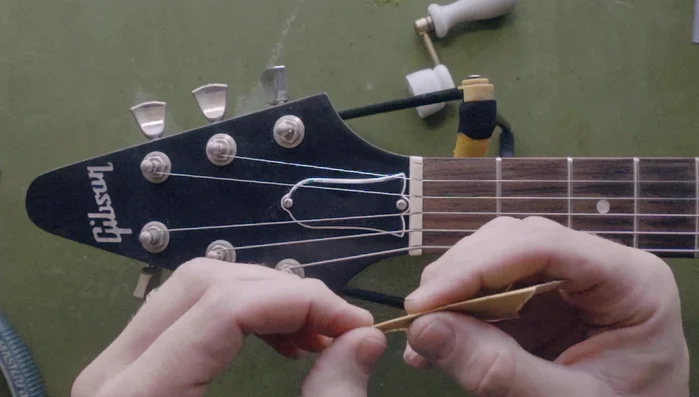
Inspect the String Tree
- Inspect the string tree for sharp points or burrs using your fingernail.
Inspect the String Tree Smooth with Abrasive Cord
- Use Mitchell's Abrasive Cord to floss the string tree slots to smooth any sharp edges.
Smooth with Abrasive Cord Smooth with Files (Alternative)
- Alternatively, remove the string tree and use needle files to smooth any sharp points.
Final Smoothing with Sandpaper
- Follow up with fine-grit sandpaper (400 or 600).
Final Smoothing with Sandpaper
Read more: Guitar String Breakage Solution: A Superior Hack for Improved Tone and Tuning