Frustrated with stubbornly stuck pins in your knitting, sewing, or crafting projects? Those tiny metal offenders can be a real time-waster, sometimes even causing damage to your carefully created work. We've all been there, wrestling with a pin that just won't budge, risking a pulled stitch or a broken needle in the process. Losing precious crafting time to this minor annoyance is simply unacceptable! Fortunately, there's a better way.
Forget struggling with brute force; we're about to share some simple yet effective techniques that will have you removing those pesky pins with ease and speed. These clever methods will preserve your project's integrity while saving you valuable time and frustration. Ready to conquer those tight pins once and for all? Let's dive into our step-by-step guide, revealing the secrets to effortlessly removing pins from your projects!
Safety Guidelines
- Always use appropriate tools. Avoid using excessive force with your fingers, which can lead to injury.
- Be mindful of the material you are working with. Some materials can be damaged by prying or excessive pressure.
- If a pin is particularly stubborn, consider using a lubricant like sewing machine oil or WD-40 to help loosen it before attempting removal.
Methods: Using String to Remove Pins
Tools Needed
- String
Step-by-Step Instructions
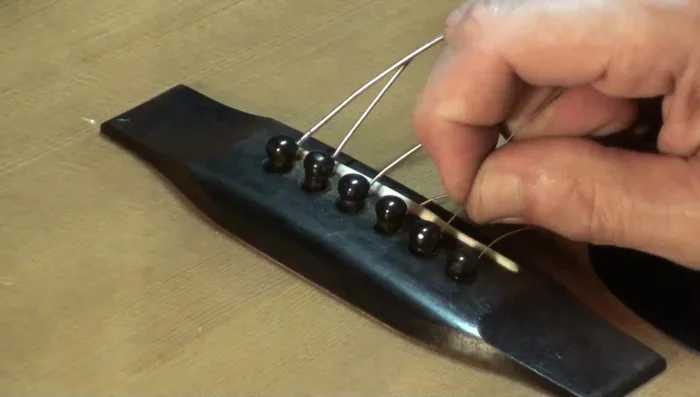
Attempt String Removal
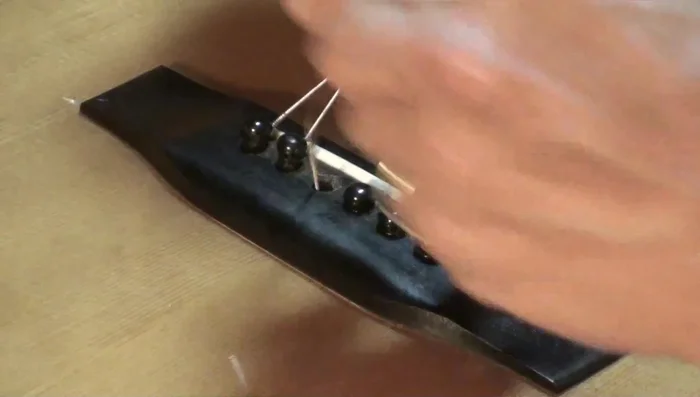
- Shove the string down into the pin hole before touching the pin.
- Pull the string; sometimes this will remove the pin.

Attempt String Removal
Tips
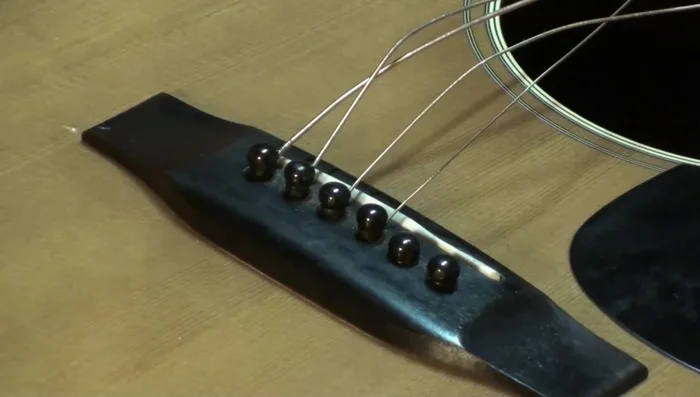
- This method works best for some pins but not all.
Methods: Using Wire Cutters to Remove Stubborn Pins
Tools Needed
- Wire Cutters/Nippers
Step-by-Step Instructions
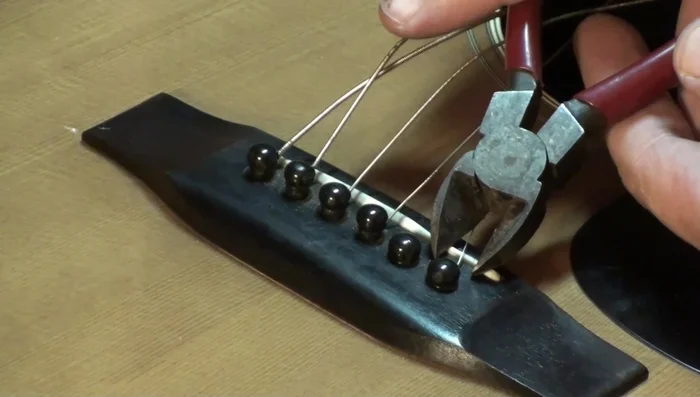
Position Wire Cutters
- Lay the wire cutters on top of the pin's saddle.
- Slide the cutters up over the pin head.
Position Wire Cutters Lift the Pin with Cutters
- Hold the cutters in place and shove the handle down. This lifts the pin.
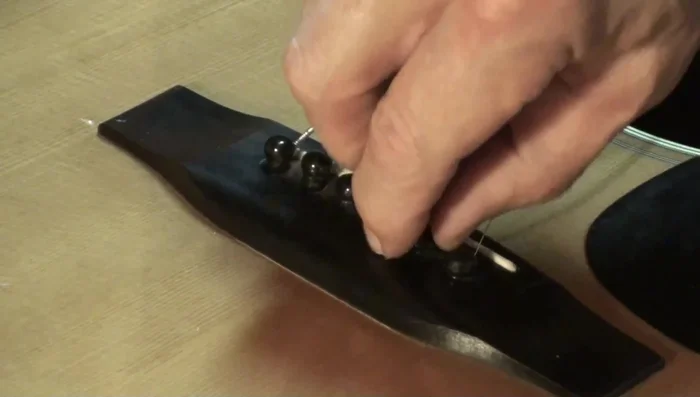
Lift the Pin with Cutters Remove Pin with String
- After lifting the pin, shove the string down to loosen it further and remove it with fingers.
Remove Pin with String

Tips
- You don't need to squeeze the wire cutters, just hold them in place.
- This method is particularly useful for tight pins.
- Sometimes you may need to repeat the process, shoving the string down after lifting the pin with cutters.
Read more: Guitar String Breakage Solution: A Superior Hack for Improved Tone and Tuning