Learning a new instrument is exciting, but the initial setup can sometimes feel daunting. This is especially true when it comes to attaching straps to your ukulele or guitar, ensuring comfortable and secure playing. Many beginners find themselves overwhelmed by seemingly complex instructions or poorly-made kits, leading to frustration before they've even started strumming. Fortunately, fitting a strap to your instrument needn't be a challenging task. With the right tools and a clear understanding of the process, it's a quick and straightforward modification that significantly enhances your playing experience.
This simple guide provides a clear, step-by-step process for assembling a ukulele or guitar strap kit with ease. We'll walk you through each stage, from identifying the correct components to securely fastening the strap, eliminating any confusion and empowering you to get playing your instrument comfortably in minutes. Let's get started!
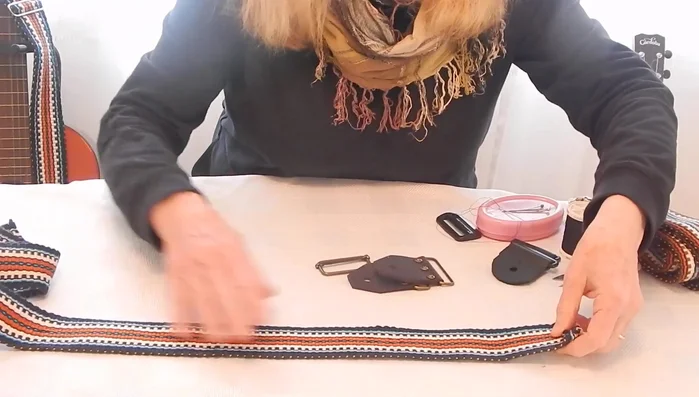
Preparation and Safety Guidelines
- thread
- scissors
- needle
- sewing machine (optional)
- Always ensure the strap buttons are securely attached to your instrument before using a strap. Loose buttons can lead to your instrument falling and getting damaged.
- Use the correct size and type of strap buttons for your instrument. Improperly sized buttons can strip the wood or cause damage to the instrument's finish.
- Inspect the strap and its attachments regularly for wear and tear. Replace any worn or damaged components immediately to prevent accidents.
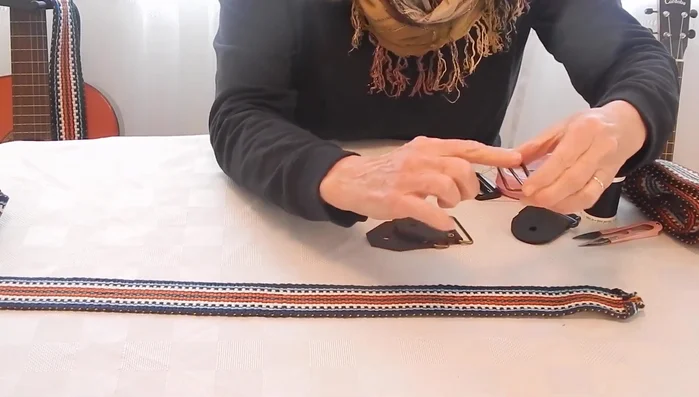
Step-by-Step Instructions
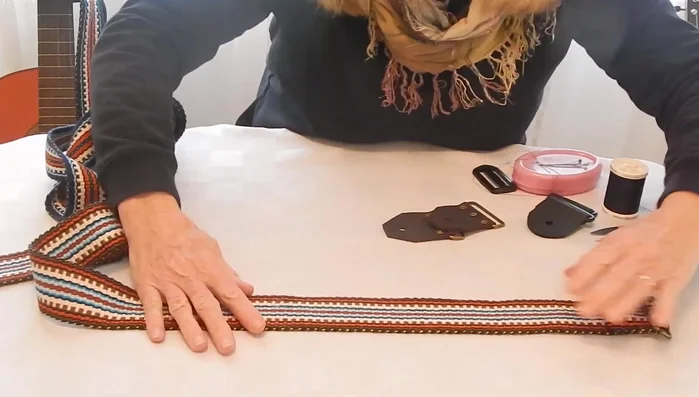
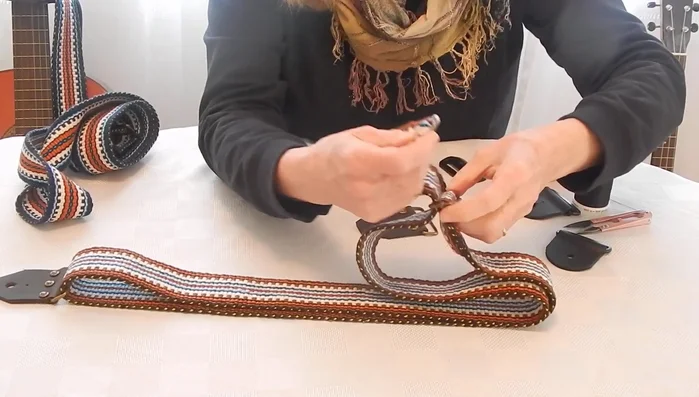
Prepare the Adjustment Slider
- Lay the guitar strap flat with the wrong side up.
- Insert the adjustment slider (right side up), going up through and back down over the middle bar. Tuck and flatten the raw edges.
- Top-stitch with a sewing machine afterwards).

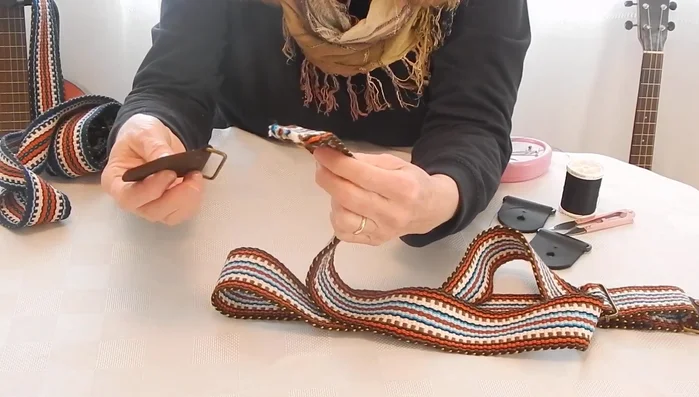
Prepare the Adjustment Slider Attach the Floater Tab
- Lay the strap flat again, wrong side up, removing any twists.
- Feed the strap through the ring, ensuring no twists.
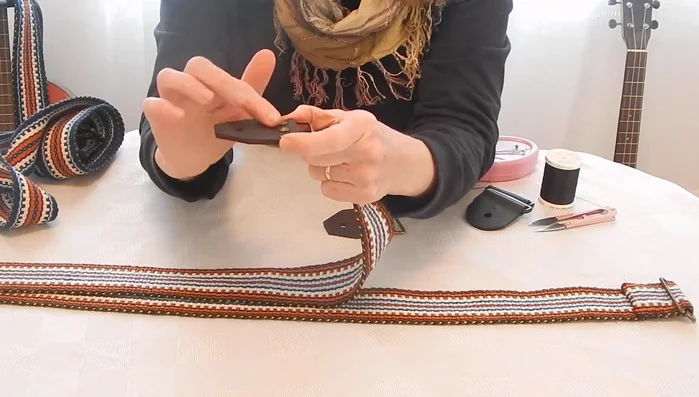
Attach the Floater Tab Re-insert Adjustment Slider and Secure
- Insert the adjustment slider again (under and over the middle bar). Pull the strap through.
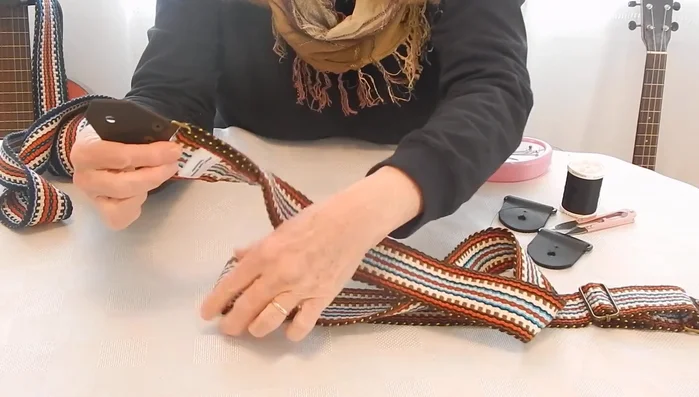
Re-insert Adjustment Slider and Secure Attach the Fixed Tab
- Feed the strap down through the ring (about two inches).
- Top-stitch with a sewing machine).
Attach the Fixed Tab

Read more: DIY Custom Ombre Guitar Strap: A Tie-Dye Tutorial (With Troubleshooting!)
Tips
- Tuck and flatten raw edges before stitching to make it easier.
- Slip stitch securely to keep it flat against the strap.
- If using a guitar strap tab without rivets, both sides are the same.