Let's face it, some guitar stands are notoriously flimsy. You wrestle with tiny screws, misaligned holes, and generally questionable construction, leaving you questioning your DIY skills (and perhaps your purchase decision). But fear not, fellow guitar enthusiasts! Even the most frustratingly cheap guitar stand can be assembled, and this guide will walk you through the process, step-by-step, ensuring your precious instrument has a safe and (relatively) stable home. We'll tackle the common pitfalls of poorly made stands, offering solutions to frustrating problems and providing helpful tips to maximize the lifespan of your potentially precarious purchase.
This guide focuses on a quick and easy assembly, acknowledging the inherent challenges of working with a low-quality product. We'll cover everything from identifying the parts to tightening those stubbornly resistant screws. Ready to transform your frustrating pile of parts into a functional (if not aesthetically stunning) guitar stand? Let’s get started with the detailed assembly instructions!
Preparation and Safety Guidelines
- 5-Guitar Stand (as received)
- Fingers
- Optional: Vice Grips
- Optional: Wrench
- Guitar Stand
- Always ensure the stand is on a stable, level surface to prevent tipping and guitar damage.
- Tighten all screws and clamps securely before placing your guitars. Loose parts can lead to accidents.
- Inspect the stand carefully for any cracks or weak points before assembly and use. Do not use if damaged.
Step-by-Step Instructions
Prepare the Base
- Identify and lay down the two base pieces with pre-attached rubber feet. Ensure the feet are positioned at the rear (away from you).

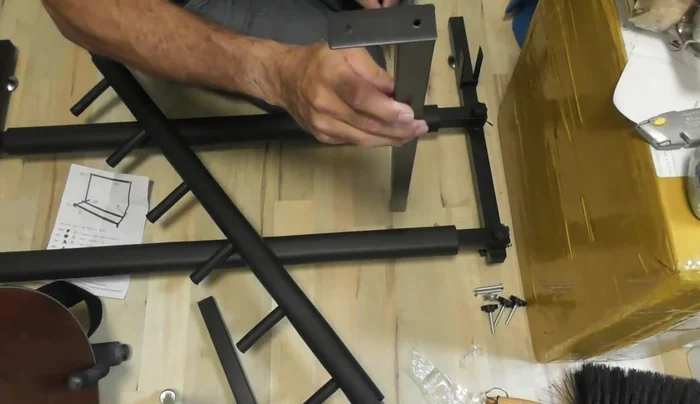
Prepare the Base Insert and Attach Uprights
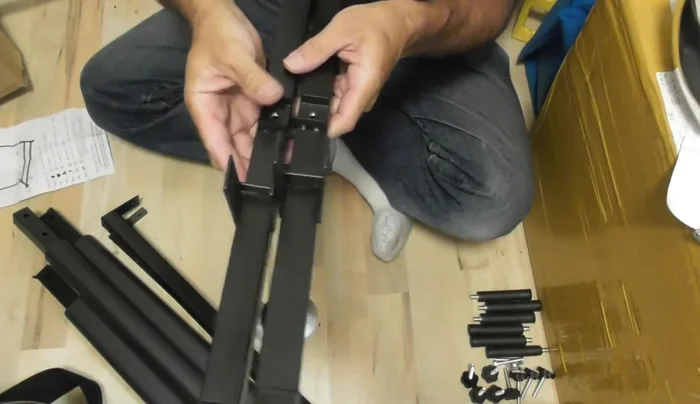
- Insert the six pegs into the holes in the base pieces, noting that the assembly might require some force due to poor manufacturing (potentially needing to bend slightly misaligned pieces).
- Attach the two upright support pieces to the base pieces using the pegs. Note that the included plastic caps might spin freely; applying pressure to the center metal piece while turning is necessary to secure them.
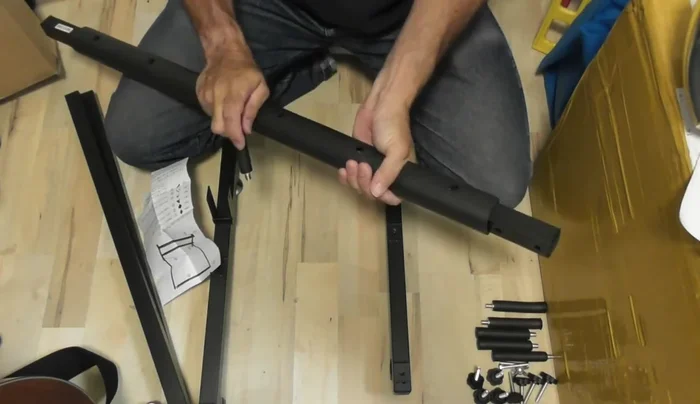
Insert and Attach Uprights Attach Top Crossbars
- Attach the top crossbars. Ensure they are properly aligned before tightening.
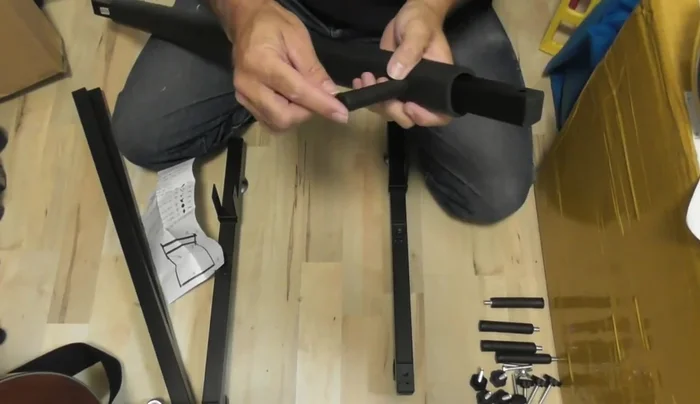
Attach Top Crossbars Attach Angle Brackets
- Insert the angled brackets (one per leg) into the upright supports and attach using the provided bolts and wing nuts. Note that the brackets are designed to be angled for guitar support, preventing toppling.
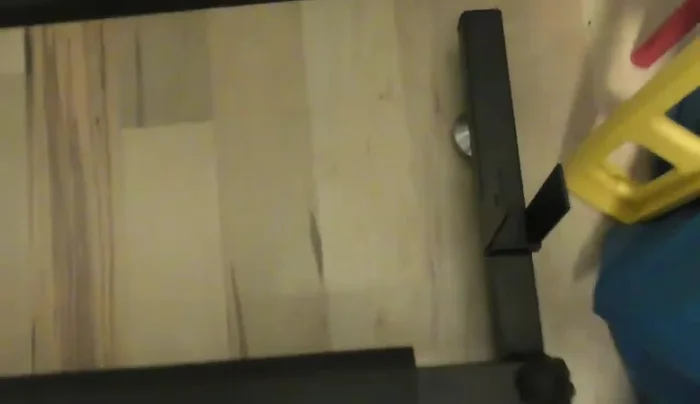
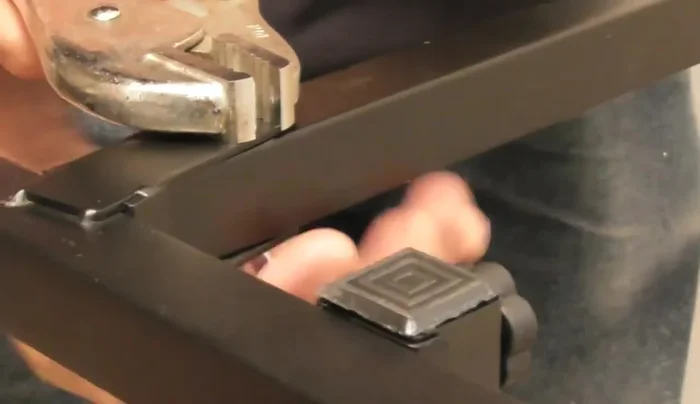
Attach Angle Brackets Final Tightening
- Tighten all wing nuts securely. Due to potential manufacturing imperfections, the video presenter uses vice grips to prevent the bolts from spinning while tightening the wing nuts.
Final Tightening
Read more: 3D Printed Hercules Guitar Stand Handle Repair: A Durable Fix
Tips
- Ignore instructions about inserting rubber stoppers, as they are pre-installed.
- Be prepared to correct manufacturing flaws, such as bent metal, by gently bending it into place with tools (vice grips recommended).
- Apply pressure to the center metal piece of the pegs while turning to avoid spinning without tightening.
- If bolts spin freely due to poor threading, use vice grips to hold them while tightening the wing nuts.