Tired of your guitars leaning precariously against walls or taking up valuable space with bulky, store-bought stands? Many guitarists know the frustration of juggling instrument storage, especially when space is at a premium. A custom-built, foldable guitar stand offers a practical and stylish solution, allowing you to proudly display your prized possessions while effortlessly storing them away when not in use. Building your own stand also provides the satisfaction of a hands-on project and the opportunity to personalize it to perfectly match your instruments and aesthetic.
This guide presents a comprehensive, step-by-step approach to constructing a robust yet easily foldable guitar stand, using readily available materials and simple tools. No prior woodworking experience is necessary, making this a manageable project even for beginners. Let's dive into the detailed instructions and create your very own personalized guitar stand, perfect for protecting your instrument and enhancing your music space.
Preparation and Safety Guidelines
- Hand-drawn sketch
- Illustrator
- Printer
- Spray adhesive
- Plywood
- Walnut
- Bandsaw
- Sander
- Dremel
- Blue tape
- Table saw
- Miter sled
- Dado blade (optional)
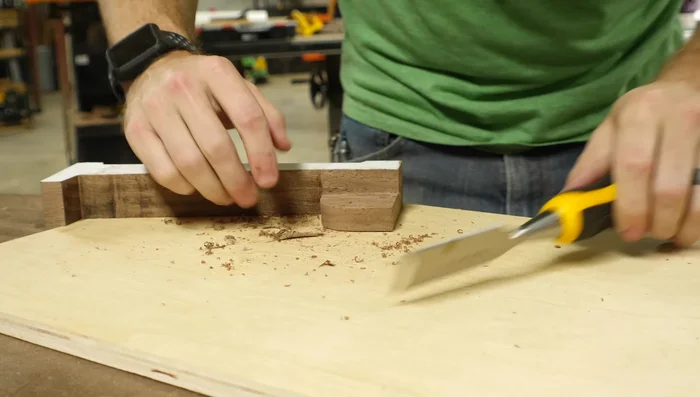
- Chisel
- Heat gun
- Drill
- Wood taps
- Screws
- CA glue
- Belt sander
- Danish Oil
- Tack cloth
- Hinge
- Sharpie
- Brass stock
- Craft foam
- Always use sharp tools with caution and wear appropriate safety glasses to protect your eyes from potential splinters or flying debris.
- Ensure the wood is properly sanded to avoid splinters and ensure a smooth finish to prevent damage to your guitar's finish.
- Test the stability of the finished stand thoroughly before placing your valuable guitar on it. A poorly constructed stand can lead to damage or injury.
Step-by-Step Instructions
Design and Prototyping
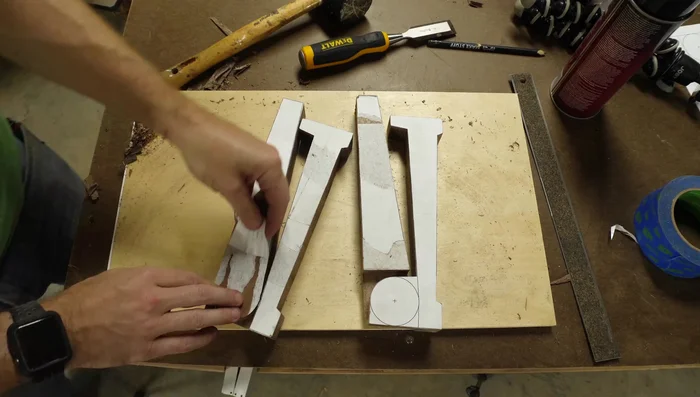
- Create a hand-drawn sketch and digital templates in Illustrator.
- Test the design with a prototype using scrap plywood and spray adhesive to attach templates.

Design and Prototyping Prepare Wood Pieces
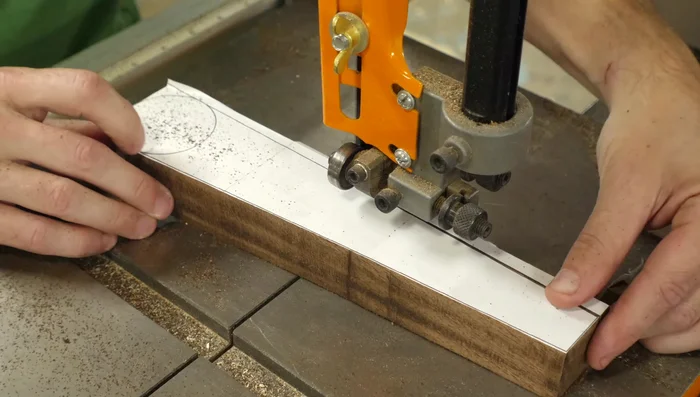
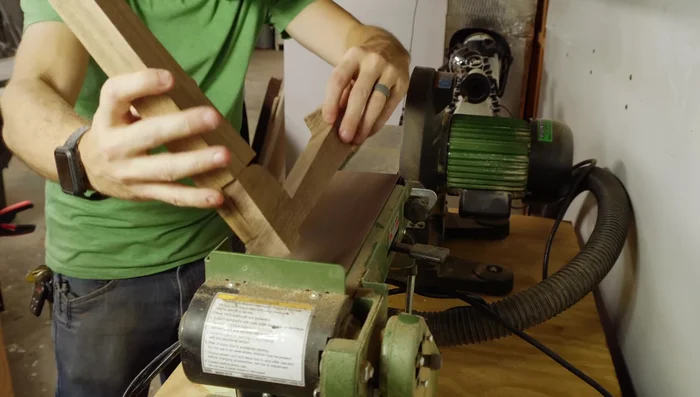
- Print templates on sticky labels or use spray adhesive to attach them to walnut wood.
- Cut out the pieces using a bandsaw, cutting outside the template lines and sanding to refine.
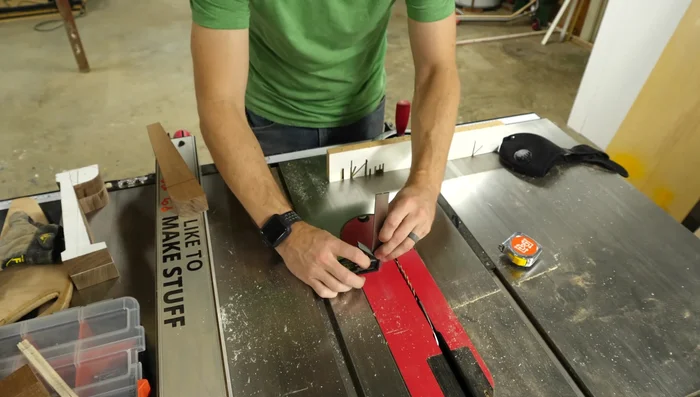
- Tape pairs of pieces together for consistent cuts, ensuring flat surfaces.
- Cut the pieces using the table saw, adjusting the blade height to half the wood thickness.
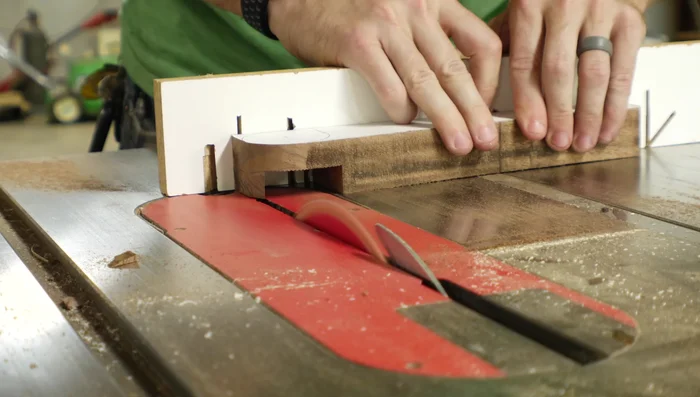
Prepare Wood Pieces Cut Rabbets and Smooth
- Create rabbets on each piece using multiple cuts with the table saw (or a dado blade for efficiency).
- Use a chisel to smooth the rabbet surfaces.
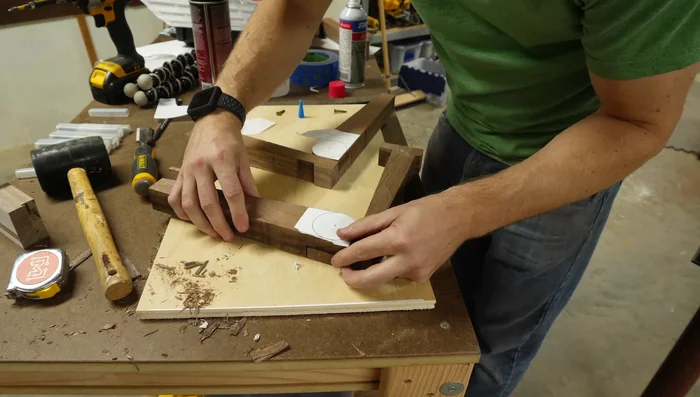
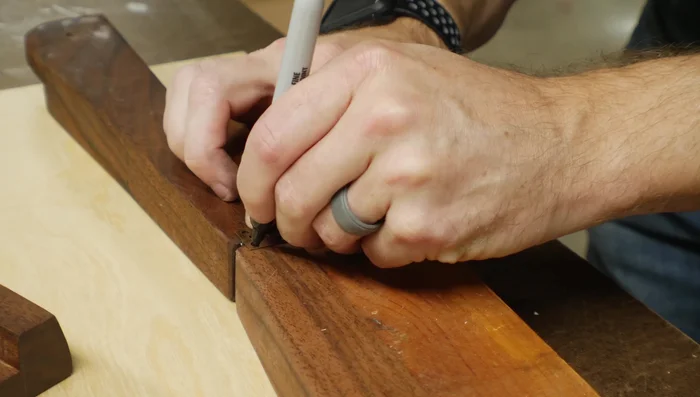
Cut Rabbets and Smooth Remove Templates and Drill Pivot Holes
- Remove templates using a heat gun.
- Re-attach templates to drill pivot holes accurately.
- Use CA glue to hold pieces together while drilling the pivot holes.
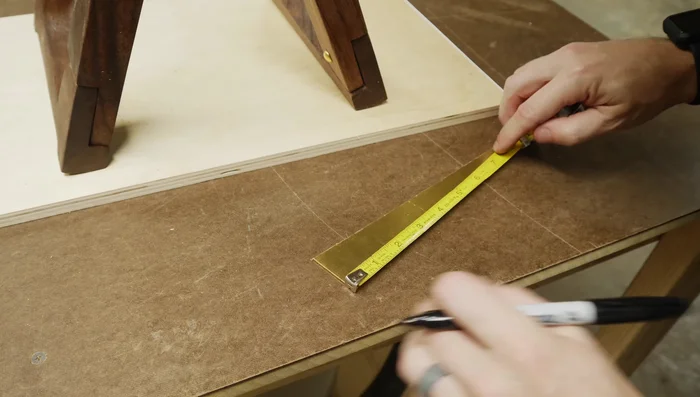
Remove Templates and Drill Pivot Holes Create Threads and Prepare for Assembly
- Create threads using wood taps for secure screw attachment.
- Sand any areas that obstruct movement.
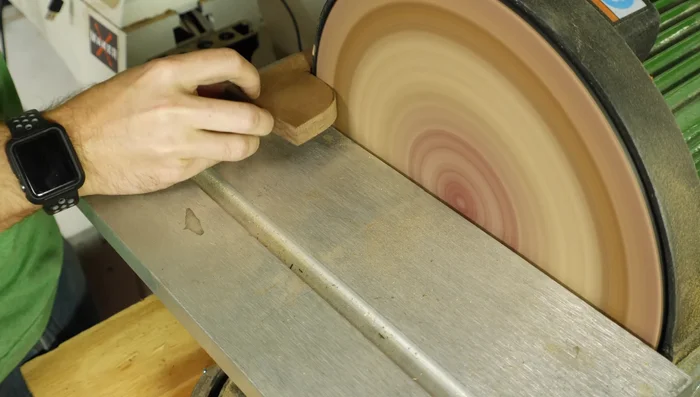
- Flatten the base using a belt sander to provide a stable base.
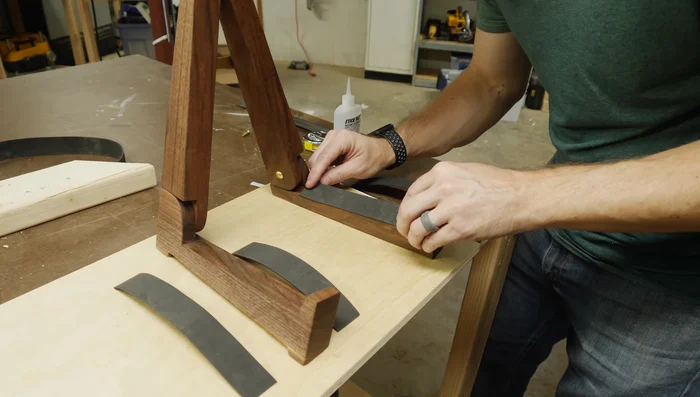
Create Threads and Prepare for Assembly Assemble the Stand
- Attach the hinge using pre-drilled holes to prevent splitting.
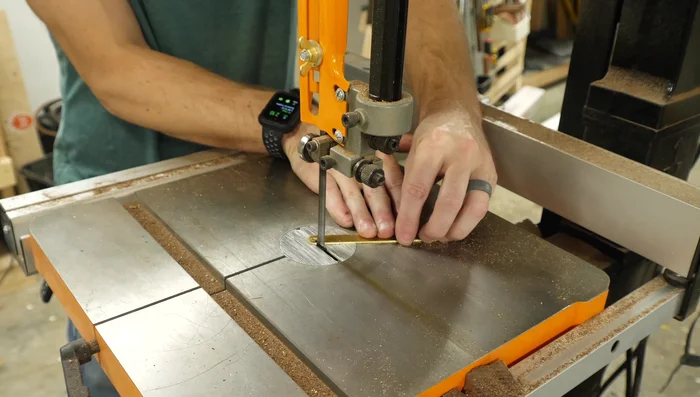
Assemble the Stand Add Stop and Padding
- Create a stop to prevent the stand from fully flattening using brass stock.
- Attach the stop to the stand with screws.
- Apply craft foam padding to protect the guitar.
Add Stop and Padding Finishing Touches
- Sand all pieces and apply two coats of Danish Oil for finishing.
Finishing Touches


Read more: 3D Printed Hercules Guitar Stand Handle Repair: A Durable Fix
Tips
- Create a prototype to identify and correct design flaws before using good wood.
- Use blue tape to hold pairs of pieces together for consistent results.
- Pre-drill holes near edges to prevent wood splitting.
- Use a heat gun to easily remove templates without tearing.