For musicians, the quest for the perfect tone is a lifelong journey, often involving a collection of effects pedals that can quickly become unwieldy. A sprawling mess of wires and boxes not only clutters your practice space but also makes setup and performance cumbersome. The solution? A custom-built compact pedalboard. This allows you to organize your effects, streamline your signal path, and create a professional, portable rig tailored precisely to your needs and preferences. Building your own pedalboard offers significant cost savings compared to buying a pre-made one, letting you invest more in those coveted pedals.
This guide will walk you through the process of creating your own DIY compact pedalboard, from selecting the right materials and planning your layout to wiring and finishing touches. Whether you're a seasoned guitarist or a budding bassist, crafting your own pedalboard is a rewarding project that significantly enhances your playing experience. Let's dive into the step-by-step instructions to build your dream compact pedalboard.
Preparation and Safety Guidelines
- Hard maple
- Mahogany
- Plywood
- Table saw
- Crosscut sled
- Router table
- Router bits (1/4" & 1/4" roundover)
- Clamps
- Wood glue
- Fine wood screws
- Sandpaper/Block plane
- Water-based polyurethane
- Photocopy
- Iron
- D'Addario Pedalboard Cable Kit
- Always disconnect power from the power supply and pedals before making any connections or modifications. Failure to do so could result in electric shock or damage to your equipment.
- Use appropriate tools for the job. Improper tools can lead to damage to your pedals, board, or even injury.
- Ensure adequate ventilation around your power supply to prevent overheating. Overheating can cause fires or damage to your equipment.
Step-by-Step Instructions
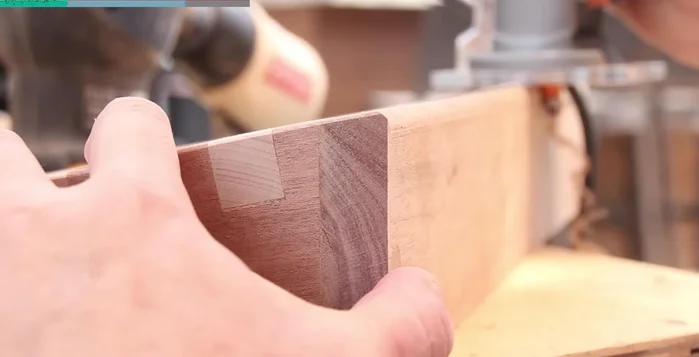
Prepare the Wood
- Cut the maple strips for the top.
- Cut the mahogany side pieces.

Prepare the Wood Assemble the Frame
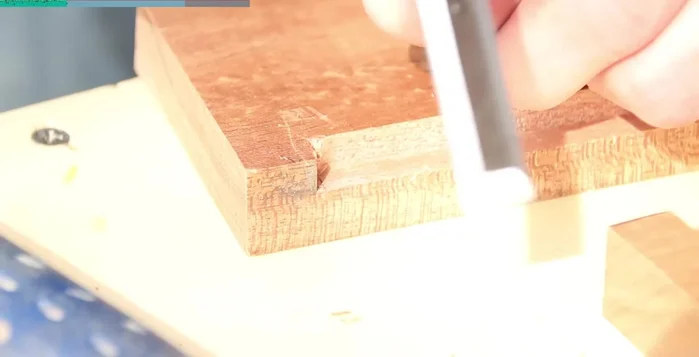
- Glue and clamp the maple strips and mahogany sides together. Pre-cut slots in the mahogany for the maple strips to ensure a precise fit.
Assemble the Frame Cut Angles and Create Rabbet
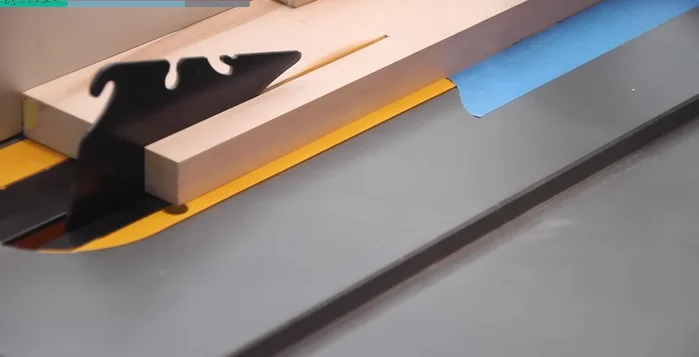
- Cut the diagonal angles on the sides for the pedalboard's incline using a clamp to hold the piece securely on the sled.
- Create a rabbet on the bottom of the sides, front, and back using a router table to accommodate the bottom plywood. Ensure the rabbet doesn't show on the sides.
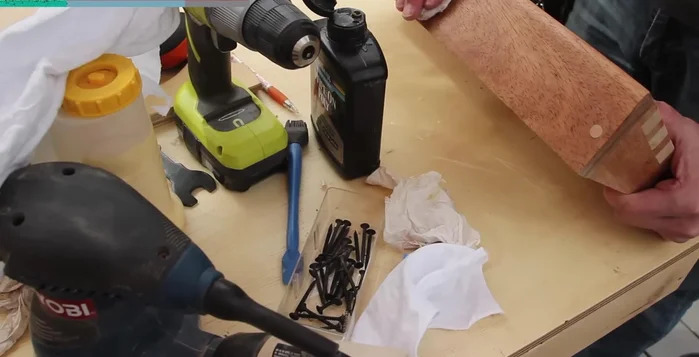
Attach Bottom and Secure Sides
- Glue and assemble the bottom plywood into the rabbet.
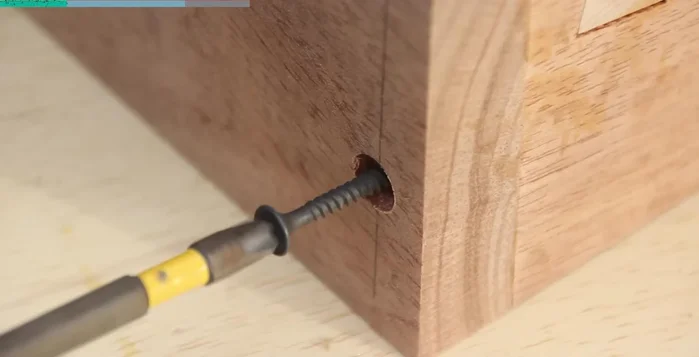
- Attach the side pieces with screws; fill, sand, and finish the screw holes.
Attach Bottom and Secure Sides Finish the Pedalboard
- Round over the edges using a router, block plane or sandpaper.
- Apply several coats of water-based polyurethane finish, sanding between coats.
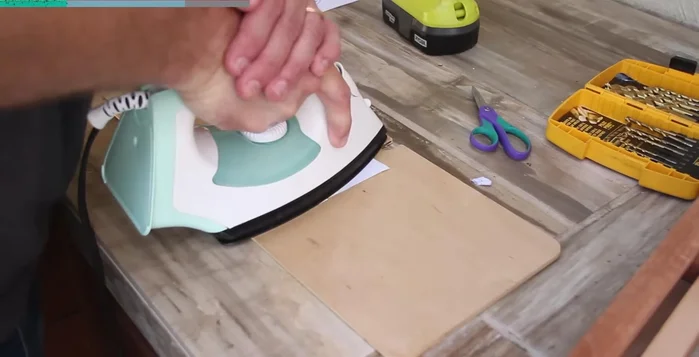
- Apply a photocopy decal using an iron to transfer the reverse-printed image onto the wood.
Finish the Pedalboard Add Finishing Touches
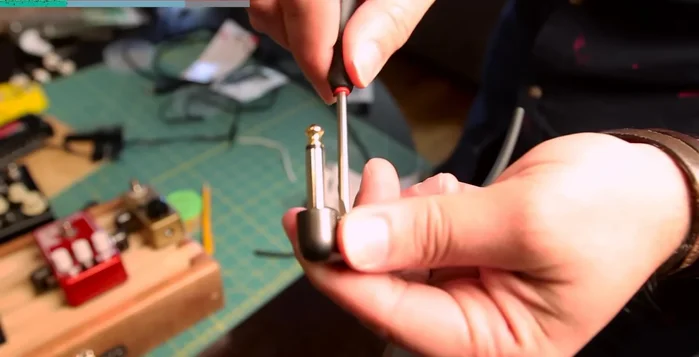
- Attach the handle and assemble the D'Addario cable kit for a custom cable setup.
Add Finishing Touches
Read more: Best Multi-Effects Pedals for Guitarists in 2017: A Comprehensive Review
Tips
- Use masking tape on the saw table to help with repeated cuts of the same width.
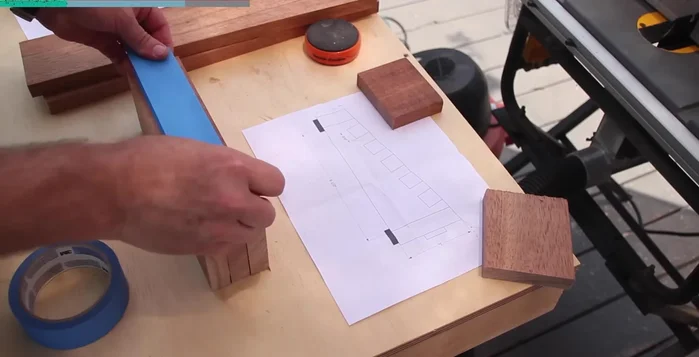
- Use a scale drawing (Illustrator recommended) to assist in cutting pieces to size.
- Use a slower-setting wood glue for a more controlled glue-up.
- Print decals in reverse for iron-on transfer.