Crafting the perfect pedalboard can feel daunting. Endless options, confusing wiring, and the potential for a tangled mess can quickly discourage even the most enthusiastic guitarist. But building your dream pedalboard doesn't have to be a Herculean task. With a little planning and the right approach, you can create a streamlined, efficient, and visually appealing setup that enhances your playing experience without spending hours wrestling with cables and velcro. Forget the frustration and embrace the fun; this guide demystifies the process.
This ultimate guide will walk you through each step, from choosing the right pedals and case to mastering the art of efficient cable management and achieving optimal signal flow. We'll cover everything from essential tools and techniques to troubleshooting common problems, ensuring a smooth and satisfying build. Ready to build your dream pedalboard quickly and easily? Let's dive into the step-by-step process!
Preparation and Safety Guidelines
- Pedal Train pedalboard
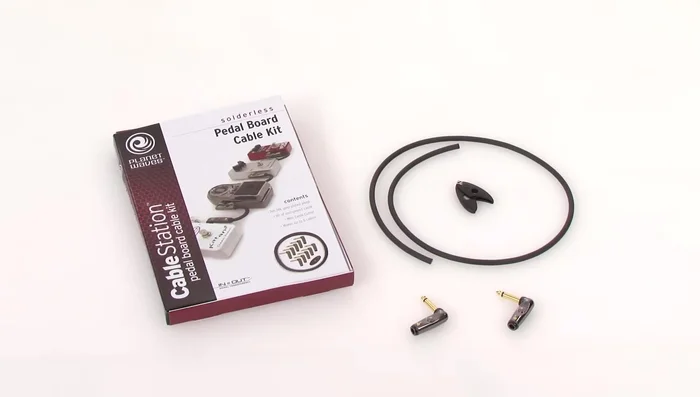
- Planet Waves cable station pedal board cable kit
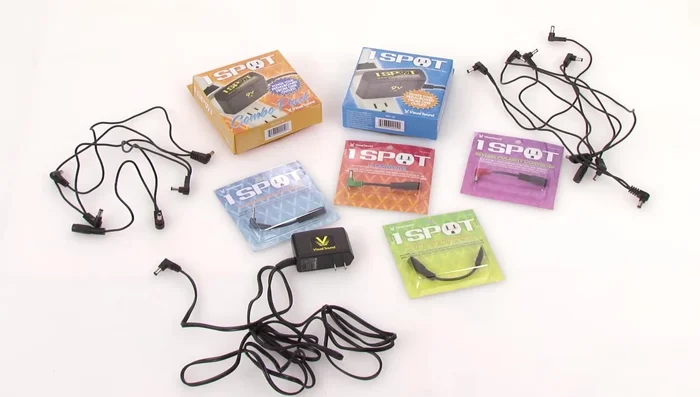
- Visual Sound One Spot system
- T-Rex Fuel Tank Jr. isolated power supply (optional)
- Velcro
- Always unplug your power supply and pedals from the wall outlet before making any connections or adjustments to your pedalboard. This prevents electrical shock and damage to your equipment.
- Use high-quality patch cables to ensure reliable signal transfer and avoid buzzing or signal loss. Avoid excessively long cables as they can introduce noise.
- Ensure your power supply has sufficient capacity (mA) for all your pedals to prevent damage or malfunction. Check each pedal's power requirements to ensure compatibility.
Step-by-Step Instructions
Choose a Pedalboard
- Choose a Pedalboard
Prepare Cables and Power
- Assemble Cables using Planet Waves Cable Station
- Visual Sound One Spot & T-Rex Fuel Tank Jr.

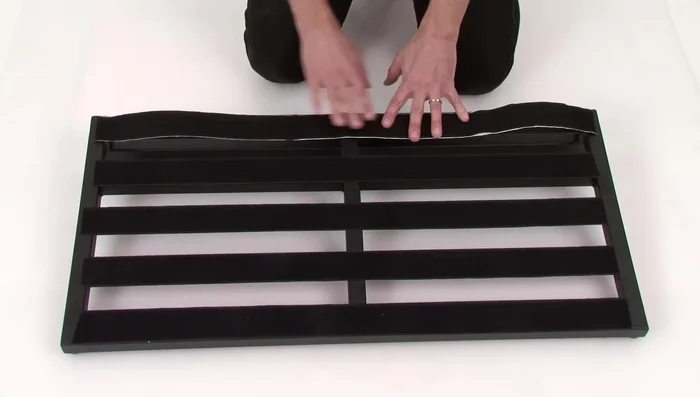
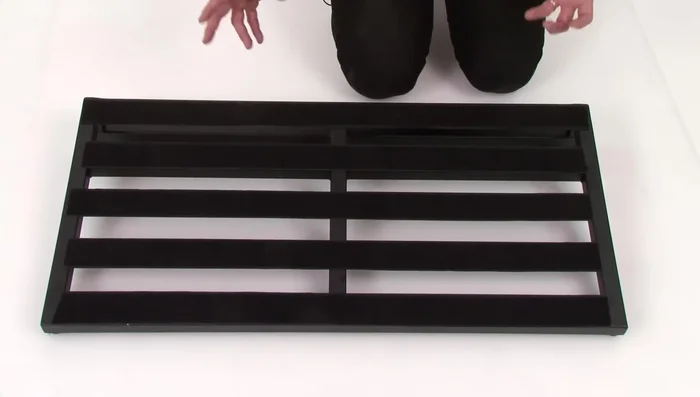
Prepare Cables and Power Prepare Pedalboard for Mounting
- Attach Velcro to Pedalboard and Pedals
Prepare Pedalboard for Mounting Plan Pedal Order and Cable Routing
- Plan Pedal Placement and Cable Routing
Plan Pedal Order and Cable Routing Assemble Pedalboard
- Wire up Pedals and Connect Power
Assemble Pedalboard Test and Enjoy
- Test and Enjoy!
Test and Enjoy

Read more: Best Multi-Effects Pedals for Guitarists in 2017: A Comprehensive Review
Tips
- Run cables under the pedalboard for a clean look.
- Place frequently used pedals closest to your feet.
- Remove rubber feet from pedals for a flatter surface when attaching Velcro.
- Use isolated power supply for pedals with high current draw.
- Wiggle pedals after placement to ensure secure Velcro adhesion.