The Pro Co Rat is a legendary overdrive pedal, renowned for its aggressive distortion and versatility. However, even these iconic pedals can suffer from occasional malfunctions, and a common issue is a faulty on/off LED indicator light. A non-functional light might seem trivial, but it can disrupt your workflow and even raise concerns about other potential internal problems. Is it a simple fix, or a sign of deeper trouble within the circuit? This can often be determined through a simple visual inspection.
Fortunately, diagnosing and resolving this seemingly minor problem is often within the capabilities of even moderately experienced DIY pedal tinkerers. This guide will walk you through a step-by-step process for troubleshooting and repairing your Pro Co Rat's malfunctioning on/off light, covering everything from identifying the cause to implementing the necessary repairs. Let's get started!
Preparation and Safety Guidelines
- Audio Generator
- Oscilloscope
- Soldering Iron
- Solder Wick
- 22 Gauge Solid Conductor Wire
- Multimeter (implied)
- Always disconnect the Pro Co Rat pedal from the power source before opening it or attempting any repairs. Failure to do so could result in electric shock.
- Use a properly insulated soldering iron and take precautions to avoid burns. Soldering can generate heat and potentially damage components if not done carefully.
- If you are not comfortable working with electronics, seek professional repair assistance. Improper repairs can damage the pedal beyond repair.
Step-by-Step Instructions
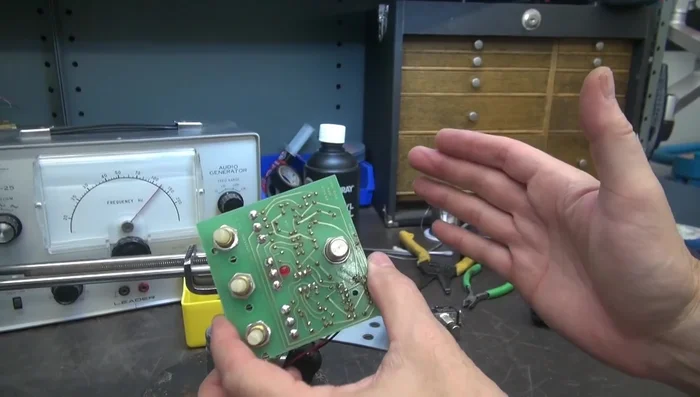
Initial Diagnosis
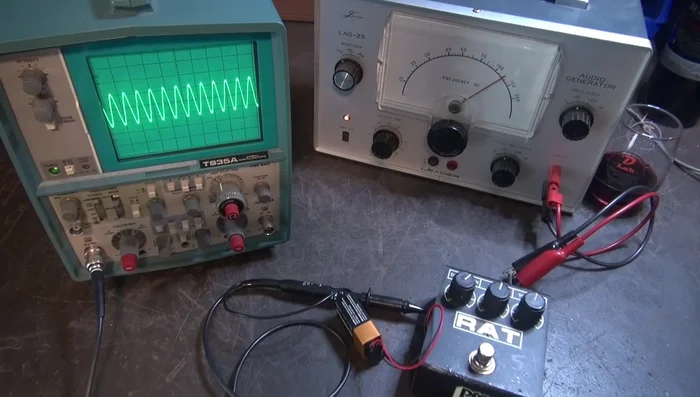
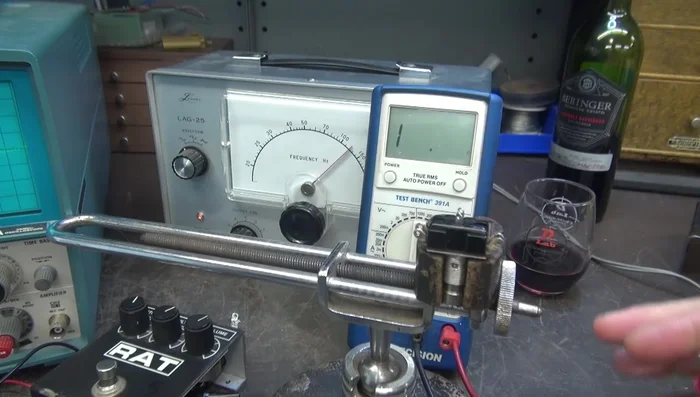
- Bench test the pedal to confirm functionality. Check volume and effects.
- Observe that the pedal functions correctly, but the LED remains illuminated.

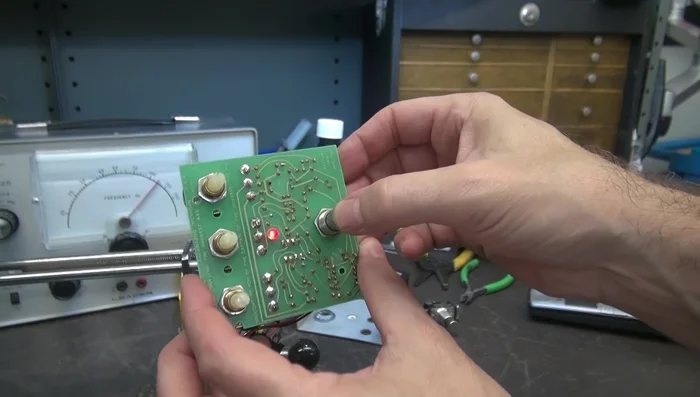
Initial Diagnosis Identify the Problem
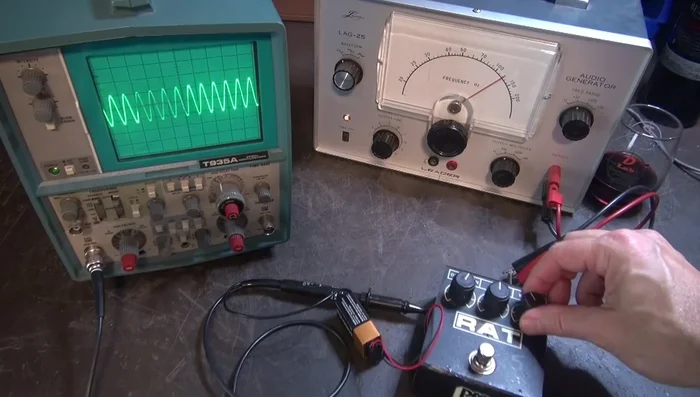
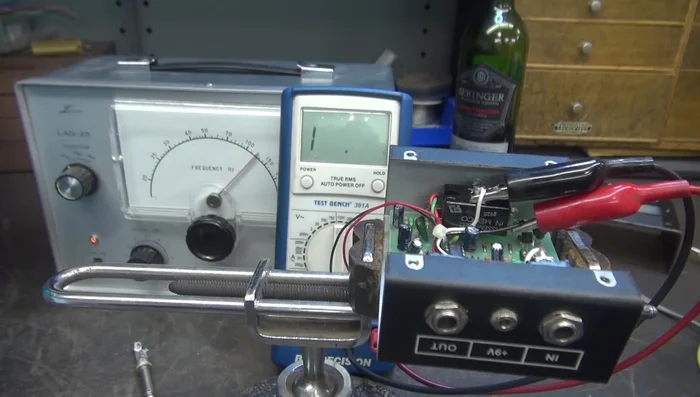
- Identify the foot switch as a double pole double throw (DPDT) switch.
- Temporarily jumper the switch terminals to test the LED circuit. The LED should flash, indicating a switch problem.
Identify the Problem Understand the Switch
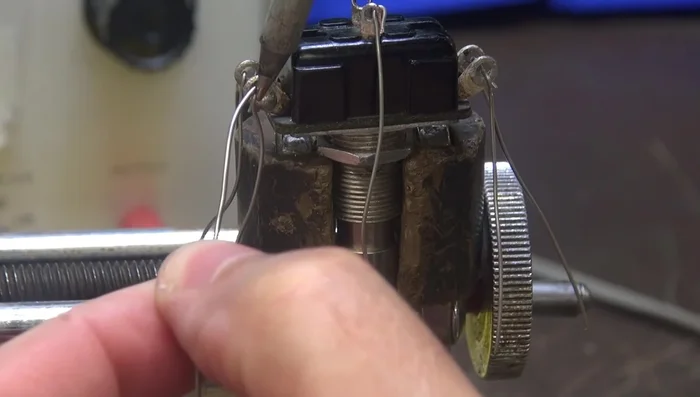
- Examine the DPDT switch outside the pedal to understand its operation.
Understand the Switch Switch Inspection
- Inspect the switch inside the pedal. Verify that only one section of the DPDT switch (the one controlling the effect) is working. The section that controls the LED is faulty.
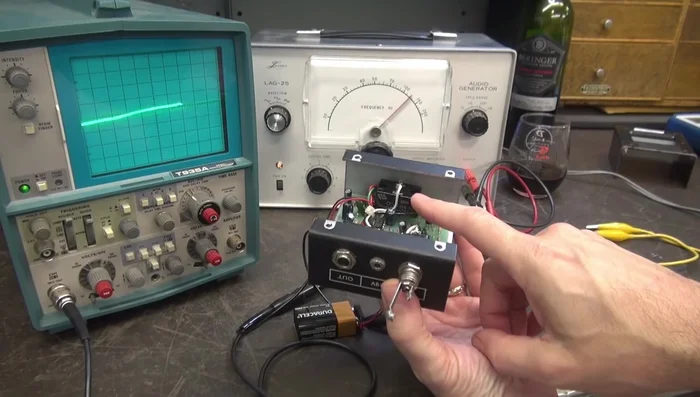
Switch Inspection Access the Circuit Board
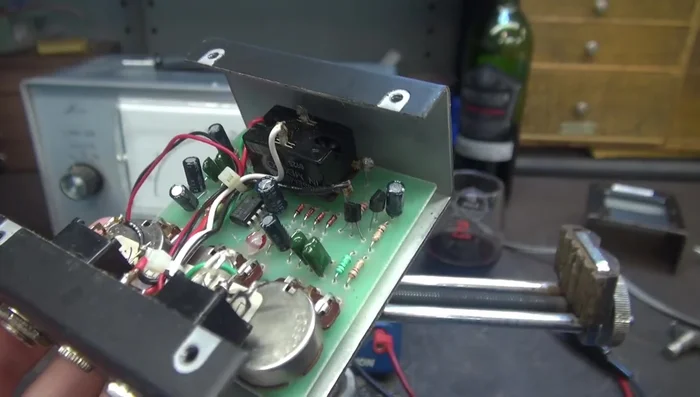
- Remove the pedal's casing and circuit board.
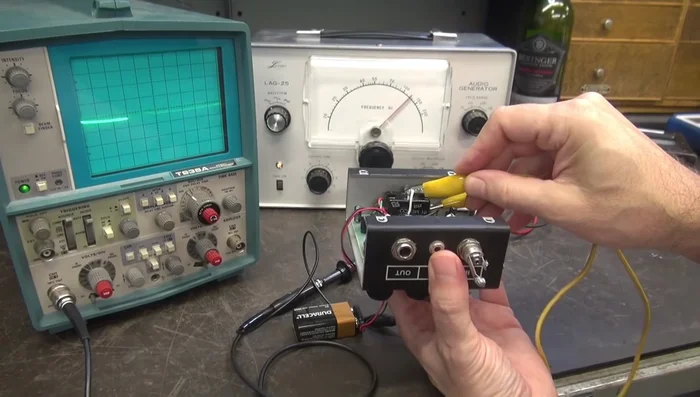
Access the Circuit Board Replace the Switch
- Desolder the faulty switch from the circuit board using solder wick. Avoid using a desoldering iron to prevent damaging the circuit board.
- Install a new DPDT switch, soldering the new leads to the circuit board.
Replace the Switch Final Testing
- Reassemble the pedal.
- Test the repaired pedal to verify functionality of the LED and effects.
Final Testing
Read more: Best Multi-Effects Pedals for Guitarists in 2017: A Comprehensive Review
Tips
- Use high-quality solder wick for efficient desoldering.
- Avoid using a desoldering iron on circuit boards to prevent damaging the traces.