Protecting your cherished guitar is paramount, and while generic cases offer basic protection, nothing beats a custom-built case tailored to your instrument's exact dimensions and your personal style. A DIY guitar case offers a unique blend of functionality and personalization, allowing you to create a truly one-of-a-kind protective haven for your prized possession. Imagine a case crafted from your choice of materials, finished to reflect your individual aesthetic, and built to withstand the rigors of the road – all without breaking the bank. Forget mass-produced mediocrity; embrace the rewarding experience of building something yourself.
This project isn't just about safety; it's about expressing your creativity and building a case that reflects your personality as much as your instrument. This detailed guide will walk you through each step, from selecting the right materials and measuring your guitar accurately to the final finishing touches. Ready to embark on this exciting DIY adventure? Let's dive into the step-by-step process of constructing your own durable and stylish guitar case.
Preparation and Safety Guidelines
- Measuring tape
- Plane
- Wood (pine, plywood)
- Glue
- Brad nails
- Random orbital sander
- Sandpaper (220 grit)
- Trim router
- Round-over bit
- Table saw
- Machinist square
- Paste wood filler
- Putty knife
- Tack rag
- Duratex coating
- Roller
- Scrap plywood
- Faux fur
- Gorilla glue spray adhesive
- Loctite construction adhesive
- Double-sided carpet tape
- 90-degree hinges
- Latches
- Handle
- Corner protectors
- Drill
- Screws
- X-acto knife
- PVC pipe
- CNC machine (optional)
- Extruded polystyrene foam (optional)
- Always prioritize safety when using power tools. Wear appropriate safety gear, including eye protection, hearing protection, and a dust mask. Take your time and work carefully to avoid injury.
- Use high-quality materials designed for the purpose. Compromising on materials can lead to a weak or unstable case, potentially damaging your guitar.
- Accurate measurements are crucial. Double-check all your cuts and measurements before making any irreversible changes. Inaccurate cuts can significantly compromise the case's structural integrity.
Step-by-Step Instructions
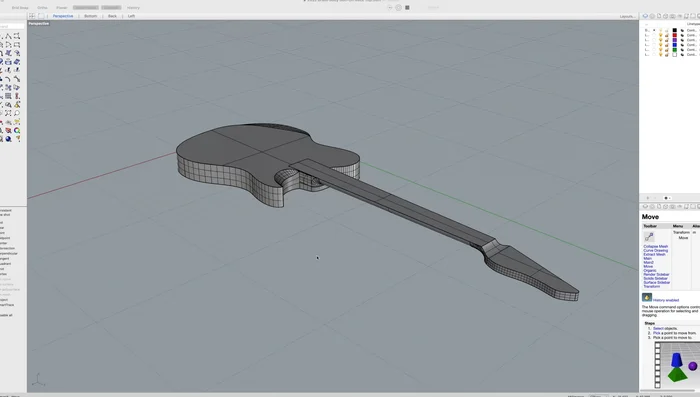
Planning and Material Preparation
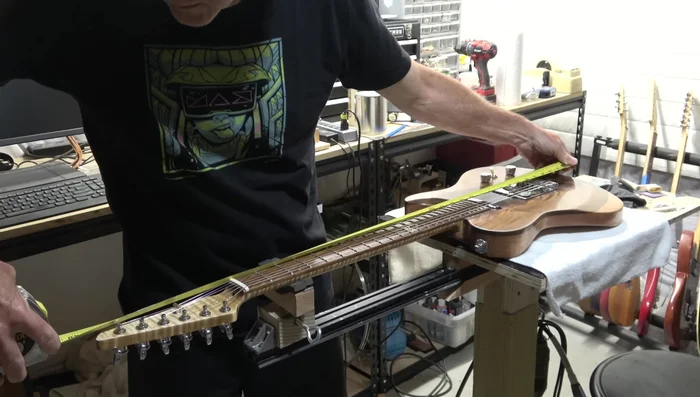
- Determine case dimensions by measuring the guitar and adding 3 inches to length and width.
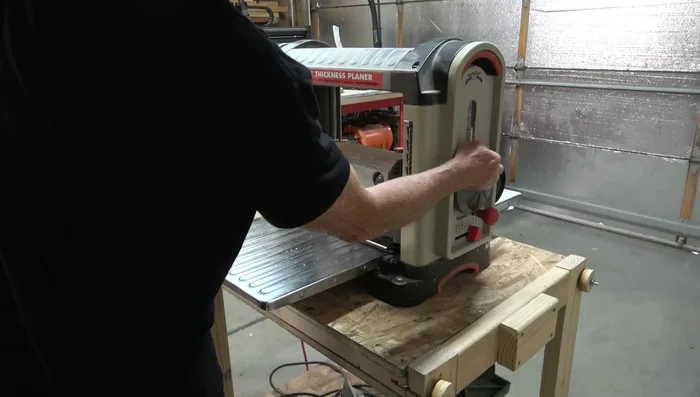
- Plane down pine wood for sides to a final thickness of 0.5 inches.
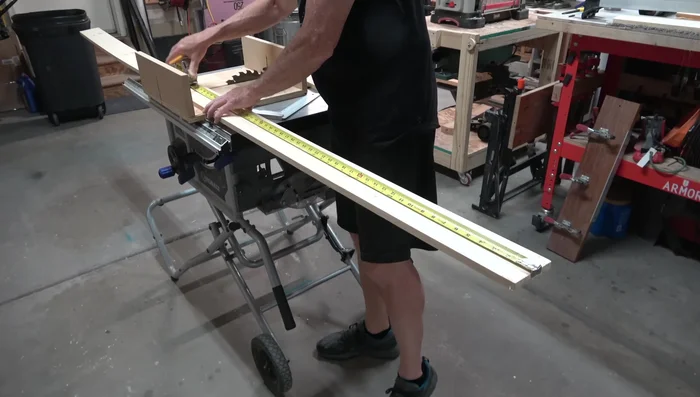
- Cut end pieces and sides, accounting for end piece thickness in side length calculations.

Planning and Material Preparation Case Construction
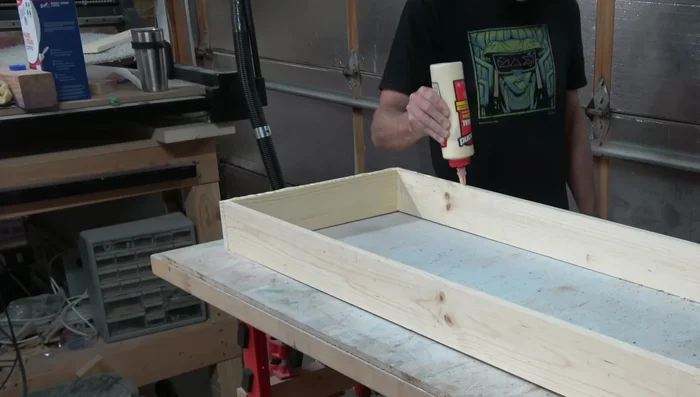
- Assemble the box using a butt joint, gluing and securing with brads. Check squareness using diagonal measurements.
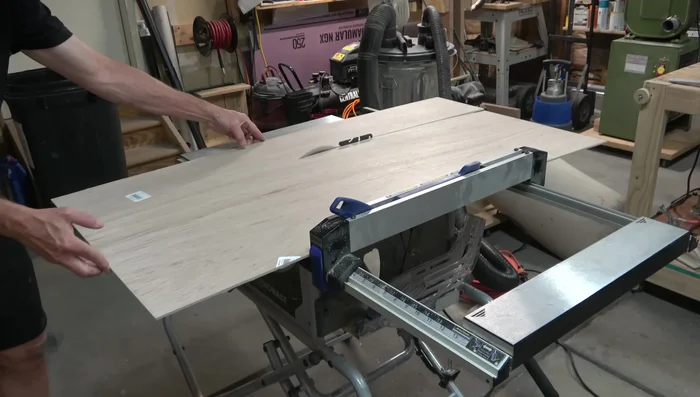
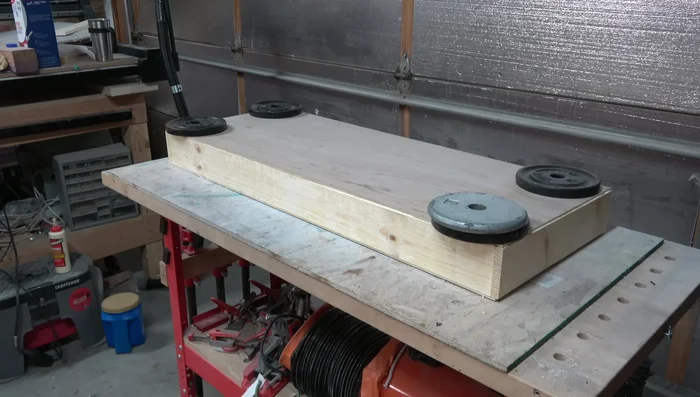
- Cut plywood top and bottom to match overall case dimensions.
- Attach top and bottom to sides with glue and brads, using weights to ensure flatness while drying.
Case Construction Finishing and Refinement
- Fill imperfections with paste wood filler, sand smooth, and round over edges with a trim router.
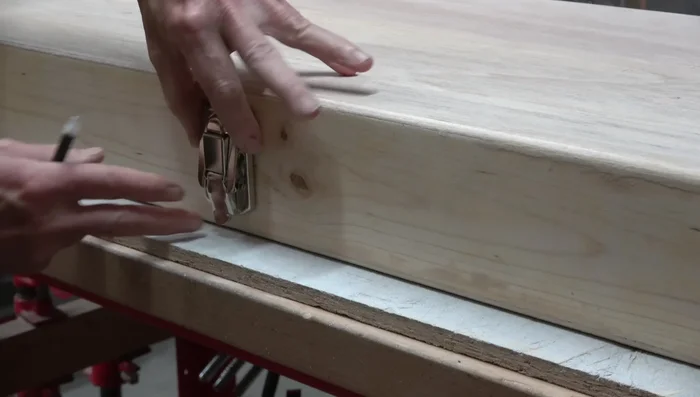
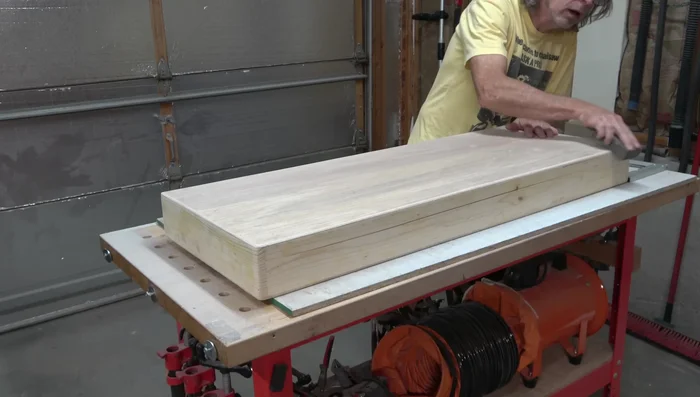
- Create the opening by using a table saw with a fence to cut a groove around the perimeter of the case (ensure perpendicularity).
- Mark matching ends before applying coating. Sand, tack rag to remove dust.
Finishing and Refinement Coating and Protection
- Apply two coats of Duratex coating, using a roller for a consistent texture.
Coating and Protection Interior Customization
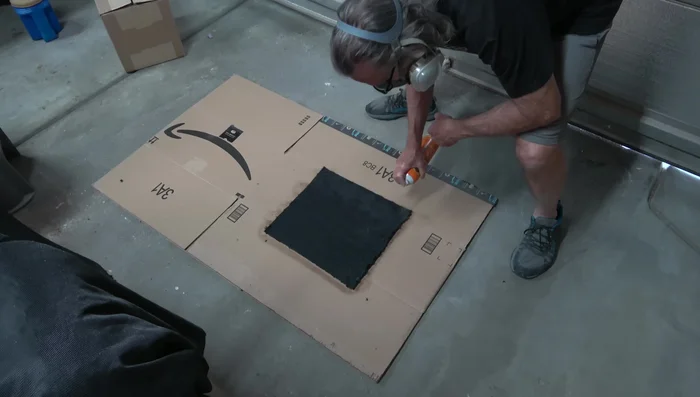
- Create and install inner foam inserts to hold the guitar.
- Line the case interior with faux fur, gluing it to the inserts using spray adhesive.
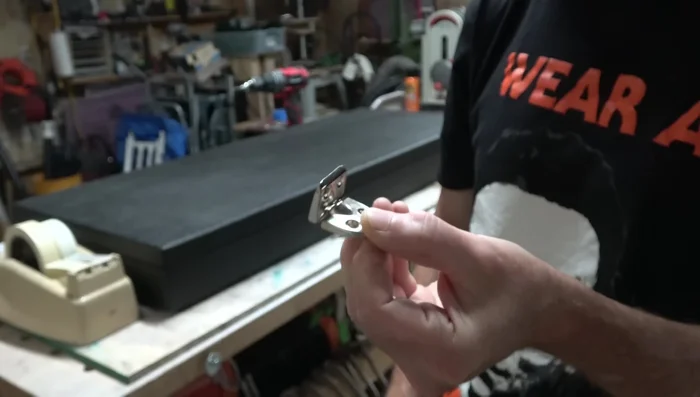
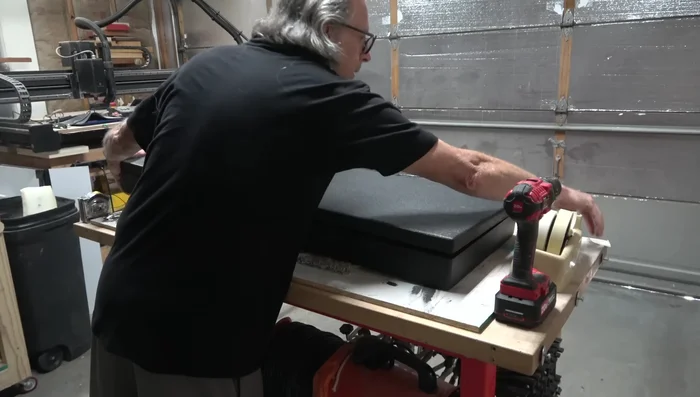
Interior Customization Hardware Installation
- Install hinges using pilot holes and screws.
- Determine handle placement using a balance point test (PVC pipe). Mount the handle, ensuring it lays flat when not in use.
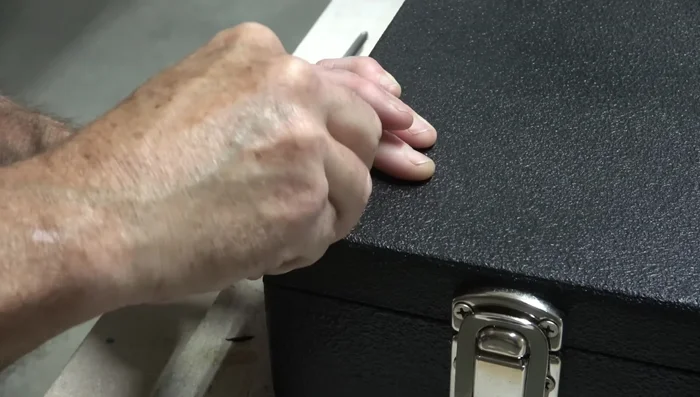
- Install three latches (one near the center and two near the ends).
- Add corner protectors.
Hardware Installation


Read more: Deep Clean Your Case: A Step-by-Step Guide
Tips
- Test any adhesive on all materials before applying.
- Let spray adhesive tack up for about a minute before applying faux fur for better adhesion.