Plastic socket sets, while convenient and often affordable, are susceptible to damage. A common point of failure is the latch mechanism, often leading to a frustratingly loose and unreliable closure. This can result in lost sockets, damaged tools, and general inconvenience. A broken latch, however, doesn't necessarily mean the end of your trusty socket set case. Many cases can be effectively repaired using readily available materials and simple techniques. This often overlooked problem has a straightforward solution, perfect for DIY enthusiasts or anyone seeking to extend the life of their tools.
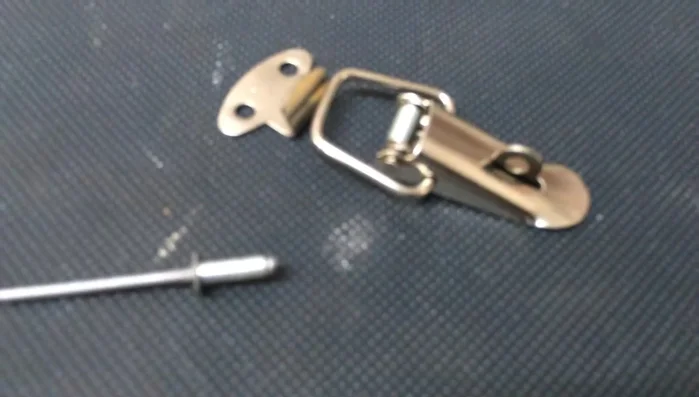
This article focuses on a reliable and effective repair method utilizing rivets and washers to resecure a broken plastic socket set latch. We'll guide you through a step-by-step process, providing clear instructions and images to ensure a successful repair, restoring functionality and peace of mind to your tool organization. Let's get started!
Preparation and Safety Guidelines
- 1/8 inch drill
- 1/8 inch rivets
- 3x Washers
- Square Nut (optional)
- Soldering Iron (optional)
- Always wear safety glasses to protect your eyes from flying debris during drilling and riveting.
- Use a drill bit slightly smaller than the rivet shank to avoid cracking the plastic. Start slowly and apply even pressure.
- If unsure about any step, consult a professional or seek assistance from a repair shop. Attempting a repair beyond your skill level could damage the case further.
Step-by-Step Instructions
Prepare for Riveting
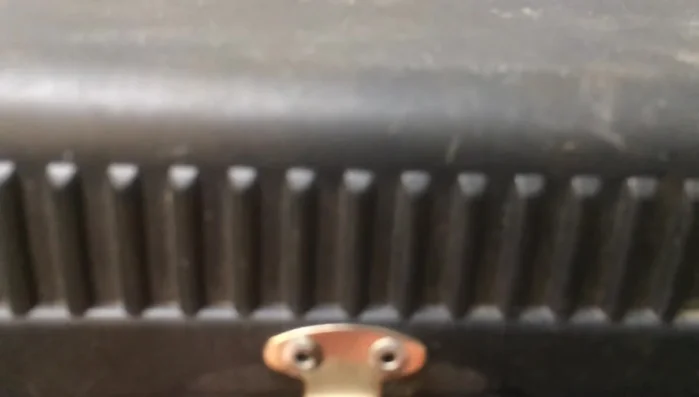
- Drill 1/8 inch holes where the broken latch was located. There should be two holes on the top and two on the bottom.
- Use a square nut (or other suitable gauge) to ensure even spacing when positioning the bottom latch. Mark the positions for the bottom holes using the gauge.

Prepare for Riveting Drill Bottom Holes
- Drill the bottom holes based on your markings.
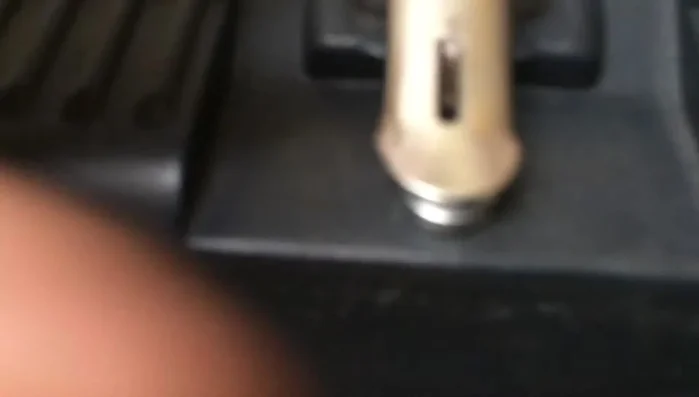
Drill Bottom Holes Install Top Rivets
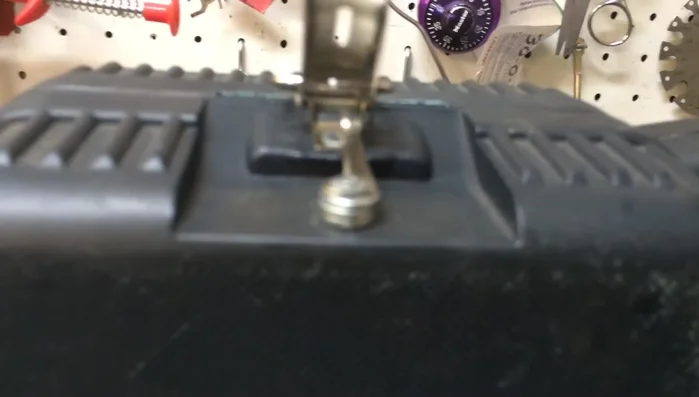
- Install rivets in the top holes first.
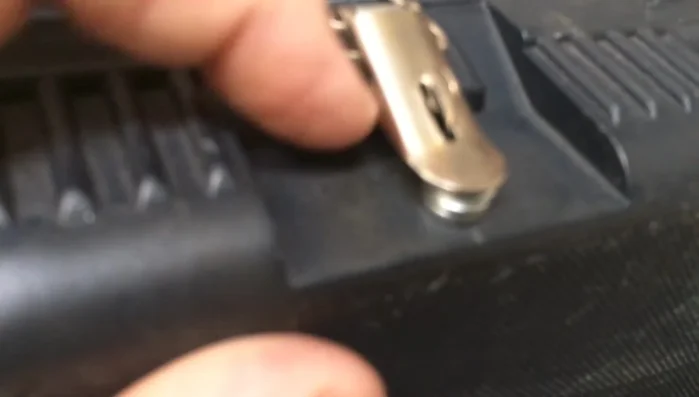
Install Top Rivets Install Bottom Rivets and Washers
- Install the bottom rivets.
- Stack three washers on each rivet before securing the latch.
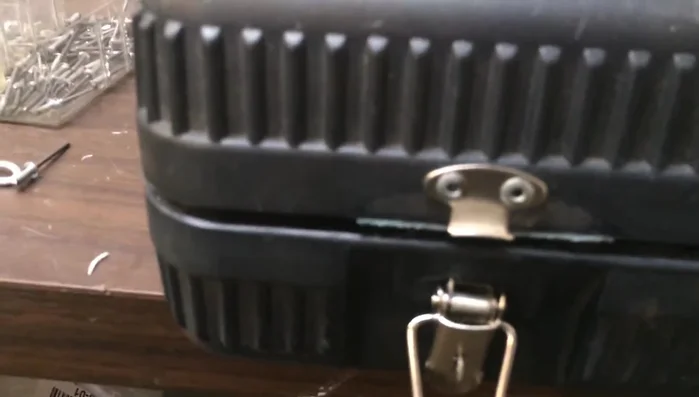
Install Bottom Rivets and Washers Secure the Latch
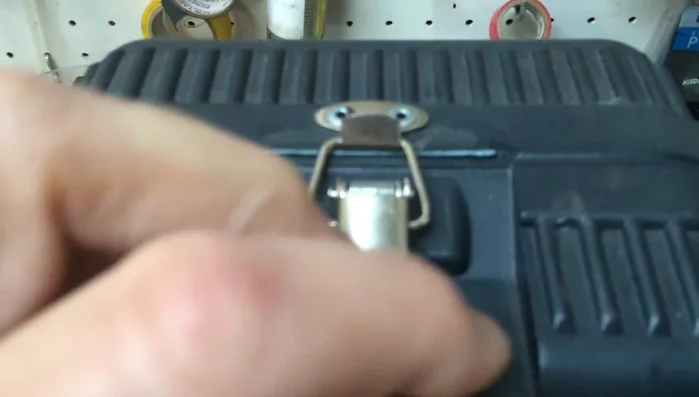
- Use a small piece of solder (or similar) to lock the latch in place.
Secure the Latch
Read more: Deep Clean Your Case: A Step-by-Step Guide
Tips
- Use 1/4 inch rivets for areas needing build-up, and shorter rivets for hollow areas.
- The case is hollow, so you don't need long rivets.
- Use a gauge (like a square nut) to ensure both sides of the latch are equidistant.
- Measure carefully to determine the rivet length needed.