Protecting your cherished guitar is paramount, and while commercially available cases offer excellent protection, they often come with a hefty price tag. Building your own DIY guitar case is a surprisingly accessible and rewarding project, allowing you to craft a custom-fit solution tailored to your instrument’s specific dimensions and aesthetic preferences. This approach not only saves money but also provides a unique sense of accomplishment, allowing you to personalize your guitar’s carrying case to match your individual style. You'll be amazed at how simple it is to create a robust and protective case for your prized possession.
This guide offers a straightforward, step-by-step approach to building a functional and attractive DIY guitar case, even if you're a complete beginner in woodworking. From selecting the right materials to the final finishing touches, we'll walk you through each stage of the process, ensuring you end up with a case you'll be proud to own and use. Let's get started with the first step in this fulfilling project.
Preparation and Safety Guidelines
- 3/4 inch plywood
- Miter saw
- Table saw
- Screws
- Wood glue
- Roundover bit
- Orbital sander
- Wood filler
- Upholstery foam
- Sharp knife or rotary cutter
- Spray adhesive
- Tolex
- Velvet
- Hinges
- Corner pieces
- Handles
- Latches
- Always wear safety glasses when using power tools like saws and drills. Wood dust and flying debris can cause serious eye injuries.
- Use clamps to secure your wood pieces during gluing and assembly. This prevents shifting and ensures a strong, even joint. Improper clamping can lead to weak joints and a damaged case.
- Sharp tools like chisels and knives require careful handling. Always cut away from your body and use a cutting mat to protect your work surface.
Step-by-Step Instructions
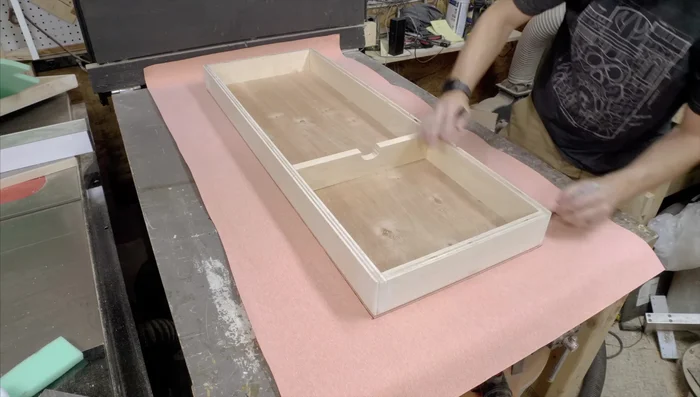
Cut and Assemble the Case Body
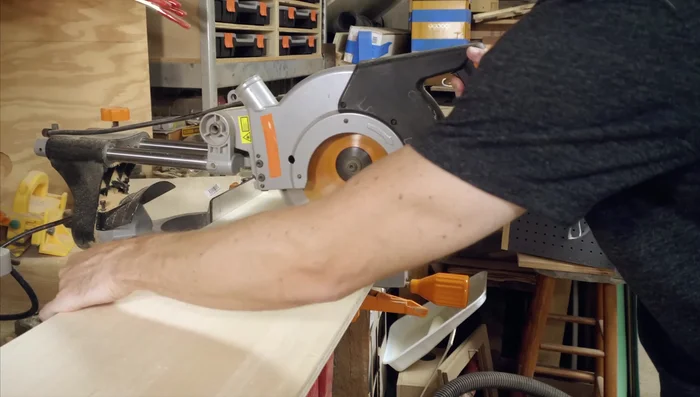
- Cut plywood pieces for the case sides and ends using a miter saw and table saw.
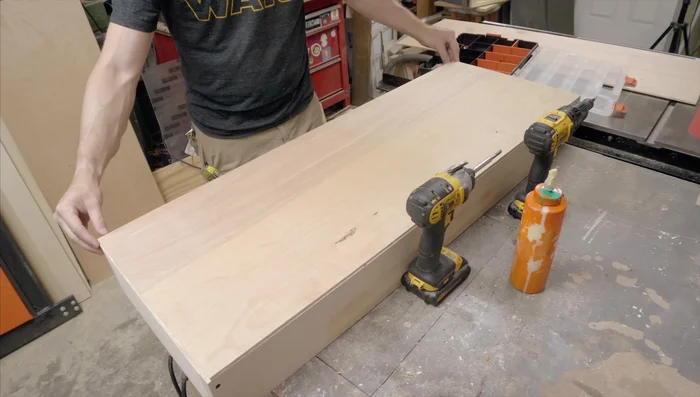
- Assemble the box using glue and screws, ensuring screws are placed consistently for later cutting.
- Cut the box in half using a table saw.

Cut and Assemble the Case Body Create and Attach Top and Bottom
- Create the top and bottom using 1/8 inch plywood, gluing and screwing them to the box.
Create and Attach Top and Bottom Smooth and Finish the Wood
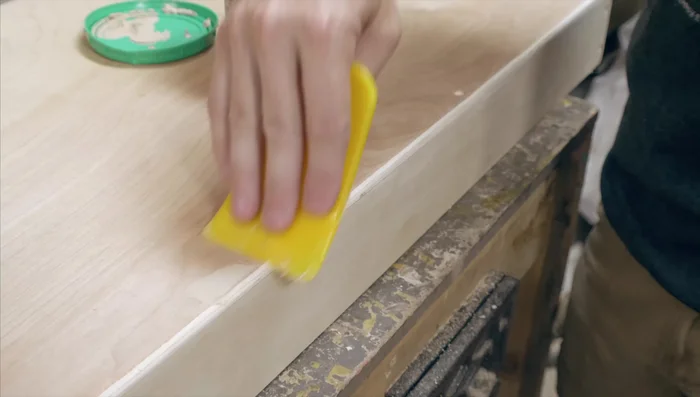
- Round over all corners using a roundover bit and smooth with an orbital sander.
- Fill screw holes and gaps with wood filler and sand smooth.
Smooth and Finish the Wood Prepare the Interior
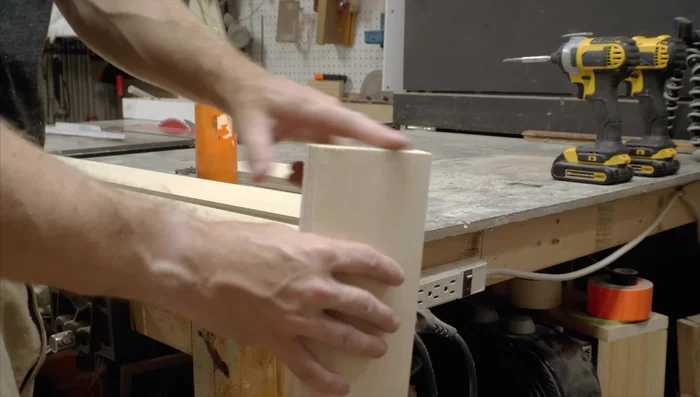
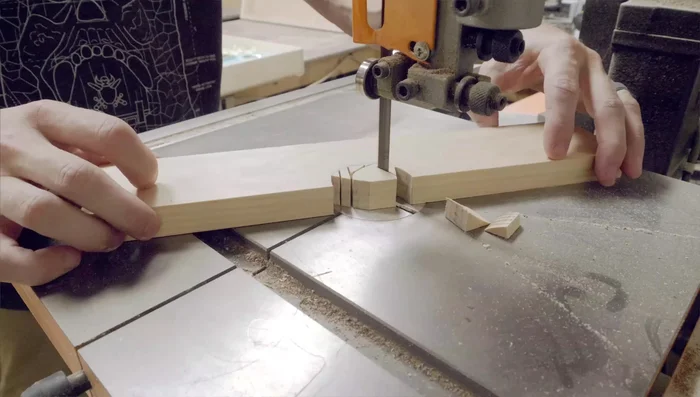
- Cut a slot for the neck using a bandsaw and trim for a snug fit. Account for added interior padding.
Prepare the Interior Line the Interior with Foam
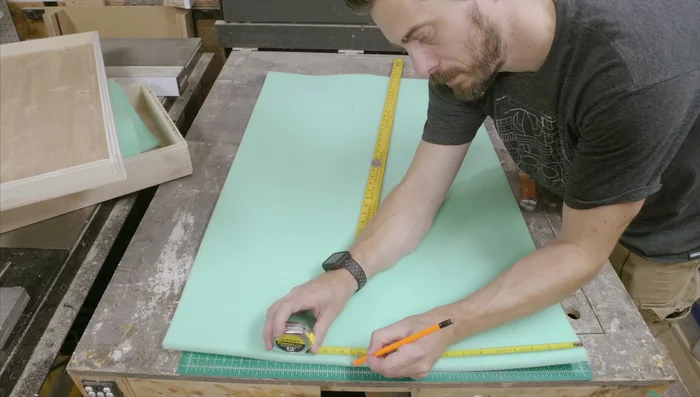
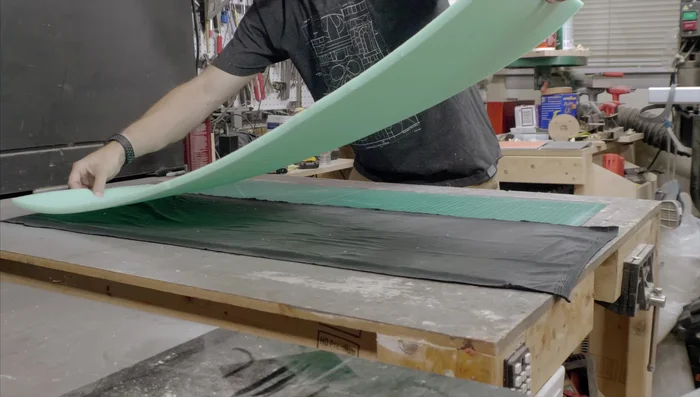
- Line the inside of the case with 1-inch upholstery foam, cutting to wrap around the guitar.
Line the Interior with Foam Cover with Tolex
- Cover the case with Tolex using spray adhesive. Apply adhesive to both surfaces, let dry, and then adhere. Work in sections for best results.
Cover with Tolex Line with Velvet
- Apply velvet to the foam lining using spray adhesive. Work carefully to avoid wrinkles.
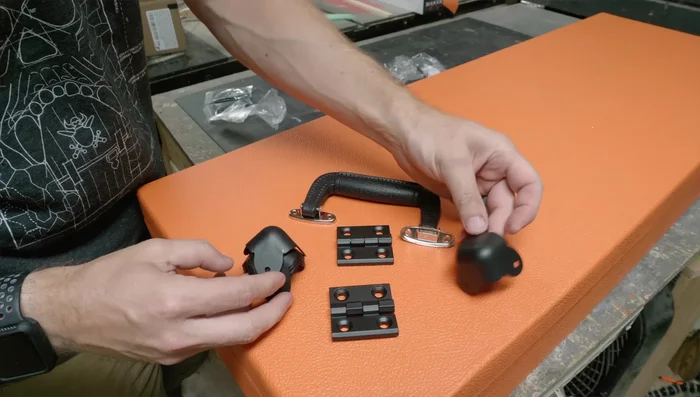
Line with Velvet Attach Hardware
- Attach hinges, corner pieces, handles, and latches.
Attach Hardware

Read more: Deep Clean Your Case: A Step-by-Step Guide
Tips
- Pre-drill and countersink screw holes to avoid hitting screws when cutting the box.
- Avoid using screws where you plan to use a roundover bit. Remove screws and fill holes with wood filler before rounding over.
- Use a metal ruler to help when cutting foam.
- For best results when using spray adhesive, apply to both surfaces, let them dry, then adhere.
- Consider the type of corner pieces when selecting hardware. Sharp corners require different pieces than rounded corners.