Tired of tangled yarn or thread constantly disrupting your crafting projects? Do those frustrating knots and snarls leave you pulling your hair out? Then you're in the right place! This quick and easy guide will show you how to construct your own DIY string winder, transforming your crafting experience from chaotic to controlled. Forget expensive, store-bought solutions – with just a few simple materials and a bit of ingenuity, you can create a personalized winder perfectly suited to your needs. Say goodbye to frustrating tangles and hello to organized crafting.
This simple project requires minimal time and even fewer tools, making it perfect for beginners and seasoned crafters alike. We'll walk you through each step of the process, from gathering your supplies to the final assembly, ensuring a smooth and successful build. Ready to conquer your yarn and thread chaos once and for all? Let's dive into the step-by-step instructions below!
Preparation and Safety Guidelines
- Stick
- Drill
- Drill bits (small and larger)
- Tape
- Pencil
- Vice (optional)
- Always use sharp, clean scissors or wire cutters to prevent fraying and ensure a clean cut on the string. Dull tools increase the risk of injury.
- Avoid winding string too tightly, as this can damage the winder or cause the string to snap back, potentially causing injury. Maintain a consistent, moderate tension.
- Supervise children closely if they are involved in any part of the string winder construction or use. String and sharp tools can be hazardous.
Step-by-Step Instructions
Prepare the Wood
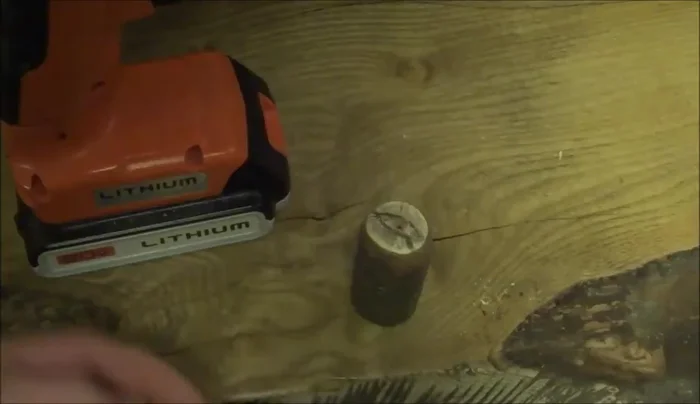
- Get a stick.
- Cut a segment of the stick with a diameter just big enough to cover the tuning key but small enough to fit between the other tuning pegs.
- Find the dead center of the stick segment. Mark the center point with a divot.
Mark and Drill the Socket
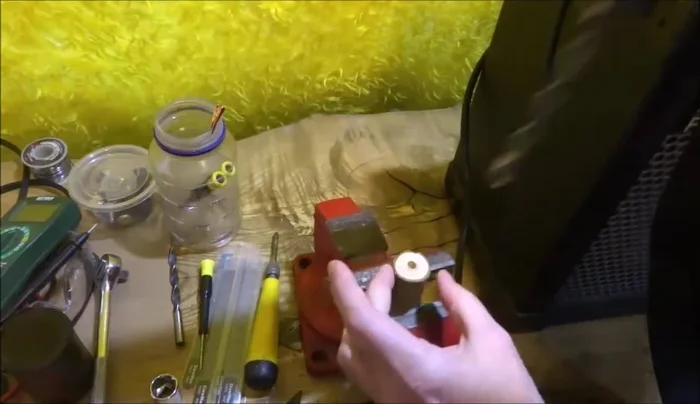
- Align the divot with the screw on the tuner and draw the outline of the socket.
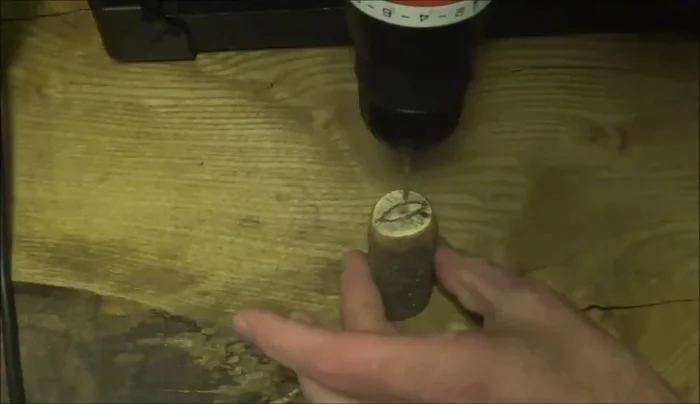
- Drill three small starter holes, using tape on the drill bit to control depth.
- Use a larger drill bit to drill out the bulk of the socket. Take it slow, especially for the middle hole, and consider using a vice.

Mark and Drill the Socket Test and Refine
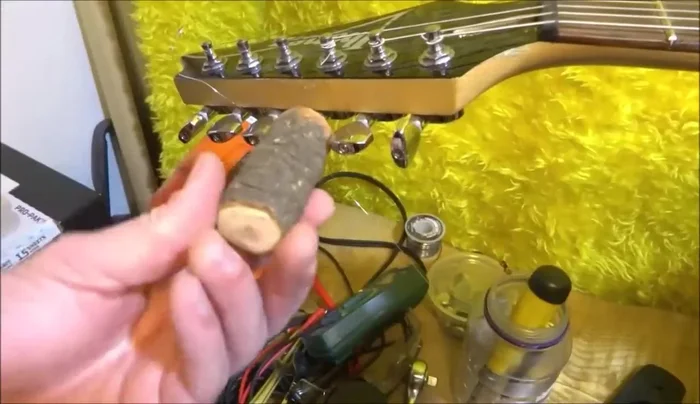
- Test the fit of the socket on the tuning peg.
- Drill a hole in the center of the socket and insert a mini pencil for stability.
Test and Refine

Read more: Fast & Easy Guitar Stringing: The Winder Method
Tips
- Use a vice to hold the stick while drilling for better control.
- When creating the drill bit attachment, set your torque setting low and drill straight.
- Don't overwind the strings to avoid damage.