Protecting your prized Gerber guitar deserves a dedicated and easily accessible storage solution, and that's where a sturdy guitar case rack comes in. Tired of cluttered corners and the risk of accidental damage? A well-organized rack not only keeps your instruments safe but also elevates the aesthetic of your music space, showcasing your collection with pride. Gerber guitar case racks are known for their robust construction and relatively straightforward assembly, making them a popular choice for musicians of all levels.
This simple guide will walk you through a quick and easy assembly process for your Gerber guitar case rack, ensuring you have your instruments safely stored in minutes. Forget wrestling with complicated instructions and frustrating hardware; we'll break down each step with clear explanations and helpful images, transforming the task from daunting to delightful. Let's get started with the step-by-step assembly instructions below.
Preparation and Safety Guidelines
- Gerber Guitar Case Rack
- Screwdriver
- Always ensure the rack is assembled on a stable, flat surface to prevent tipping and injury during assembly.
- Use the provided hardware only. Using incorrect or damaged hardware may compromise the structural integrity of the rack and potentially cause damage or injury.
- If any parts are damaged or missing, do not attempt assembly. Contact Gerber customer service immediately for assistance or replacement parts.
Step-by-Step Instructions
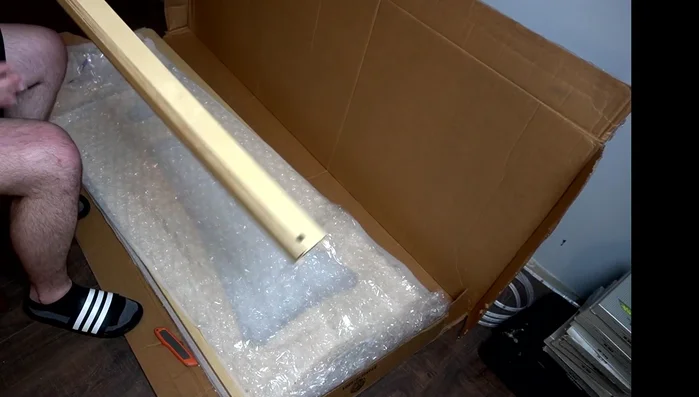
Identify Components
- Identify the wooden arms and side panels in the packaging.

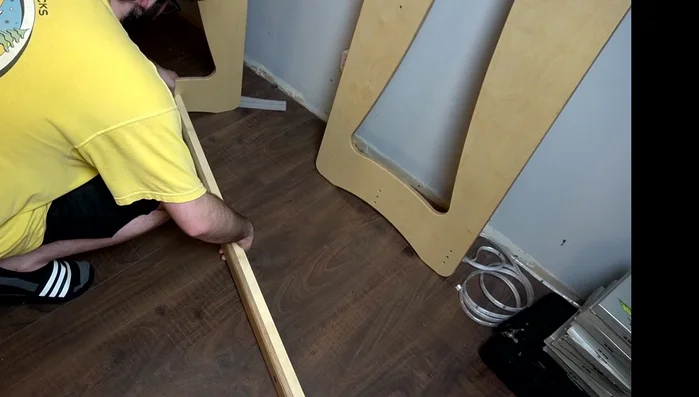
Identify Components Assemble Side Panels and Posts
- Insert the wooden posts (little posts) into the side panels. Start with one side; once one post is in, the rack will stand on its own.
- Continue inserting the remaining posts into the panels.
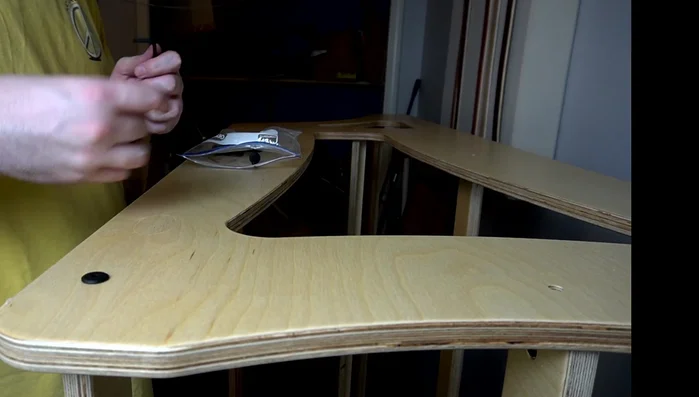
Assemble Side Panels and Posts Secure Leg Joints
- Insert the screws into the leg joints. It’s a good idea to countersink the screws (screw them in, then slightly out, then back in) to ensure a solid connection.
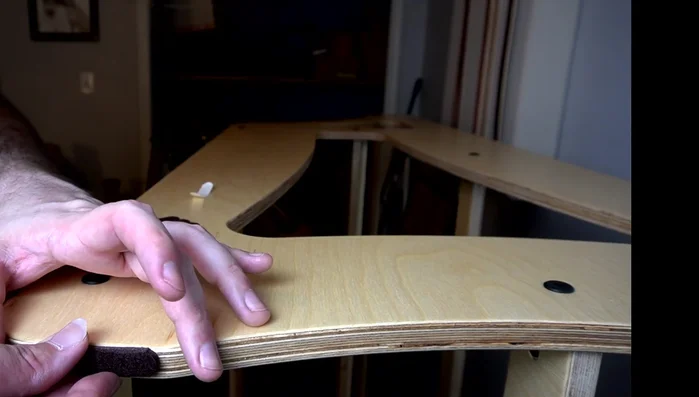
Secure Leg Joints Apply Floor Protectors
- Apply the adhesive strips to the bottom of the rack to protect your floors.
Apply Floor Protectors Remove Stickers
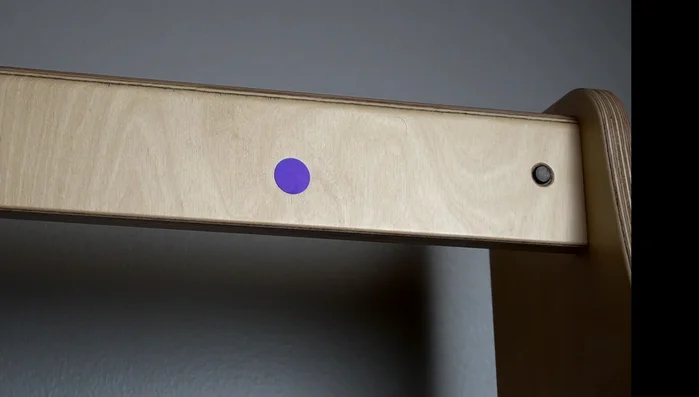
- Remove the blue stickers indicating the front of the rack.
Remove Stickers

Read more: Deep Clean Your Case: A Step-by-Step Guide
Tips
- One person can assemble this; however, having another person assist isn't a bad idea.
- The assembly process is very simple and should take less than 20 minutes.
- The blue stickers are easily removable and won't damage the finish.