The crackle and pop of a vintage vinyl record, a sound synonymous with nostalgia and musical history, can be heartbreaking when overshadowed by scratches and damage. For many, these records represent irreplaceable memories and cherished musical experiences. The unique warmth and depth of sound offered by vinyl can’t be replicated, making the restoration of damaged records a worthwhile endeavor for audiophiles and collectors alike. But fear not, the seemingly delicate art of vinyl repair is more accessible than you might think.
This guide provides a comprehensive and practical approach to restoring your prized vintage vinyl, breathing new life into those cherished grooves. From minor surface cleaning to tackling more significant damage, we'll walk you through the process step-by-step, equipping you with the knowledge and techniques needed to revitalize your collection. Let's get started on the journey to preserving your musical legacy.
Preparation and Safety Guidelines
- Glue
- Tape
- Water
- Small tools (e.g., screwdriver)
- Craft knife or similar
- Always handle vinyl records gently to avoid further damage. Avoid touching the playing surface with your fingers.
- Use only specialized vinyl cleaning solutions and cloths. Harsh chemicals or abrasive materials can permanently damage the record surface.
- Work in a clean, dust-free environment to prevent introducing new contaminants to the record during cleaning and repair.
Step-by-Step Instructions
Preparation
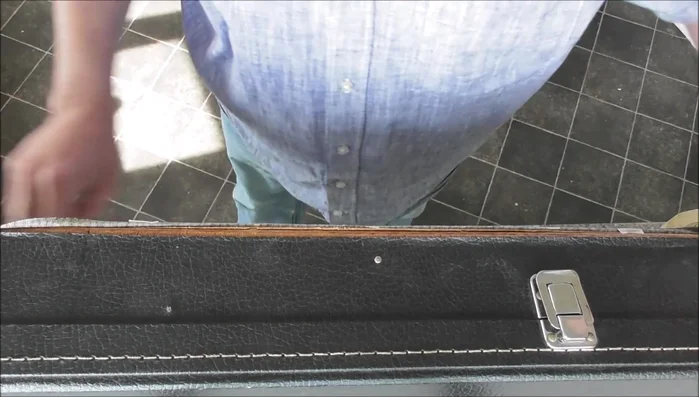
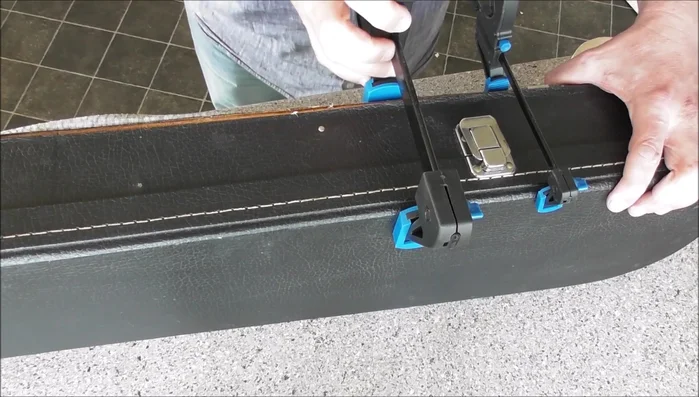
- Prepare the damaged area. Gently push back the loose vinyl to prevent mixing with other parts.

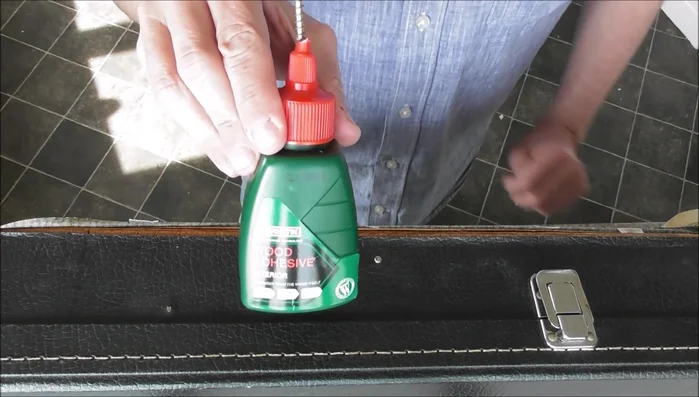
Preparation Initial Adhesion
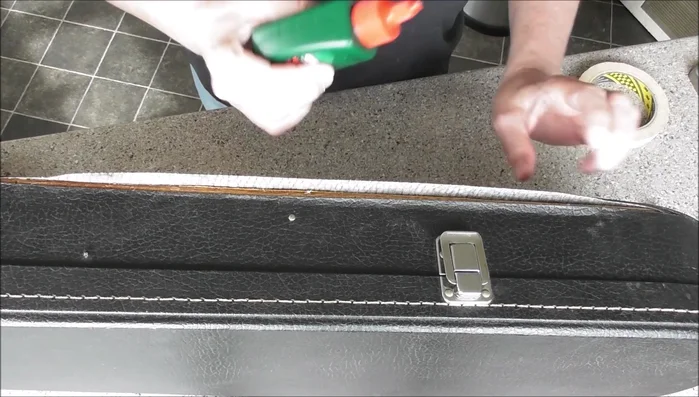
- Apply a small amount of water to the detached vinyl to help with adhesion.
- Apply glue (referred to as 'evil stick' in the video) to the damaged area. Apply glue to the underside of the vinyl and to the area needing repair.
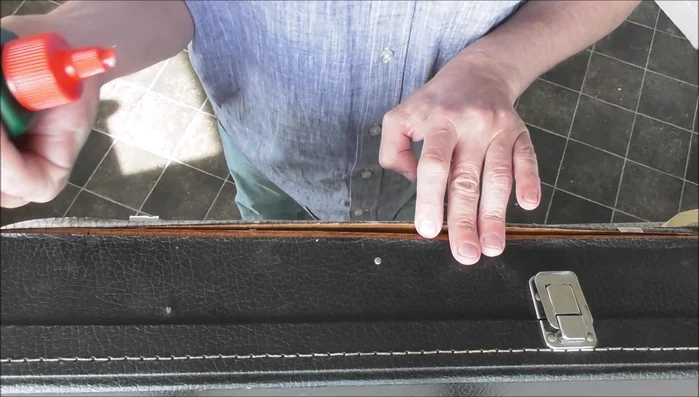
- Carefully adhere the vinyl back to the item, working in sections. Use a tool like a spatula to smooth out the glue and remove air bubbles.
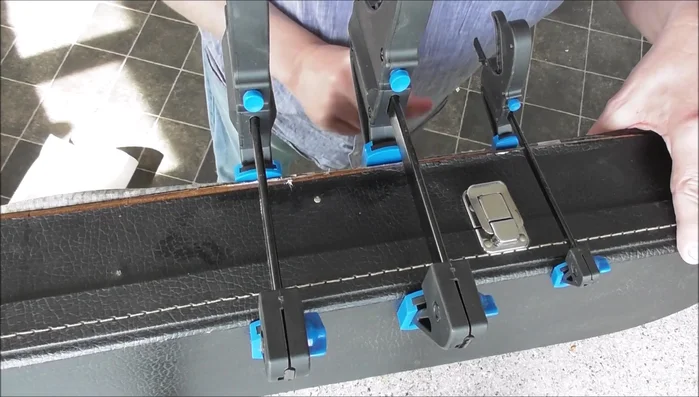
Initial Adhesion Securing the Repair
- Secure the repair with tape, ensuring even pressure along the seams and edges.
Securing the Repair Drying and Curing
- Allow the glue to fully dry.
Drying and Curing Addressing Remaining Loose Pieces
- Once the glue is dry, any remaining loose pieces can be carefully adhered using glue and tape.
Addressing Remaining Loose Pieces Final Securing and Drying
- Apply additional glue and tape as necessary to further secure the repair.
- Once everything is set, apply more tape to hold things in place and allow for the glue to dry completely.
Final Securing and Drying


Read more: Deep Clean Your Case: A Step-by-Step Guide
Tips
- Work in sections to prevent large clumps of glue.
- Apply even pressure to prevent air bubbles and ensure proper adhesion.
- Don't rush the process. Allow ample drying time for the glue.
- Use tape strategically to support the repair during drying.