Is your acoustic guitar sounding a little…off? Frustrated with struggling to tune your strings? You're not alone! Many guitarists, both beginners and experienced players, find tuning a persistent challenge. But it doesn't have to be a laborious process. Achieving the perfect pitch can be quick, easy, and even enjoyable with the right techniques and a little practice. A well-tuned guitar unlocks its full potential, enhancing your playing experience and allowing your music to truly shine.
This guide will equip you with the essential knowledge and simple steps to tune your acoustic guitar efficiently. Whether you're using a tuner, relying on your ear, or employing alternative methods, we'll cover various approaches to ensure you're playing in perfect harmony. Ready to get started and transform your guitar's sound? Let's dive into the step-by-step tuning process below.
Preparation and Safety Guidelines
- Acoustic steel string guitar
- Guitar with preamp and tuner
- Never force a tuning peg. If a string feels too tight or resists turning, stop immediately. Forcing it can break the string or damage the tuning peg.
- Use a reliable tuner. While you can tune by ear, a tuner (clip-on, app, etc.) ensures accuracy and avoids developing bad habits.
- Tune gradually. Make small adjustments to the tuning pegs rather than large, sudden turns. This helps maintain even tension on the strings and prevents damage.
Step-by-Step Instructions
Prepare for Tuning
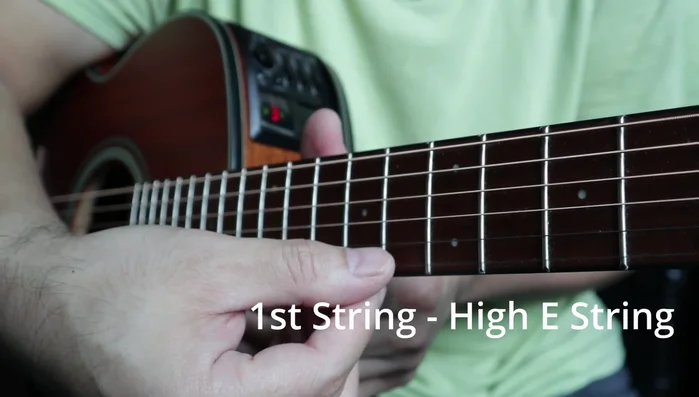
- The thinnest string is the 1st string (high E), followed by the 2nd (B), 3rd (G), 4th (D), 5th (A), and 6th (low E).
- Activate the tuner on your guitar's preamp.

Prepare for Tuning Identify Tuning Knobs
- Identify which tuning knob corresponds to each string by following the string from the tuning peg to the tuning knob.
Identify Tuning Knobs Tune Each String
- Tune each string individually using the tuner. Turn the tuning knob clockwise to tighten (raise pitch) and counter-clockwise to loosen (lower pitch).
- Use the tuner's visual indicators (arrows) to guide your tuning. An arrow to the left indicates you need to raise the pitch; an arrow to the right indicates you need to lower the pitch. Tune until both arrows illuminate.
Tune Each String Verify Tuning
- After tuning all strings, play a chord (e.g., an open E chord or open G chord) to check the tuning.
Verify Tuning


Read more: Fixing Loose Acoustic Guitar Tuners: The Toothpick & Glue Method
Tips
- Memorize string names using a mnemonic device like 'Eddie Ate Dynamite, Good Bye'.