Learning to play guitar is a rewarding journey, but mastering the instrument starts with proper tuning. A slightly out-of-tune guitar can make even the simplest chords sound unpleasant, hindering your progress and potentially discouraging you. Luckily, achieving perfect pitch is easier than ever thanks to the ubiquitous clip-on tuner. These handy devices offer a quick and accurate way to tune your guitar, eliminating the guesswork and frustration often associated with traditional tuning methods. They're affordable, easy to use, and provide instant feedback, making them the perfect tool for beginners and seasoned players alike.
This simple guide will walk you through the process of tuning your guitar using a clip-on tuner, ensuring you're ready to play in minutes. We'll cover everything from attaching the tuner to interpreting its readings and adjusting your tuning pegs, so let's get started with a step-by-step approach to achieving that perfect, resonant sound.
Preparation and Safety Guidelines
- Clip-on tuner
- Acoustic Guitar
- Always ensure the clip-on tuner is securely attached to the headstock to avoid accidental damage or inaccurate readings.
- Avoid touching the strings unnecessarily while tuning to prevent inaccurate readings and potential string breakage.
- If your tuner gives consistently strange readings, check its battery and ensure it's correctly positioned on the headstock, away from any potential magnetic interference.
Step-by-Step Instructions
Attach the Tuner
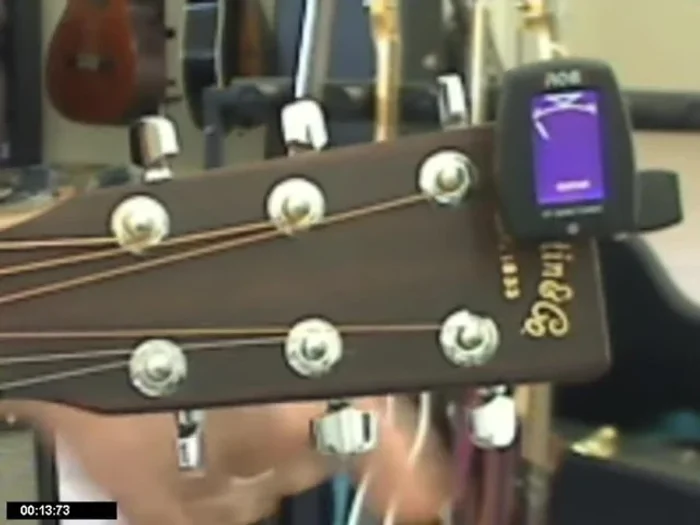
- Attach the clip-on tuner to the headstock of your guitar, aiming for the logo.
Learn String Order
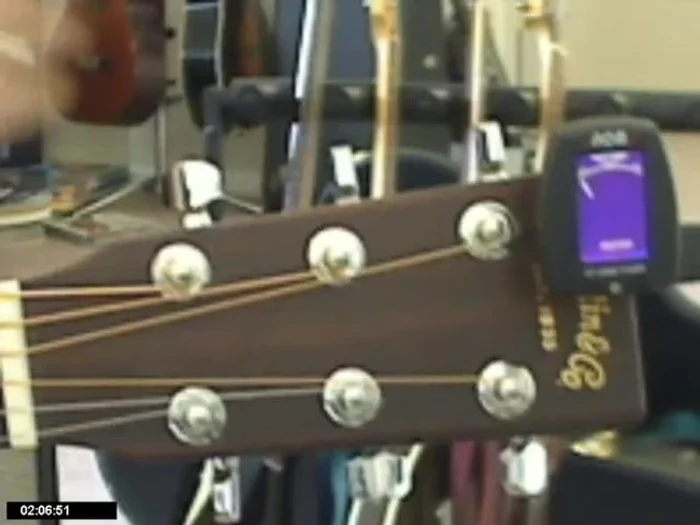
- Familiarize yourself with the string numbers (6-1) and names (E A D G B e). Remember that the strings are numbered from thickest to thinnest and that number 1 is furthest from you.
Tune Each String
- Tune each string one at a time, starting with the thickest string (6th string, low E).
- Repeat steps 4-6 for all six strings in order (6, 5, 4, 3, 2, 1 or E A D G B e).

Tune Each String Interpret Tuner Readings
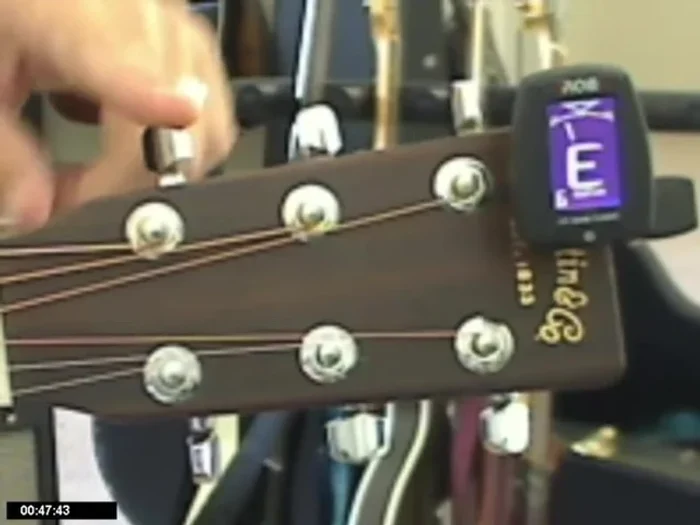
- Strum the string you are tuning and observe the tuner display. The needle should be centered, and the screen should turn green when in tune. If the needle is to the left, the string is too flat (low); if it's to the right, the string is too sharp (high).
Interpret Tuner Readings Adjust Tuning Pegs
- Adjust the tuning peg accordingly. Turning the peg clockwise tightens the string (raises the pitch), while turning it counter-clockwise loosens the string (lowers the pitch).
Adjust Tuning Pegs Maintain Clear Readings
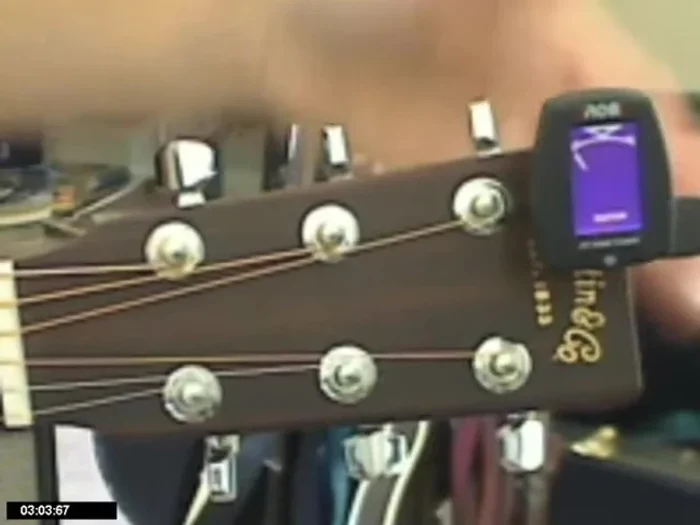
- To ensure the tuner gets a clear reading, pluck the string every few seconds while tuning.
Maintain Clear Readings

Read more: Fixing Loose Acoustic Guitar Tuners: The Toothpick & Glue Method
Tips
- Tune your guitar frequently – ideally before every playing session.
- To consistently adjust tuning pegs, lay your hand across the three tuning pegs on the same side and grab one at a time, rotating your thumb forward to tighten (raise pitch) and backward to loosen (lower pitch).
- If you slightly overshoot the correct tuning, it can be beneficial to adjust below the correct pitch and then gradually bring it back to ensure consistent string tension.