The low, resonant thrum of a perfectly tuned bass guitar is the bedrock of countless musical genres, providing the rhythmic pulse and harmonic foundation for everything from funk to metal. Getting your bass strings to that sweet spot, however, can sometimes feel like a frustrating battle against unruly metal. Many bassists struggle with tuning, often resorting to complicated methods or accepting slightly off-key notes. But achieving accurate tuning doesn't have to be a complex ordeal.
This guide will walk you through a simple, effective process for tuning your bass guitar strings, regardless of your experience level. We'll cover essential techniques and troubleshooting tips to ensure you're playing in perfect harmony, every time. Ready to unlock the full potential of your bass? Let's dive into the step-by-step process of tuning your bass guitar strings with ease.
Preparation and Safety Guidelines
- Guitar Tuner
- Always tune your bass slowly and gradually to avoid snapping strings or damaging the tuning pegs.
- Never over-tighten your strings. This can break them and damage your bass.
- If a string feels unusually difficult to tune or keeps slipping, it might be broken or about to break. Replace it immediately.
Step-by-Step Instructions
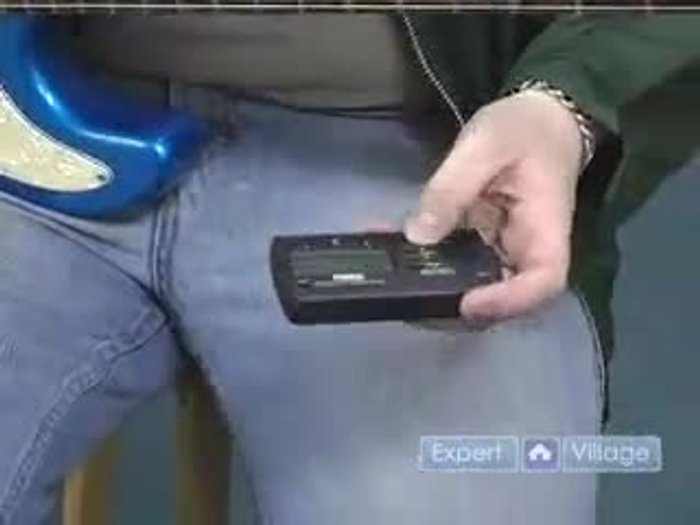
Power Up Tuner
- Turn on your tuner.

Power Up Tuner Tune Each String
- Pluck each string one at a time.
- Wait for the tuner to register the note.
- Match the needle/indicator to the green light or center marker on your tuner.
- If the needle is below the center, tighten the tuning peg. If it's above, loosen it.
Tune Each String - Check the letter displayed on the tuner to ensure it matches the correct string (E, A, D, G).
Tune Each String Repeat for All Strings
- Repeat steps 2-6 for each string until all are in tune.
Repeat for All Strings


Read more: Fixing Loose Acoustic Guitar Tuners: The Toothpick & Glue Method
Tips
- Make small adjustments to the tuning pegs to fine-tune the string.