Tired of your guitars leaning precariously against walls or crammed into cluttered cases? Do you crave a stylish and functional guitar stand without the hefty price tag of store-bought options? Then you've come to the right place! This guide will show you how to construct a robust and attractive 6-guitar stand using only a quarter sheet of MDF and a few readily available tools. We'll bypass complex joinery and focus on a design that prioritizes simplicity, sturdiness, and ease of construction, even for beginner DIY enthusiasts.
Forget expensive, complicated plans; this project is designed for efficiency and practicality. You'll be amazed at how easily you can transform a seemingly humble sheet of MDF into a custom-built stand perfect for your collection. Ready to get started on building your own amazing guitar stand? Let's dive into the step-by-step instructions!
Preparation and Safety Guidelines
- MDF or plywood
- adhesive-backed vinyl or paper template and spray adhesive
- straight edge
- circular saw
- jigsaw
- hole saw bit
- drill
- bandsaw
- sandpaper
- screws
- clamps
- paint (optional)
- foam tape (optional)
- razor (optional)
- Always wear safety glasses when cutting and sanding MDF. Dust and flying debris can cause eye injuries.
- Use appropriate clamps to secure the MDF during cutting and assembly to prevent injury and ensure accurate cuts.
- Ensure all screws are properly tightened to prevent the stand from collapsing and damaging your guitars.
Step-by-Step Instructions
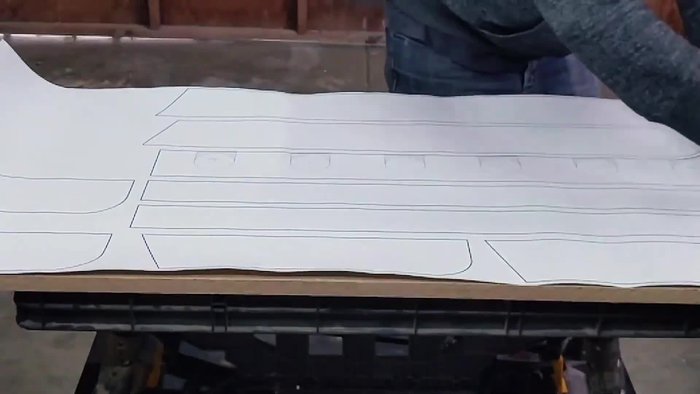
Prepare and Cut MDF
- Prepare the template and cut the MDF.

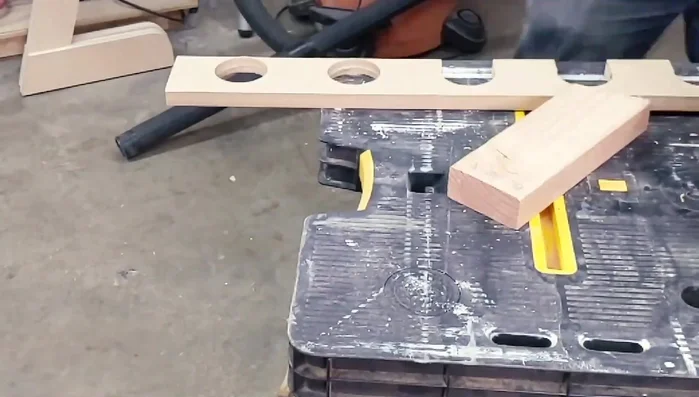
Prepare and Cut MDF Drill Neck Rest Holes
- Drill holes for the neck rest using a hole saw bit.
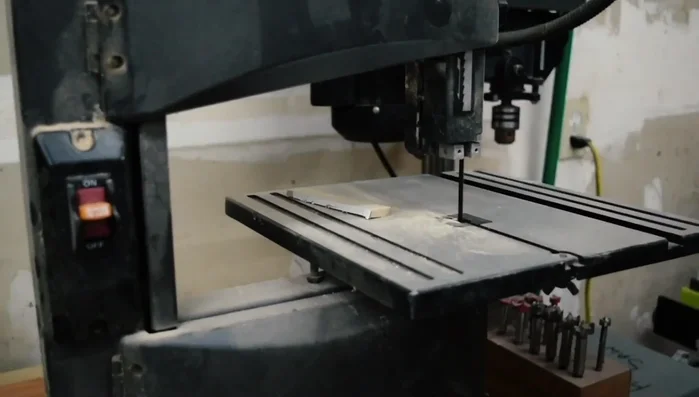
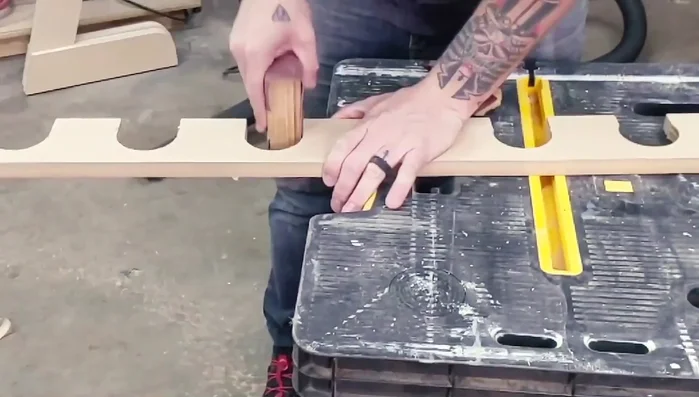
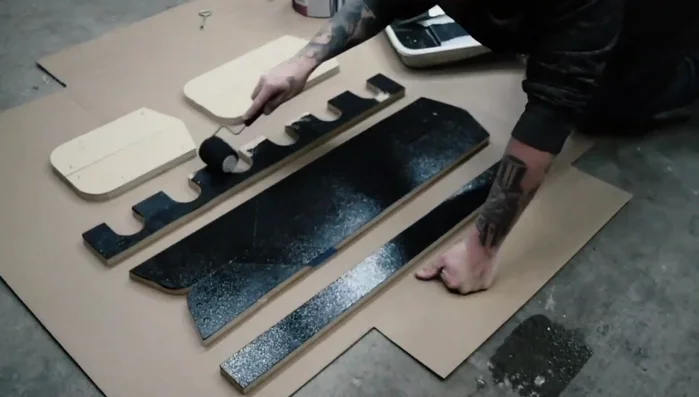
Drill Neck Rest Holes Bandsaw Cut and Initial Shaping
- Use a bandsaw to cut along the lines, leaving slightly outside the line for sanding.
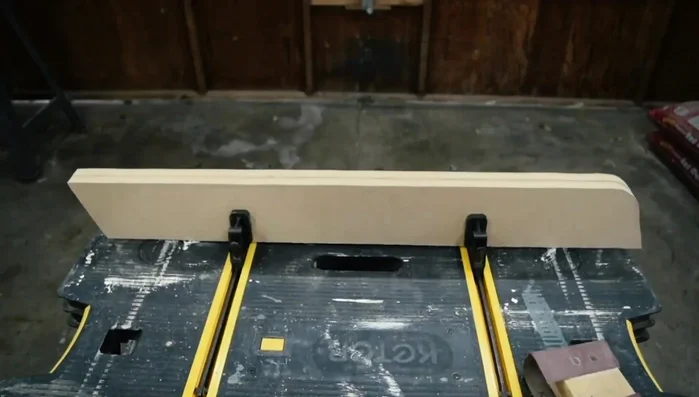
Bandsaw Cut and Initial Shaping Sand and Remove Template
- Remove the template and sand all matching pieces together until smooth.
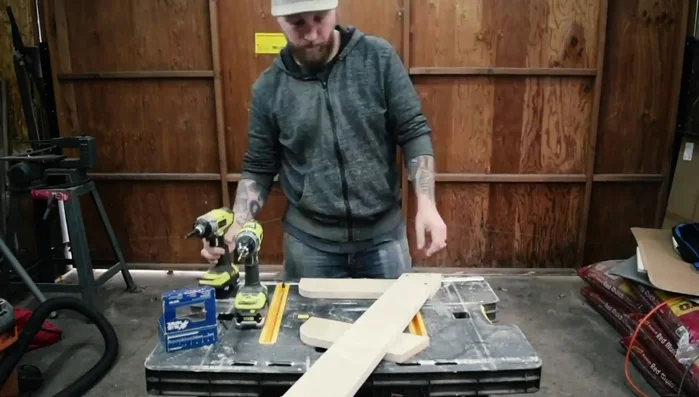
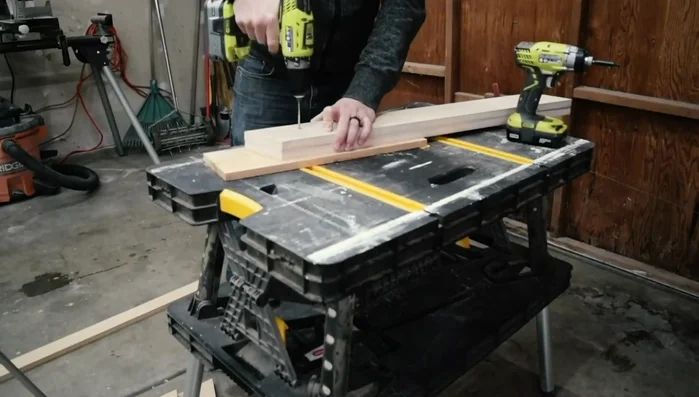
Sand and Remove Template Assemble Legs and Uprights
- Assemble the legs and upright piece using screws.
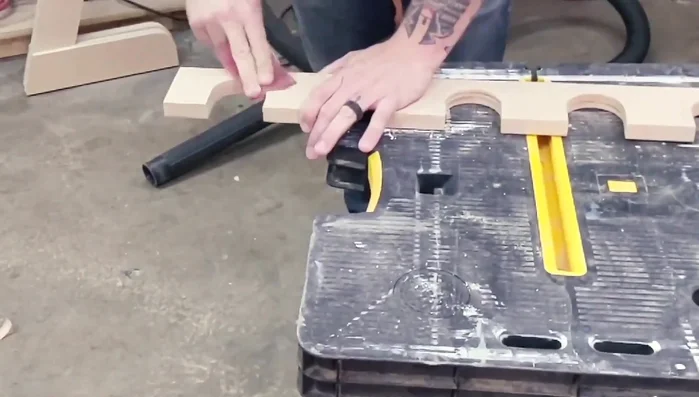
Assemble Legs and Uprights Cut Neck Rest Openings
- Cut out the neck rest holes with a jigsaw.
Cut Neck Rest Openings Sand Neck Rest
- Sand the inside and edges of the neck rest.
Sand Neck Rest Attach Neck Rest to Uprights
- Attach the neck rest to the uprights, pre-drill, and screw them together.
Attach Neck Rest to Uprights Attach Body Supports
- Attach the front support for the guitar bodies. Pre-drill holes and attach the body rest piece from both sides.
Attach Body Supports Final Assembly and Alignment
- Assemble the remaining parts, checking alignment before permanently attaching.
Final Assembly and Alignment Final Sanding
- Sand down all edges and corners for a smooth finish.
Final Sanding Painting and Padding (Optional)
- Paint (optional) and add foam padding to the body rests and neck pockets.
Painting and Padding (Optional)


Read more: 3D Printed Hercules Guitar Stand Handle Repair: A Durable Fix
Tips
- Using a jigsaw after rough cutting with a circular saw provides a cleaner cut.
- Sanding matching pieces together ensures symmetry.
- Pre-drilling holes before screwing prevents splitting the wood.
- Using clamps ensures proper alignment while screwing.