Protecting your cherished guitar from accidental bumps and scratches is paramount, and a sturdy guitar stand is the perfect solution. Whether you're a seasoned musician with a collection to display or a beginner just starting out, owning a reliable stand is essential for preserving your instrument's condition and ensuring its longevity. A well-chosen stand provides not only safety but also convenient access to your instrument, allowing you to grab it quickly for practice or performance. Incorrect assembly, however, can compromise this crucial protection.
This guide will walk you through the process of assembling a guitar stand, ensuring you set it up correctly for optimal instrument support. From unpacking the components to the final tightening of screws, we'll cover every step with clear instructions and helpful images, so you can confidently assemble your stand and safeguard your investment. Let's get started with our step-by-step guide to building your guitar stand!
Preparation and Safety Guidelines
- Always follow the manufacturer's instructions included with your specific guitar stand. These instructions may vary.
- Ensure the stand is fully assembled and stable before placing your guitar on it. A wobbly stand can damage your instrument.
- Inspect the stand regularly for any signs of wear or damage, especially the clamps or supports. Replace or repair as needed to prevent accidents.
Step-by-Step Instructions
Unboxing
- Unboxing and inspecting the guitar stand parts.
Assemble the Base
- Connect the three smaller stands to the main base using screws.

Assemble the Base Attach Middle Support
- Loosen the screw, attach to the base, adjust height, and tighten the screw.
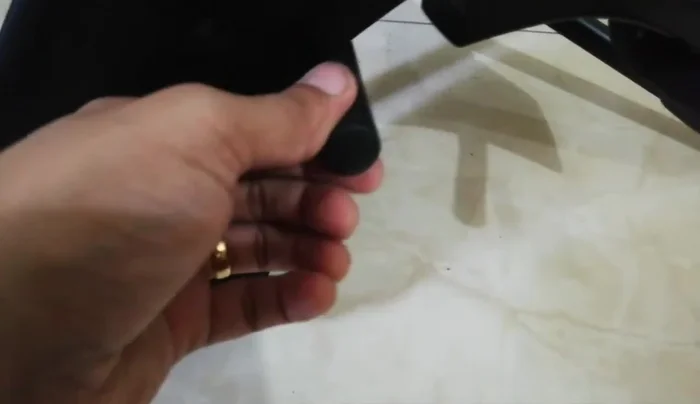
Attach Middle Support Connect Guitar Rest
- Find the protruded part on the rest and insert it into the corresponding hole on the middle support.
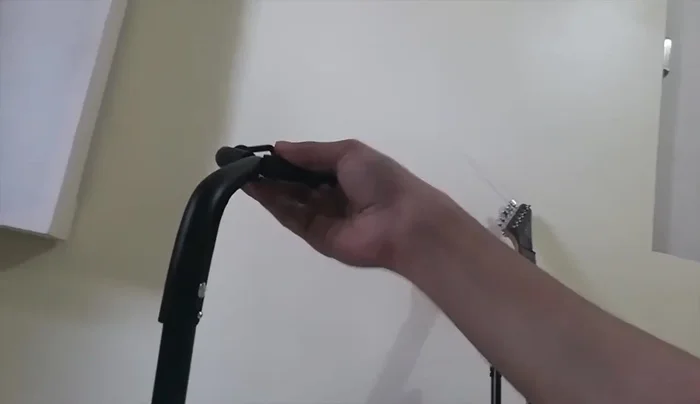
Connect Guitar Rest Adjust Neck Rest
- Open the neck rest and adjust it to fit your guitar's neck. Secure it in place.
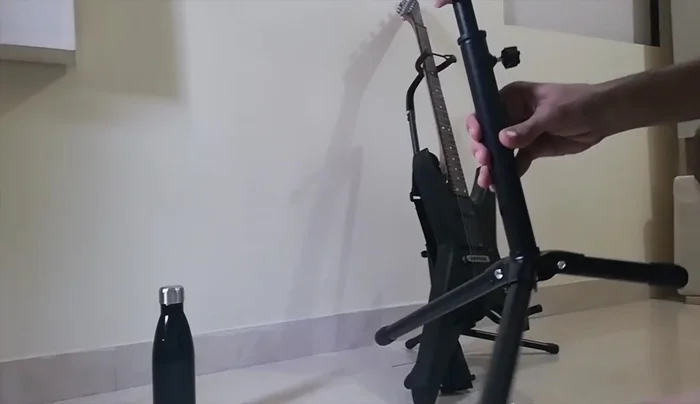
Adjust Neck Rest Place Guitar
- Carefully place your guitar on the stand, ensuring the neck and body are securely supported.
Place Guitar


Read more: 3D Printed Hercules Guitar Stand Handle Repair: A Durable Fix
Tips
- Be gentle when assembling the stand to avoid breaking any parts.
- The neck rest is adjustable; make sure it properly supports your guitar's neck.
- For guitars with unusual shapes (like Flying V), slight adjustments might be needed to ensure stability, even if it means a small part touches the ground.