Tired of your guitar leaning precariously against a wall, risking scratches and damage? Or maybe you're simply looking for a stylish way to showcase your pride and joy? A well-placed guitar stand not only protects your instrument but also enhances your room's aesthetic. Whether you're a seasoned guitarist with a collection or a beginner just starting out, having your guitar readily accessible and beautifully displayed is key. A sturdy, attractive stand elevates the playing experience, allowing for easy access and preventing those frustrating moments of searching for your instrument.
This article will guide you through a quick and easy setup for the perfect guitar stand display, transforming your instrument from a potentially damaged piece of furniture into a stunning focal point. Ready to learn how to achieve that perfect room display? Let's dive into our step-by-step guide to setting up your guitar stand flawlessly.
Preparation and Safety Guidelines
- Always ensure the guitar is properly seated in the stand. A poorly placed guitar can easily fall and be damaged.
- Avoid placing the stand in areas with high traffic or where it could be easily knocked over.
- Never leave your guitar unattended in a stand unless it is in a secure, stable location.
Step-by-Step Instructions
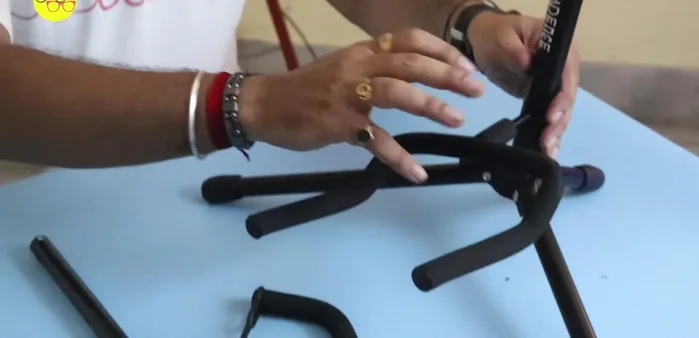
Unfolding the Stand
- Unfold the guitar stand's legs.
- Place the unfolded stand on a flat surface.

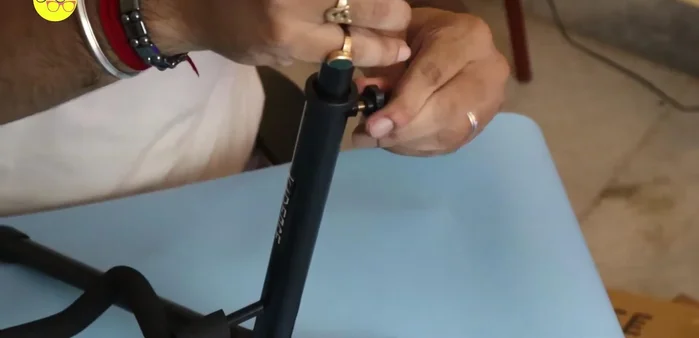
Unfolding the Stand Securing the Legs
- Press down firmly at each of the four leg joints to secure them.
Securing the Legs Positioning the Stand
- Position the stand in your desired location.
Positioning the Stand Setting up the Neck Support
- Open the stand's neck support.
- Adjust the neck support as needed.


Read more: 3D Printed Hercules Guitar Stand Handle Repair: A Durable Fix
Tips
- Ensure the stand is stable and secure before placing your guitar.
- Consider the placement of the stand for easy access and aesthetic appeal.