Changing guitar strings can feel daunting, especially for beginners. That dreaded moment when your favorite string snaps mid-song, leaving you stranded and disheartened, is a familiar experience for many musicians. Whether you’re a seasoned pro looking to streamline your process or a novice taking your first steps into string maintenance, this tutorial will equip you with the knowledge and techniques to conquer this essential task with speed and ease. We'll explore different methods optimized for various guitar types, ensuring a smooth and efficient string change every time.
This ultimate guide covers everything from choosing the right strings and necessary tools to the precise steps involved in removing old strings and installing new ones. We'll delve into effective techniques for both acoustic and electric guitars, addressing common challenges and offering valuable tips and tricks. Ready to learn how to change your guitar strings quickly and effortlessly? Let's dive into the step-by-step process!
Safety Guidelines
- Always tune your guitar to pitch *before* and *after* changing strings to avoid damaging your instrument or causing tuning instability.
- Use proper string winding techniques (e.g., wrapping strings around tuning pegs neatly and tightly to avoid slippage and breakage).
- Dispose of old strings safely and responsibly, avoiding cuts from sharp ends.
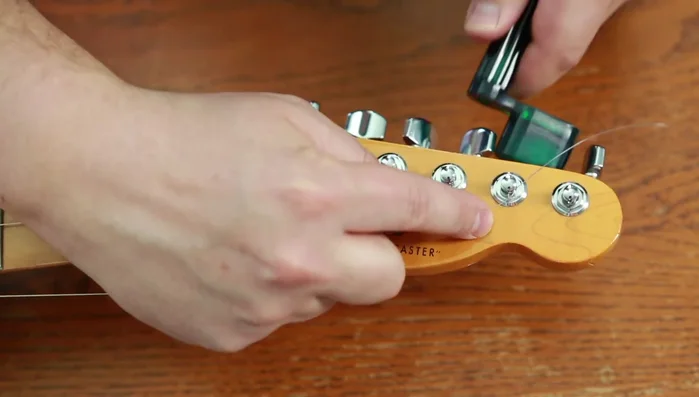
Methods: Electric Guitar String Change (Locking Tuners)
Tools Needed
- Wire Cutters
- Needlenose Pliers
- String Winder
Step-by-Step Instructions
Prepare the Guitar
- Loosen all strings.
- Cut strings at the headstock.
- Remove old strings from tuning pegs.

Prepare the Guitar Install New Strings
- Feed new strings through the back of the guitar.
- Insert string through locking tuner, tighten the lock, and turn.
Install New Strings Finish and Tune
- Clip excess string.
Finish and Tune


Tips
- Locking tuners make string changes much faster.
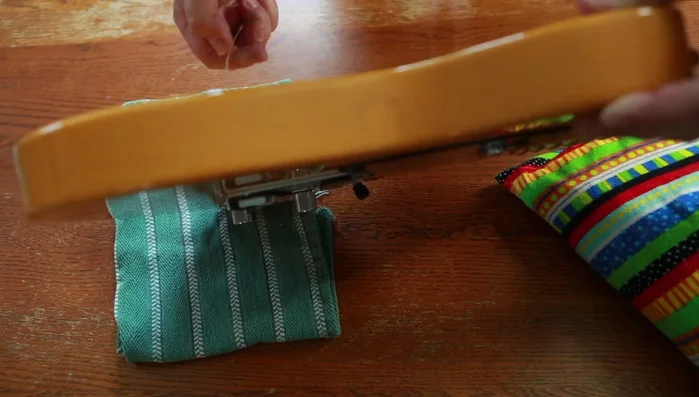
Methods: Electric Guitar String Change (Standard Tuners)
Tools Needed
- Wire Cutters
- Needlenose Pliers
- String Winder
Step-by-Step Instructions
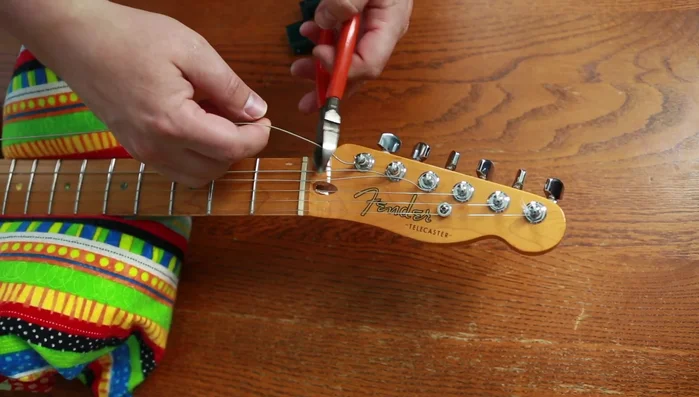
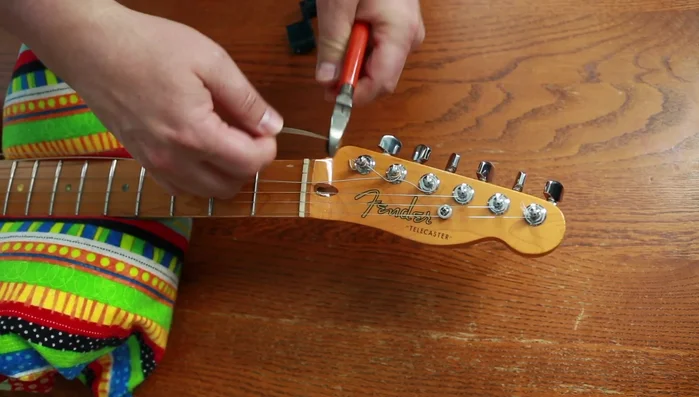
Loosen and Remove Old Strings
- Loosen all strings.
- Cut strings at the headstock (3 at a time recommended).
- Remove old strings from tuning pegs.
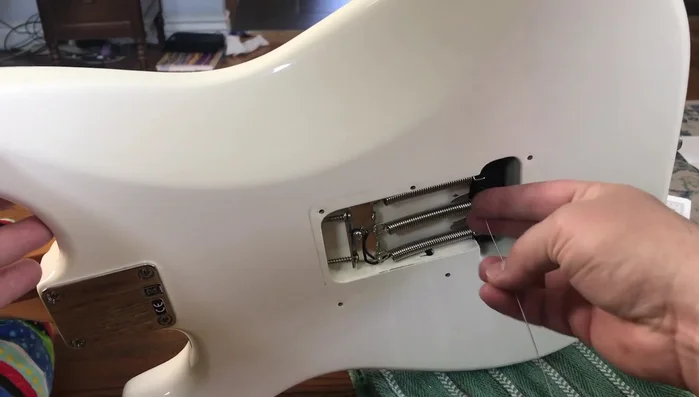
Loosen and Remove Old Strings Insert New Strings
- Feed new strings through the body and out the front.
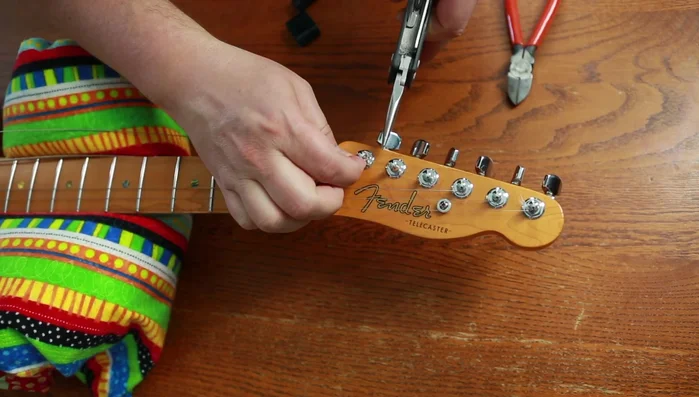
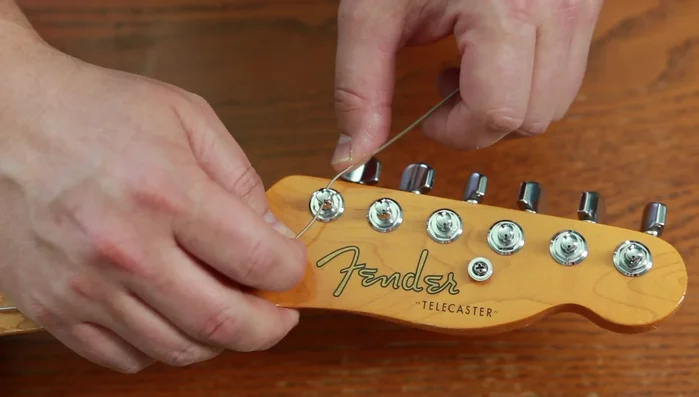
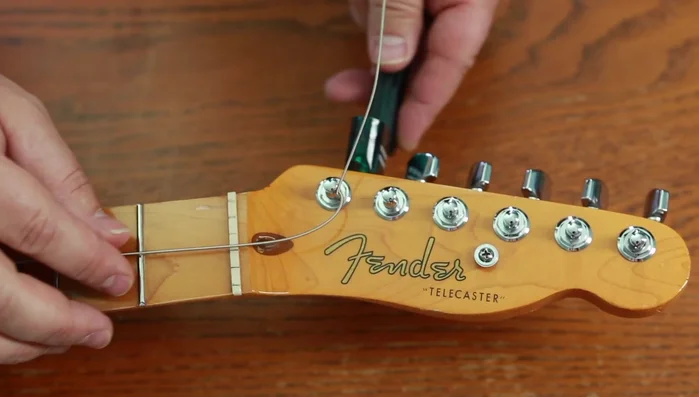
Insert New Strings Prepare Strings for Tuning Pegs
- Insert string through tuning peg, leaving slack.
- Bend string around post, tuck under, and pull tight.
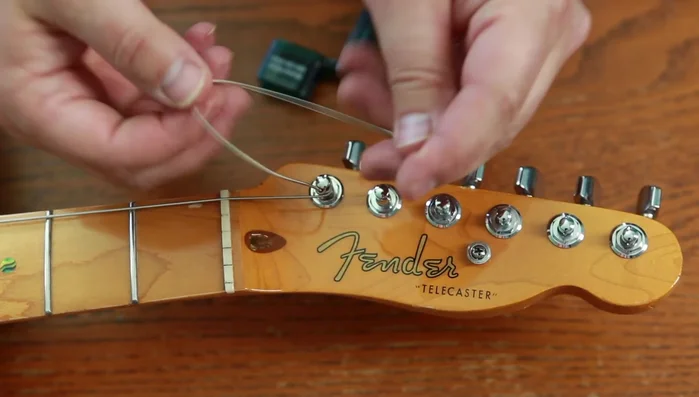
Prepare Strings for Tuning Pegs Wind and Tune Strings
- Wind string using string winder, holding it down to prevent slippage.
- Tune string to pitch.
Wind and Tune Strings Final Touches
- Clip excess string.
Final Touches Repeat for All Strings
- Repeat for all strings.
Repeat for All Strings


Tips
- Pull each string back and forth after tightening to remove slack and improve tuning stability.
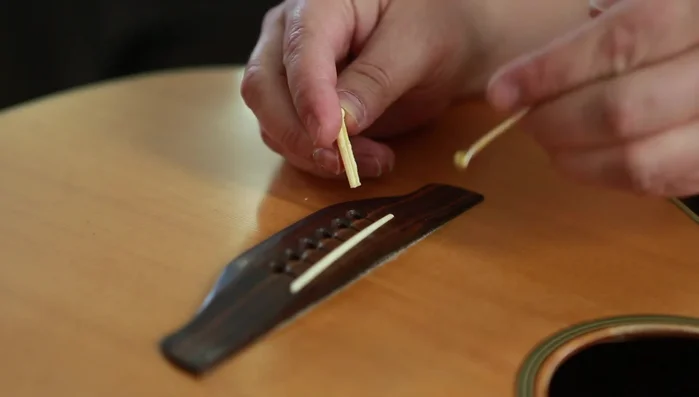
Methods: Acoustic Guitar String Change (Bridge Pins)
Tools Needed
- String Winder
Step-by-Step Instructions
Prepare the Guitar
- Loosen all strings.
Prepare the Guitar Remove Old Strings and Pins
- Remove bridge pins using string winder's notch.
Remove Old Strings and Pins Install New Strings
- Seat new strings in the bridge pin slots, with the ball end underneath.
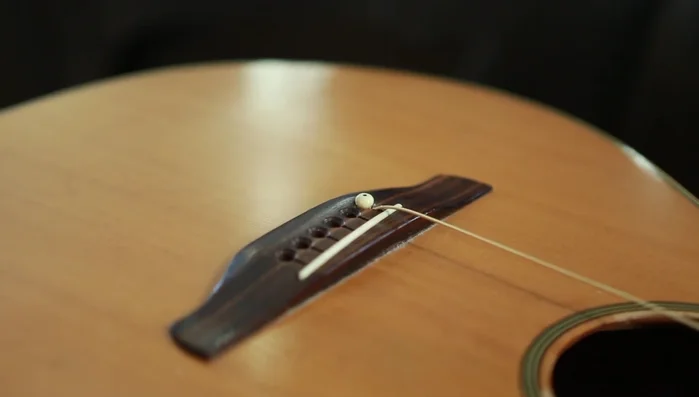
Install New Strings Insert Bridge Pins and Tune
- Insert bridge pins, ensuring the string tension holds them in place.
- Tighten strings, pushing down on the bridge pin if needed to prevent it from lifting.
Insert Bridge Pins and Tune


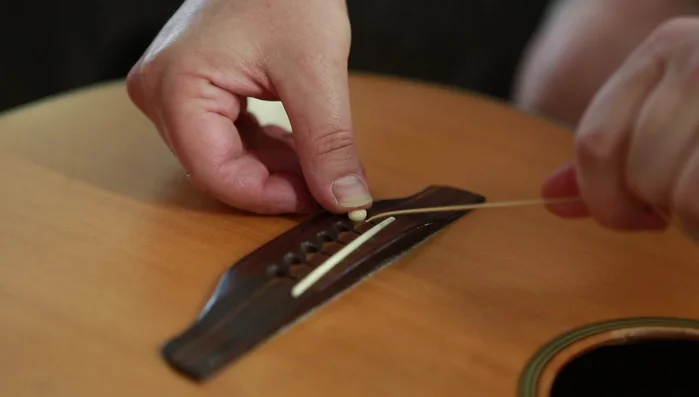
Tips
- Do not use pliers to remove bridge pins; it can damage them.
Read more: Guitar String Breakage Solution: A Superior Hack for Improved Tone and Tuning