Replacing strings on your steel-string acoustic guitar is a regular maintenance task, but wrestling with stubborn bridge pins can quickly turn a simple chore into a frustrating experience. Broken pins, damaged wood, and even injured fingertips are common outcomes when improper techniques are used. This is especially true for those new to guitar maintenance or those dealing with particularly tight-fitting pins. The seemingly simple act of removing these small components requires a gentle yet firm approach, combined with the right tools and understanding.
This ultimate guide will provide you with a comprehensive, step-by-step process for safely and efficiently removing bridge pins from your steel-string guitar bridge, ensuring you can restring your instrument without causing any damage. We'll cover various techniques, address common problems, and offer tips and tricks to make the whole process smooth and straightforward. Let's dive into the detailed instructions to get started.
Preparation and Safety Guidelines
- String with slip knot loop
- String winder/bridge pin puller
- Stuart McDonald bridge pin puller
- Flathead screwdriver
- String cutters
- Flat block
- Business card
- Always use the correct tool: Avoid using excessive force or inappropriate tools (like pliers) which can damage the bridge pins or guitar top. Use a bridge pin puller or a well-fitting, smooth object like a properly sized guitar pick.
- Work over a soft surface: Protect your guitar's finish and bridge by working over a soft, padded surface like a towel to cushion the guitar and prevent accidental scratches.
- Gentle pressure is key: Avoid jarring or forceful movements. Apply gentle, even pressure when removing the pins to prevent damage to the bridge or the pins themselves.
Step-by-Step Instructions
Preparation
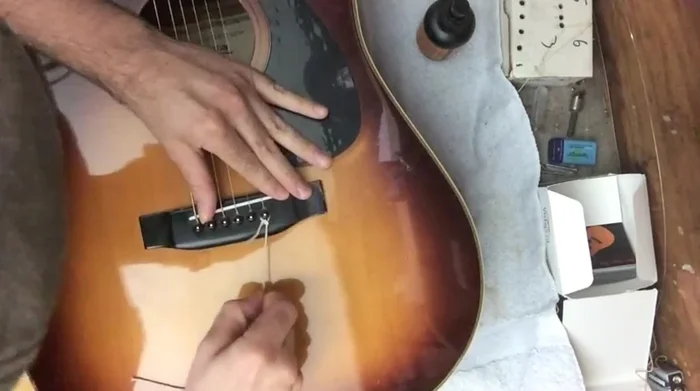
Method 1: Slip Knot Loop
- Use a string with a slip knot loop to gently pull the bridge pin out.

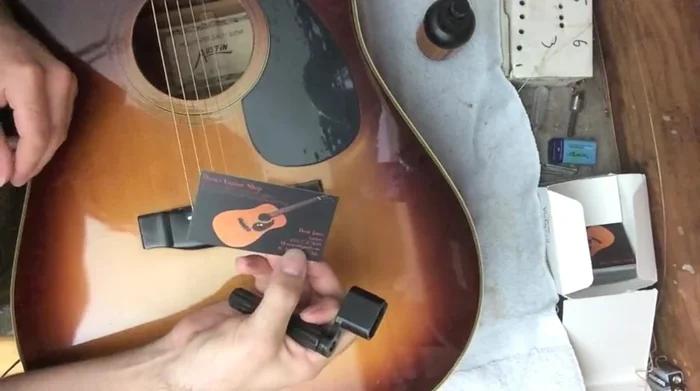
Method 1: Slip Knot Loop Method 2: String Winder/Bridge Pin Puller
- Employ a store-bought string winder/bridge pin puller. Place a business card under the puller to protect the bridge.
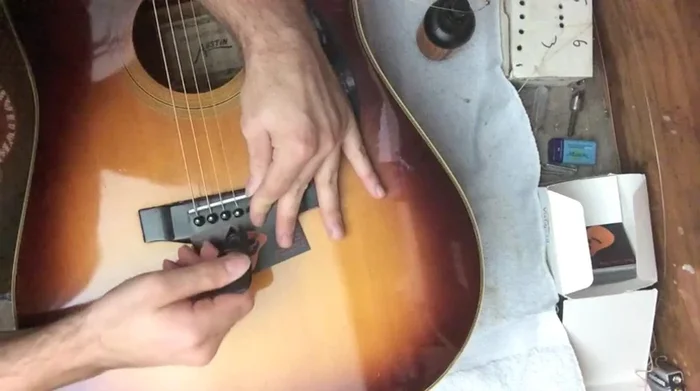
Method 2: String Winder/Bridge Pin Puller Method 3: Specialized Bridge Pin Puller
- Utilize a specialized bridge pin puller (like the Stuart McDonald). Place something protective under the puller to safeguard the bridge.
Method 3: Specialized Bridge Pin Puller Method 4: Flathead Screwdriver Leverage
- Use a flathead screwdriver (or similar flat, stiff object) to leverage the bridge pin out using the saddle as a fulcrum.
Method 4: Flathead Screwdriver Leverage Method 5: String Cutter Leverage
- Carefully use string cutters to grip the bottom of the bridge pin and leverage it out. Be cautious not to cut the bridge pin itself.
Method 5: String Cutter Leverage Method 6: Internal Pressure
- Apply pressure from inside the guitar using a flat block (like a 9V battery) against the bottom of the bridge pin.
Method 6: Internal Pressure


Read more: Fast & Easy Guitar Stringing: The Winder Method
Tips
- Clean your guitar and condition the fretboard while the strings are off.
- Loosen strings before removing bridge pins to prevent injury.
- The string cutter method is excellent for stubborn bridge pins (low A and E).