Guitar tuners are essential tools for any musician, and a dead battery can bring your practice or performance to a screeching halt. Even worse than a dead battery, however, is a broken battery plug on your tuner pedal – a frustrating problem that can leave you stranded without a quick solution. This seemingly minor issue can be surprisingly difficult to address, often requiring more than just a simple battery swap. We've all been there, fiddling with a wobbly connection, hoping it'll magically start working again. But there's no need for frustration. A broken battery plug doesn't necessarily mean the end of your trusty tuner.
Fortunately, with a little patience and the right tools, you can often repair this common problem yourself. This guide provides a clear, step-by-step solution to get your tuner pedal back in working order, saving you time, money, and the agony of a silent tuning session. Let's dive into the repair process and get that tuner back up and running!
Preparation and Safety Guidelines
- Soldering iron
- Solder
- Wire strippers
- Zip ties
- Scotch Super 33 or 88 tape
- Screwdrivers
- WD-40
- Always disconnect the power supply from the pedal and your amplifier before attempting any repairs. Failure to do so could result in electric shock.
- If you are not comfortable working with electronics, seek professional repair. Incorrect repairs can damage your pedal and potentially cause further harm.
- Use a soldering iron with an appropriate tip size and temperature for the components you are working with. Too much heat can damage the circuit board.
Step-by-Step Instructions
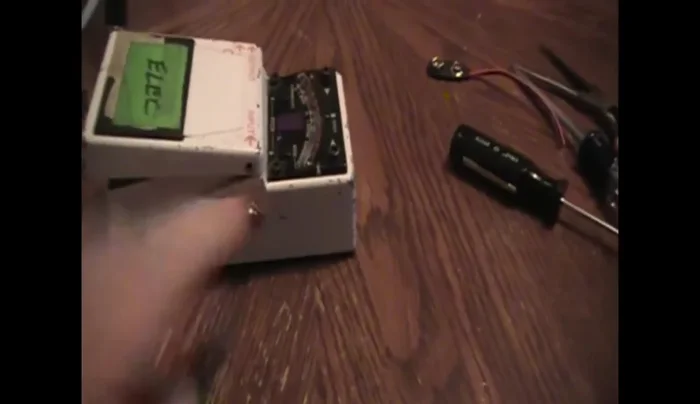
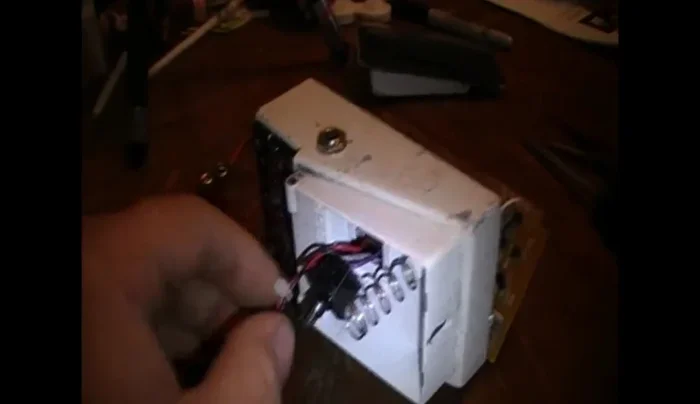
Disassemble the Pedal
- Disassemble the tuner pedal.
- Remove the two machine screws on each side, then the cover, and four screws on the back.
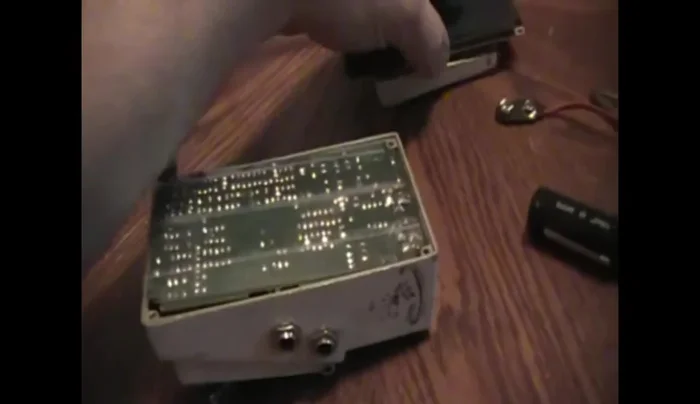
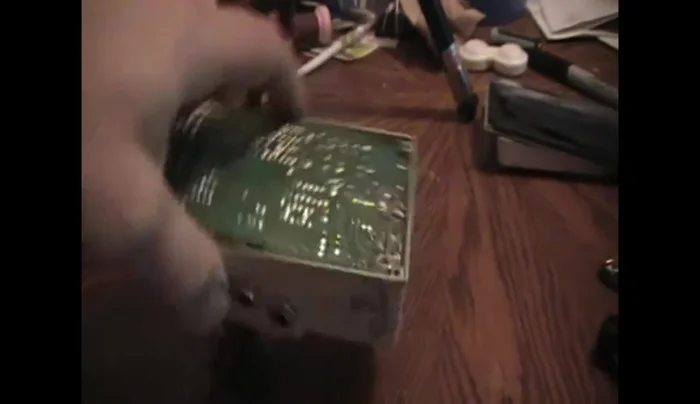
- Carefully pry off the back cover and remove the plastic piece that prevents short circuits.
- Remove the AC plugs by prying and pulling.

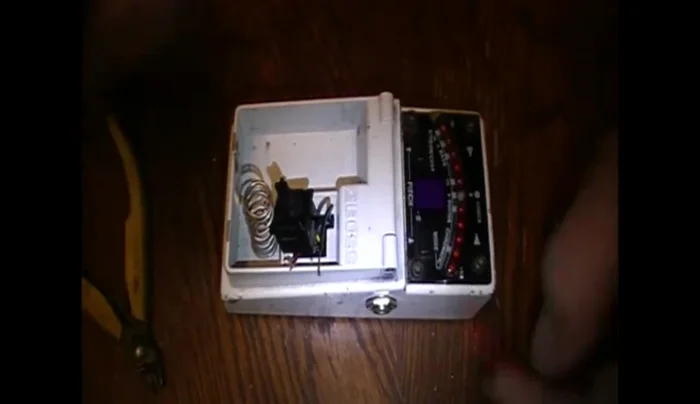
Disassemble the Pedal - Press the tabs on the switch to remove it.
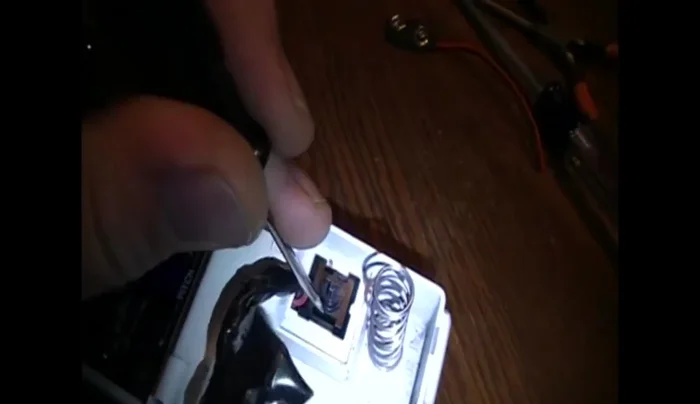
- Cut the zip tie securing the battery plug.
Disassemble the Pedal Prepare Wires
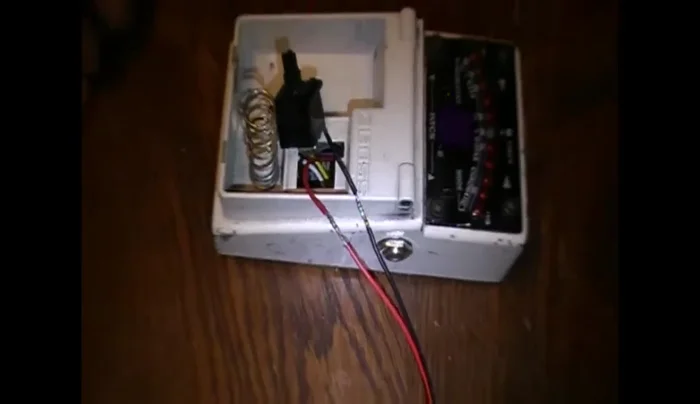
- Strip the wires of the old battery plug and the replacement wires.
Prepare Wires Solder and Insulate
- Twist the stripped wires together, then solder them for a secure connection.
- Apply tape to the solder joint using the inline method for a strong, neat finish.
Solder and Insulate Secure and Reassemble
- Secure the repaired connection with a zip tie.
- Reassemble the tuner pedal.
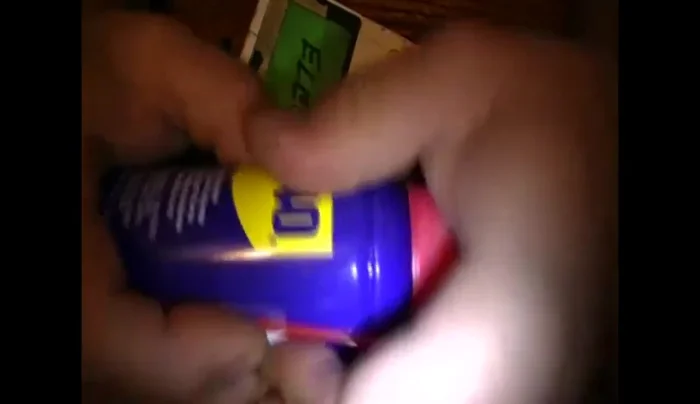
- Use WD-40 to lubricate any stiff screws before tightening.
Secure and Reassemble
Read more: Fixing Loose Acoustic Guitar Tuners: The Toothpick & Glue Method
Tips
- Use Scotch Super 33 or 88 tape for a strong, reliable connection.
- Cut the tape instead of ripping it to avoid stretching and ensure a clean finish.
- Use the inline taping method to prevent unraveling.
- Don't force screws; if they are difficult to turn, back them off and try again.