Do you own a prized guitar that deserves more than just a leaning spot in the corner? A dedicated guitar wall mount is the perfect solution to showcase your instrument while keeping it safe and readily accessible. But the thought of installation, especially into drywall, might seem daunting. Fear not! This guide simplifies the process of installing a sheetrock guitar wall mount, offering a straightforward approach even for DIY beginners. We’ll cover everything from selecting the right location to ensuring a secure and damage-free installation.
Forget complicated tools and intricate procedures; this method prioritizes simplicity and effectiveness. We'll walk you through each step, providing clear instructions and helpful tips to ensure a successful installation. Ready to proudly display your guitar and safeguard it from accidental damage? Let's dive into the step-by-step installation process outlined below.
Preparation and Safety Guidelines
- Guitar Wall Holder
- Screws
- Pencil
- Hammer (optional)
- Sheetrock Anchors
- Always locate and avoid electrical wiring and plumbing in the wall before drilling. Use a stud finder to ensure the mount is secured to wall studs for maximum weight support.
- Wear safety glasses to protect your eyes from debris while drilling and installing the mount.
- Ensure the sheetrock is thick enough to support the weight of your guitar. If unsure, use additional support or a different mounting method.
Step-by-Step Instructions
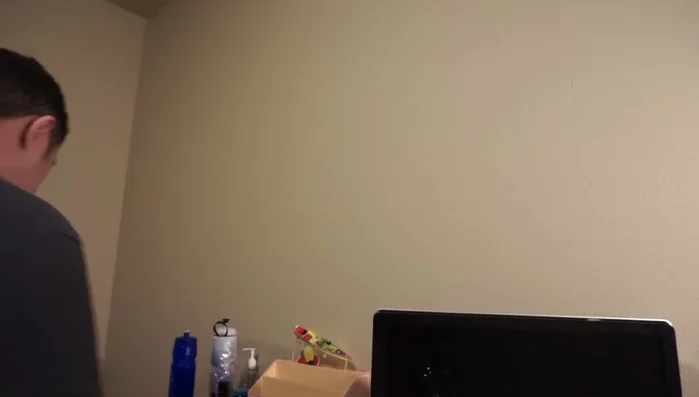
Mark Wall and Pre-Drill
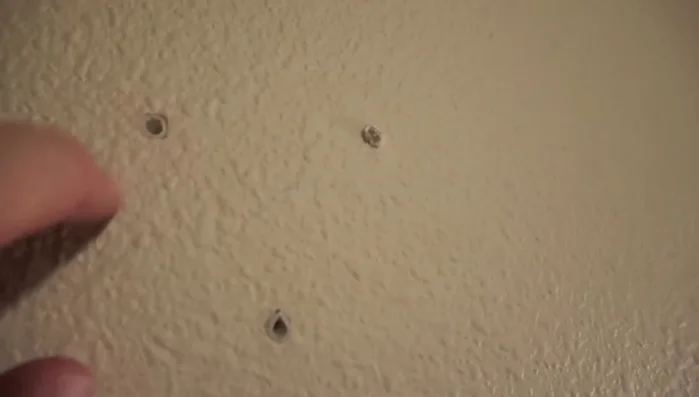
- Mark the desired placement of the guitar holder on the wall using a pencil.
- Place the backing plate against the wall, aligning it with the pencil marks. Use the pencil to mark through the holes of the backing plate onto the wall, indicating where the screws will go.
- For sheetrock walls, pre-drill pilot holes (optional but recommended). You can use nails to mark the spot or screw in and out to make indentations and then hammer the nails in.

Mark Wall and Pre-Drill Install Sheetrock Anchors
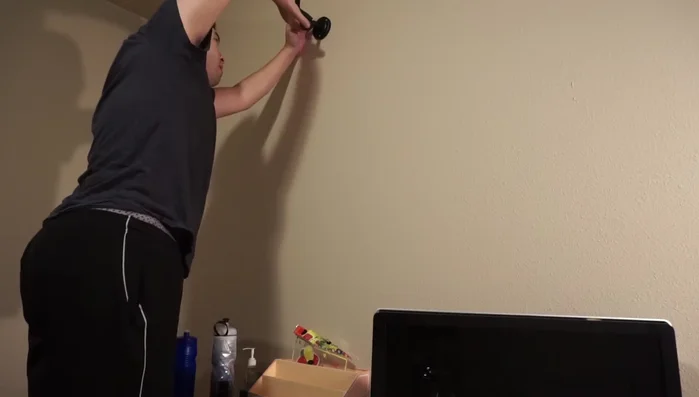
- Insert the sheetrock anchors into the pre-drilled holes and hammer them in until flush with the wall. (If using studs, this step is unnecessary).
Install Sheetrock Anchors Mount Backing Plate
- Align the backing plate with the marked holes and screw it to the wall using the provided screws.
Mount Backing Plate Attach Guitar Holder
- Attach the guitar holder itself to the mounted backing plate using the provided screws.
Attach Guitar Holder

Read more: 3D Printed Hercules Guitar Stand Handle Repair: A Durable Fix
Tips
- Double-check your markings before drilling or hammering.
- If desired for extra stability, install the bolt before mounting the apparatus to the wall.