Changing strings on your acoustic guitar can be a frustrating experience, often involving fumbling with awkward tuners and the risk of damaging your instrument. The process is made significantly easier with a simple, yet effective, string winder. While commercially available winders are readily accessible, building your own is a surprisingly quick and inexpensive alternative, allowing for a customized tool perfectly suited to your needs. This empowers you to tackle string changes with confidence and efficiency, reducing the overall time and effort involved.
This DIY project requires only a few readily available materials and basic tools, making it perfect for guitarists of all skill levels. Forget struggling with tangled strings – this guide will walk you through each step of building your own custom string winder, from gathering the necessary supplies to the final assembly. Let's dive into the step-by-step instructions and get you winding strings like a pro in no time!
Preparation and Safety Guidelines
- Scrap piece of 3/4 inch thick wood
- Number 8 by 32 screw (approx. ¾ inches long)
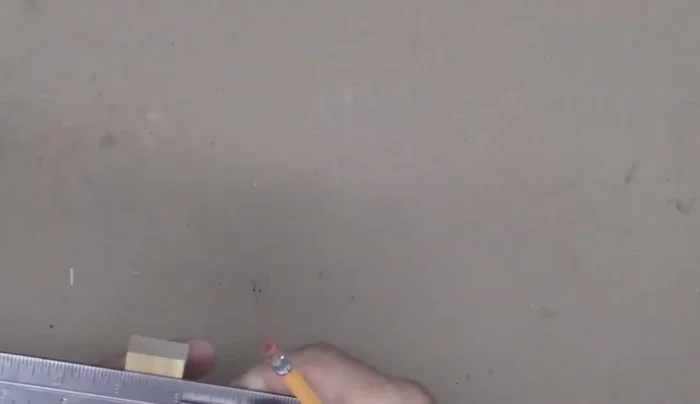
- Pencil
- Saw with fine blade (pull saw or hacksaw)
- Chisel (¼ inch wide) or thin file
- Clamp
- Piece file or rasp
- Sandpaper
- Measuring device or ruler
- Wood glue
- Drill
- 3/32 drill bit
- 3/16 inch drill bit
- Always use appropriate-sized string winding pegs for your guitar's tuning posts to avoid damaging them. Using the wrong size can strip the posts or cause the strings to slip.
- Be gentle when winding strings; excessive force can break them or damage your guitar's tuning mechanism. Wind evenly and avoid sudden jerking motions.
- If you're unsure about any aspect of the process, consult a professional guitar technician or luthier. Improper string winding can affect your guitar's tuning stability and even cause damage.
Step-by-Step Instructions
Prepare the Base
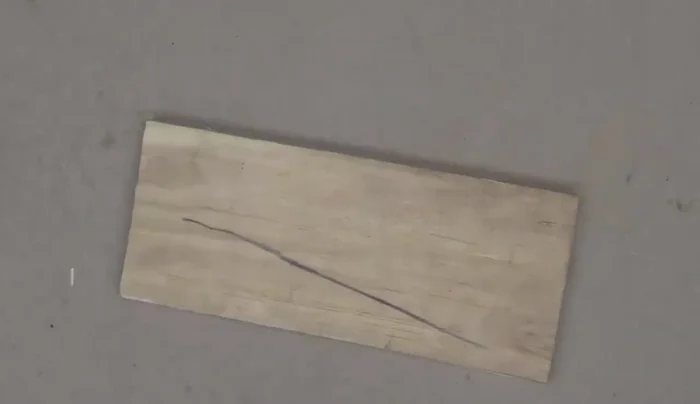
- Cut a piece of wood 2.5 inches long and 1 inch wide.
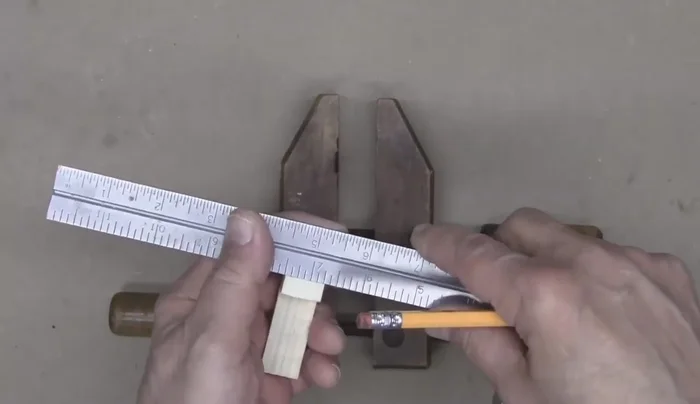
- Measure the string post width and length on your guitar (or the largest guitar if you have multiple).
- Mark the measurements onto the wood piece, creating a recess for the string post.
- Cut out the marked shape using a saw and clamp.

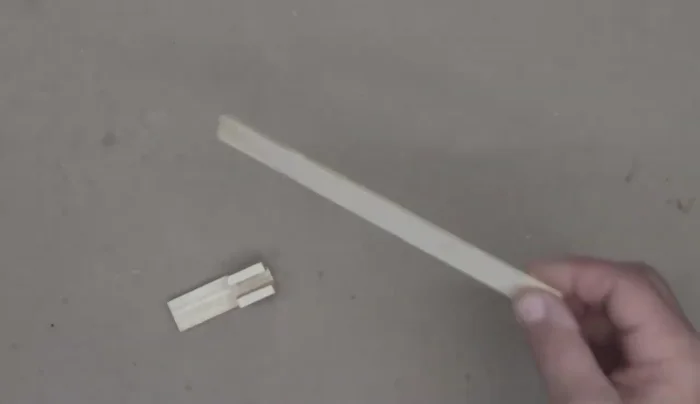
Prepare the Base Create the String Post Recess
- Create a channel in the wood piece using a saw, file, or chisel, matching the width of your guitar's string post.
Create the String Post Recess Reinforce the Ends
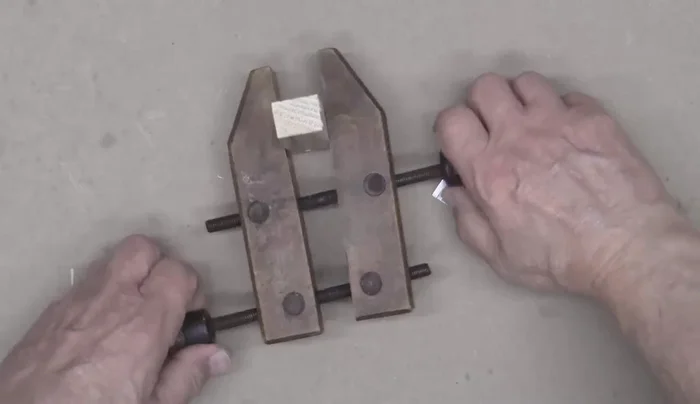
- Cut two small pieces of thin wood to reinforce the ends.
- Glue and clamp the small wood pieces onto the ends of the main piece to prevent slippage.
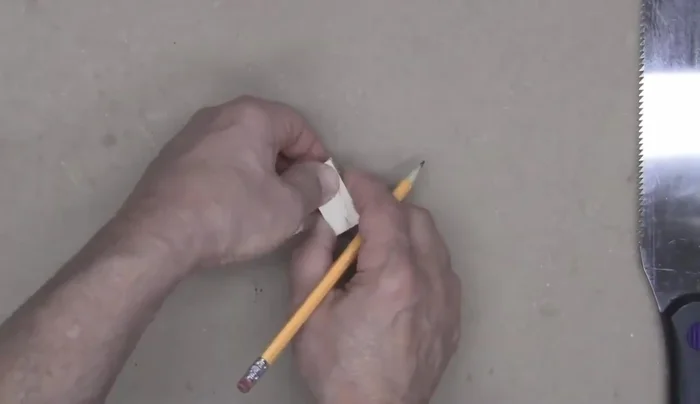
Reinforce the Ends Create and Attach the Handle
- Cut a 3/4 inch piece from a 3/4 inch square piece of wood for the handle.
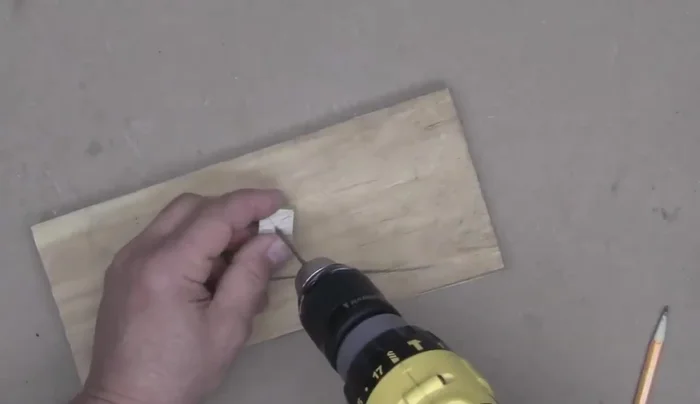
- Drill a pilot hole in the handle piece using a 3/32 drill bit, then drill a larger hole (3/16 inch) in the main body of the winder.
- Thread the screw partially into the handle, then insert the handle into the main body and tighten the screw to secure.
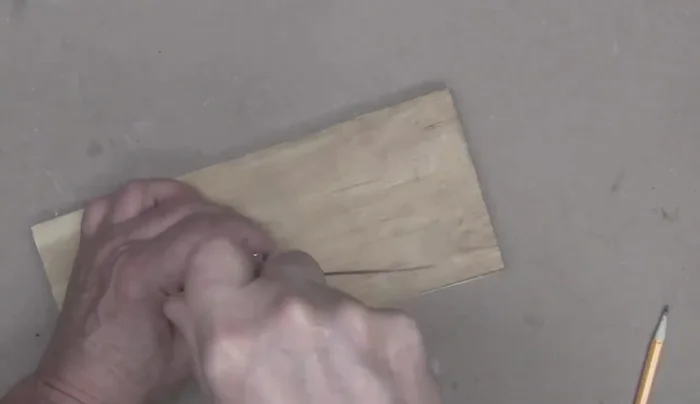
Create and Attach the Handle Finishing Touches
- Sand down all surfaces and edges for a smooth finish.
Finishing Touches


Read more: Fast & Easy Guitar Stringing: The Winder Method
Tips
- Use a pull saw or hacksaw if you don't have a fine blade saw.
- If you don't have a chisel, a thin file will work for creating the channel.
- Any type of clamp will work, you don't need parallel clamps.
- Make sure the screw in the handle is tight enough to prevent wobbling but loose enough to allow for turning.