Building your own guitar effects pedal is a rewarding experience, offering a level of customization and understanding unmatched by store-bought options. However, the journey isn't always smooth sailing; even experienced builders encounter glitches and unexpected issues during construction or after the initial excitement of a completed build. A seemingly minor solder joint, a misplaced component, or a faulty part can quickly silence your carefully crafted creation, leaving you frustrated and facing a seemingly insurmountable challenge. This can be especially disheartening when you're eager to hear your pedal in action.
Fortunately, many common DIY pedal problems are easily solvable with a methodical approach and the right tools. This comprehensive guide will equip you with the knowledge and techniques to troubleshoot effectively, diagnosing and fixing a wide range of issues. Let's dive into the step-by-step process, guiding you from identifying the problem to restoring your pedal to its full glorious, tone-bending potential.
Preparation and Safety Guidelines
- Multimeter
- Stanley knife/Exacto knife
- Magnifying glass
- Soldering iron
- Always disconnect the power before making any internal modifications to your guitar pedal. Failure to do so could result in electric shock.
- Handle components with care. Static electricity can damage sensitive electronics. Consider using an anti-static wrist strap.
- If you're unsure about any repair, seek assistance from an experienced technician. Improper repairs can worsen the problem or damage other components.
Step-by-Step Instructions
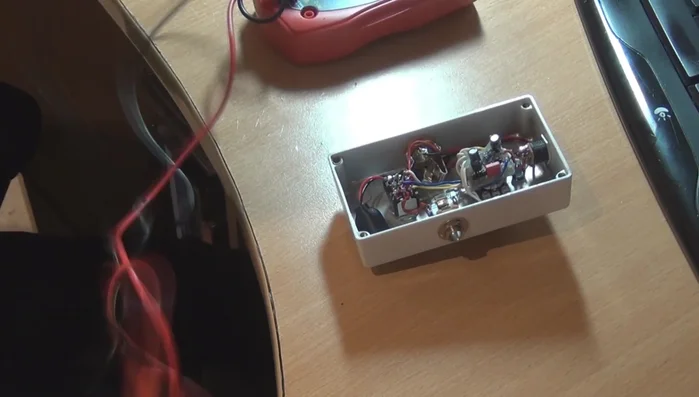
Initial Checks: Bypass & Grounding
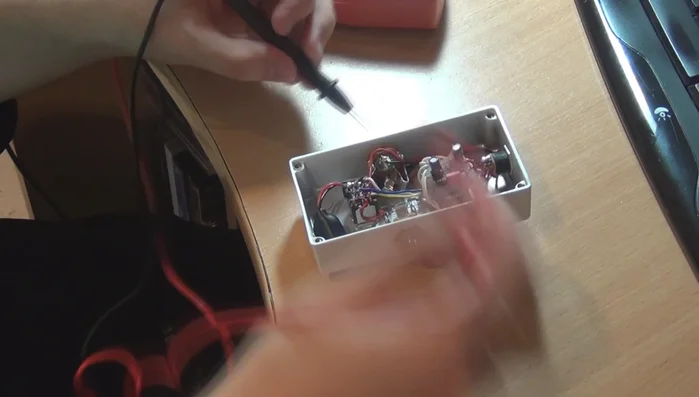
- Use a multimeter in continuity mode to verify a continuous path between input and output jacks when the pedal is in bypass mode.
- Ensure proper grounding by checking continuity between the inside of the input and output jacks through the enclosure.
- Verify that the input and output jacks maintain a continuous ground connection through the enclosure.

Initial Checks: Bypass & Grounding Wiring and Enclosure Integrity
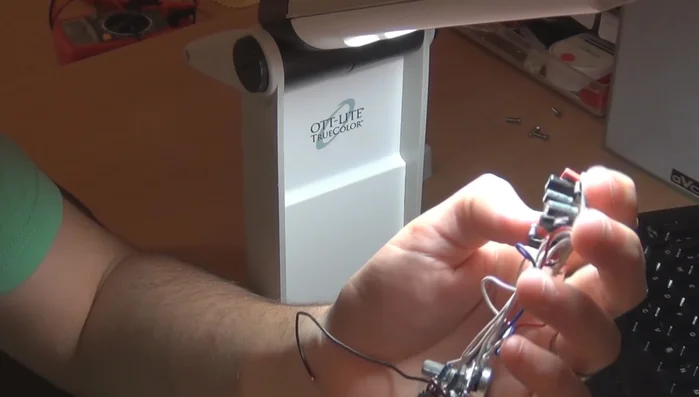
- Carefully review all wiring connections to ensure they match the schematic.
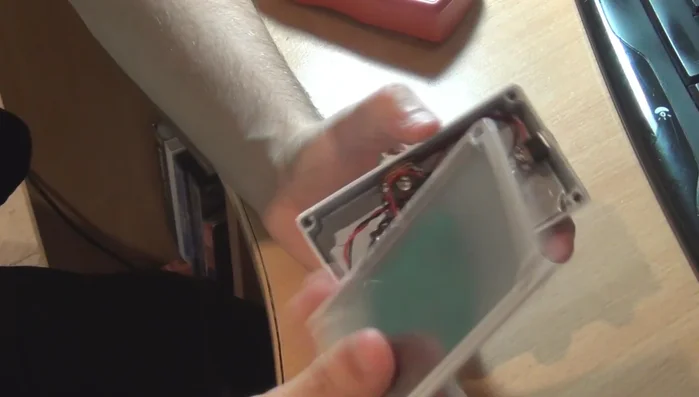
- Make sure that no components are touching the backplate when the enclosure is closed, as the entire case is ground.
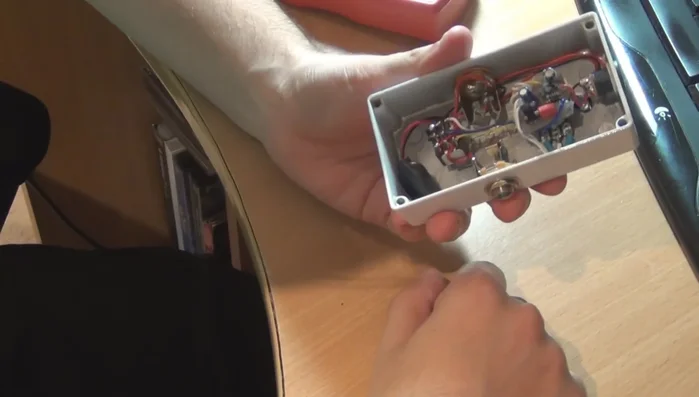
Wiring and Enclosure Integrity PCB Inspection: Visual & Physical
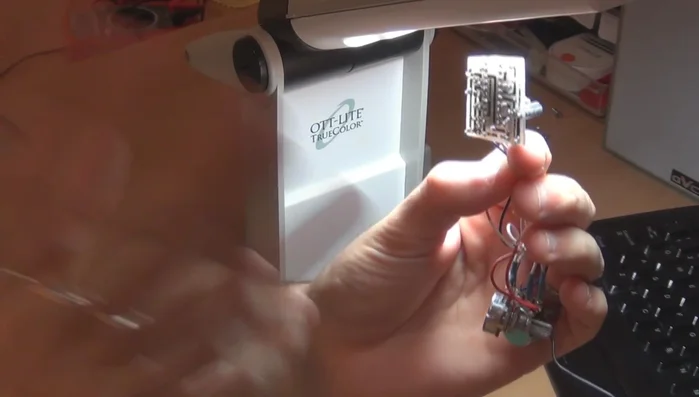
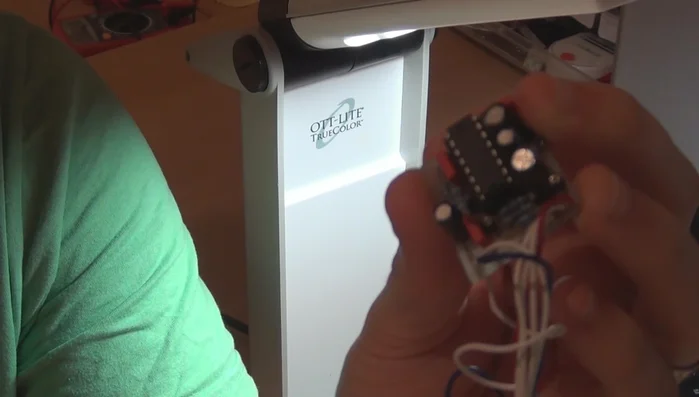
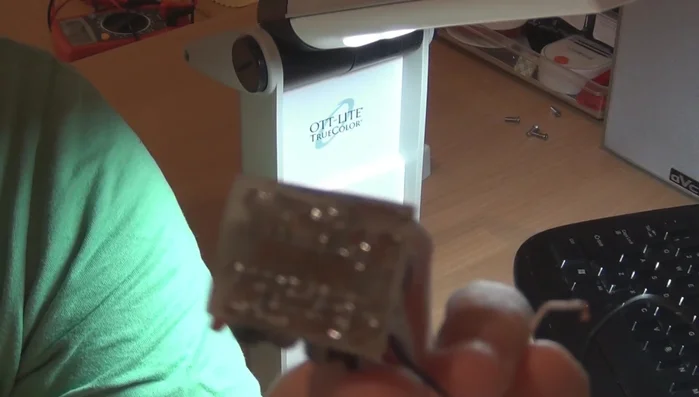
- Carefully examine all solder joints under a light source for any bridges (short circuits) or cold solder joints.
- Lightly scratch between PCB tracks with a knife to reveal hidden solder bridges that may be too small to see otherwise.
PCB Inspection: Visual & Physical Component Verification
- Double-check the orientation of all polarized components such as electrolytic capacitors, transistors, and diodes.
- Confirm that all component values are correct using an online calculator or by reading color codes.
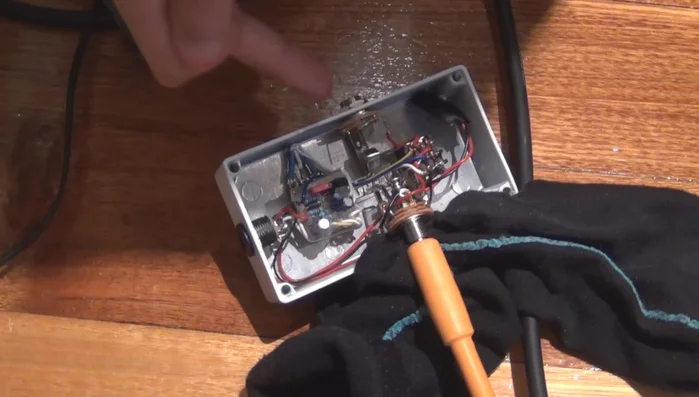
Component Verification Soldering Quality Check
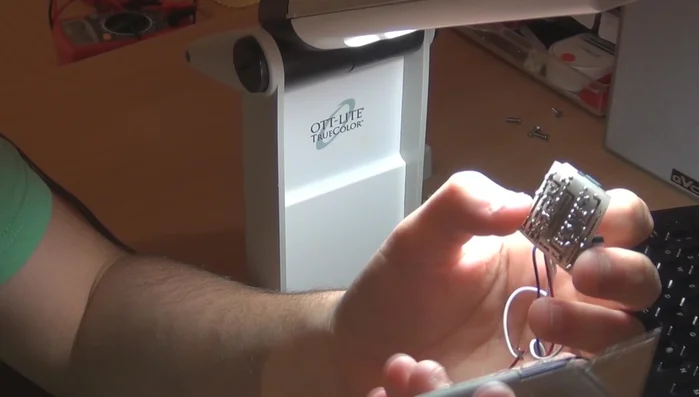
- Examine the bottom side of the PCB for dry solder joints – components that appear soldered but have no electrical connection.
Soldering Quality Check
Read more: Best Multi-Effects Pedals for Guitarists in 2017: A Comprehensive Review
Tips
- Use a magnifying glass to closely inspect solder joints and component placement.
- Reflow any solder joints that appear suspect, even if they seem fine.
- If you get stuck, temporarily remove the PCB and test the circuit externally to isolate the problem – the PCB or the enclosure wiring.
- Consult online forums for assistance if you're still having problems.