Crafting your own custom guitar effects pedals can be a rewarding experience, offering unparalleled control over your tone and a significant cost saving compared to commercially produced units. But the seemingly daunting task of wiring a stompbox often prevents aspiring builders from taking the plunge. This perception, however, is largely unfounded. Wiring a stompbox pedal is a straightforward process, accessible even to those with minimal electronics experience, provided you follow a clear and efficient method. Forget wrestling with complicated diagrams and confusing jargon!
This article presents the easiest and most efficient way to wire your next stompbox project, focusing on a simple, logical approach that eliminates guesswork and minimizes the risk of errors. We'll guide you through each step, from preparing the enclosure to soldering the final connection, ensuring you achieve a flawlessly functioning pedal with minimal fuss. Let's dive into the step-by-step process.
Preparation and Safety Guidelines
- Soldering Iron
- Solder
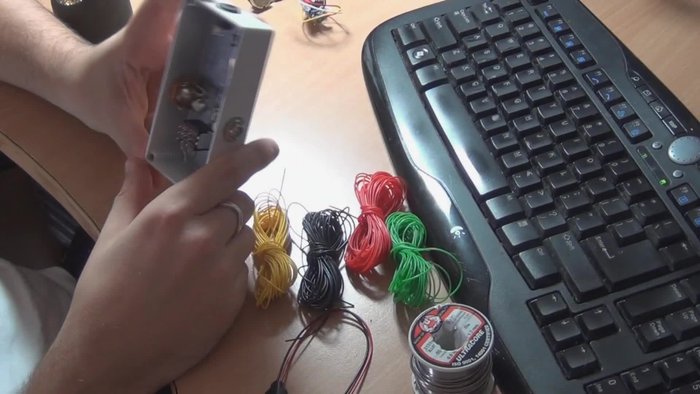
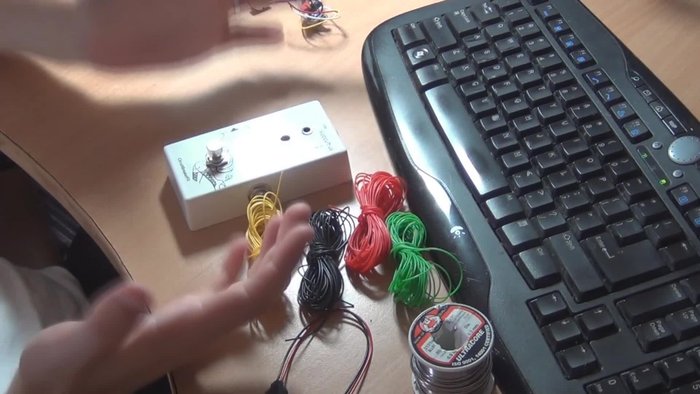
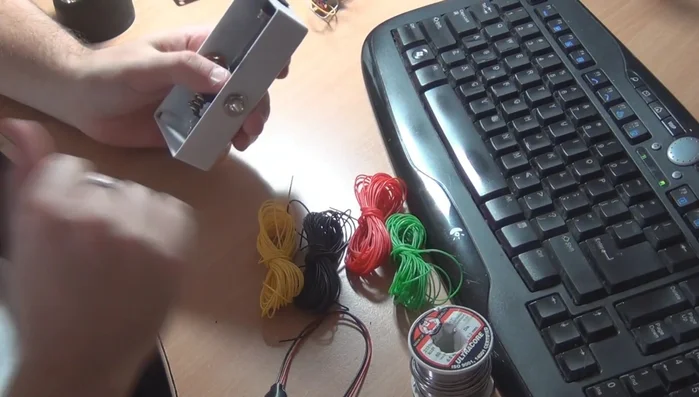
- Wire
- Enclosure (metal preferred)
- PCB
- Potentiometers
- Input/Output Jacks
- Switch
- LED (optional)
- Resistor (optional)
- Battery Snap
- Always disconnect the power source before working on any electrical components. Failure to do so can result in electric shock.
- Use the correct size and type of solder. Too much solder can cause short circuits, while too little will create a weak connection.
- Double-check all your wiring before connecting the pedal to your amplifier or power supply to avoid damaging your equipment or creating a hazardous condition.
Step-by-Step Instructions
Prepare the Enclosure
- Paint or customize your enclosure and drill the necessary holes for components.

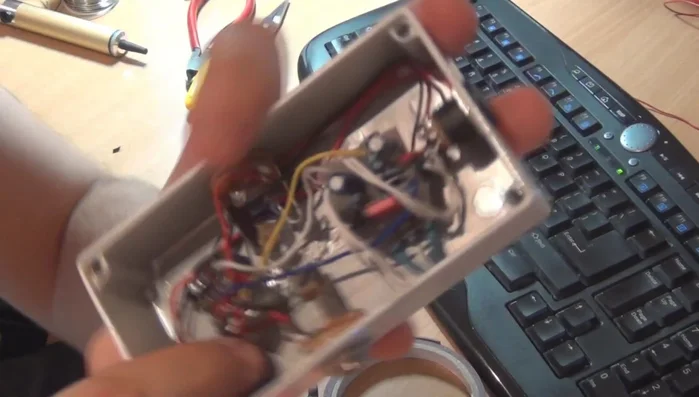
Prepare the Enclosure Install Hardware
- Mount potentiometers, input/output jacks, and switch inside the enclosure.
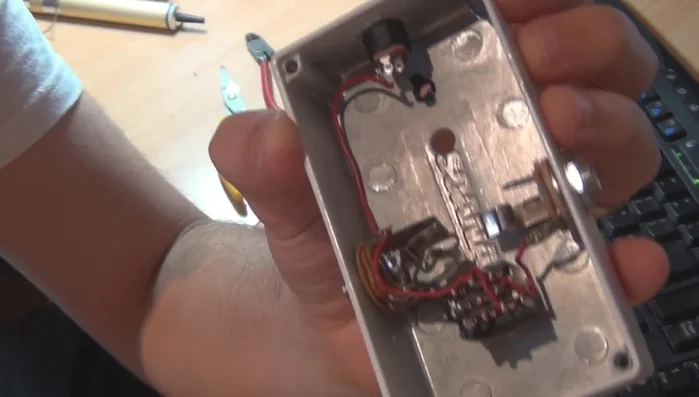
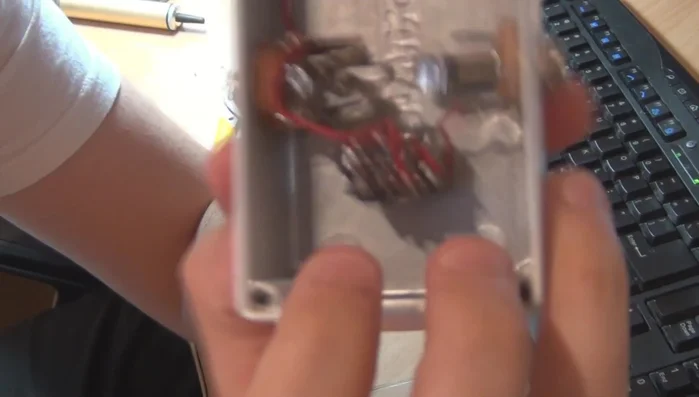
Install Hardware Wire Enclosure Components
- Using either the Mad Bean or Tone Pad wiring diagrams (links provided in the video), wire up as much as possible *before* installing the PCB. This makes wiring neat and organized.
Wire Enclosure Components Install and Wire PCB
- Place the PCB inside the enclosure and connect the remaining wires according to the diagram.
Install and Wire PCB Install Battery Snap
- Secure the battery snap as the final step.
Install Battery Snap Test the Pedal
- Plug in a battery and check functionality by plugging and unplugging a cable into the input jack. The LED should only be on when a cable is plugged in.
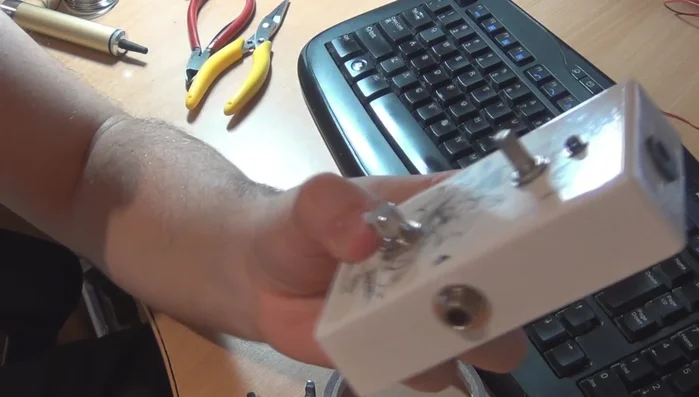
Test the Pedal Install Knobs and Backplate
- Attach knobs to potentiometers and secure the backplate.
Install Knobs and Backplate
Read more: Best Multi-Effects Pedals for Guitarists in 2017: A Comprehensive Review
Tips
- Use a metal enclosure: This eliminates the need to connect the output jack shield to the ground.
- Check solder joints: Ensure solder flows neatly and there are no blobs or loose connections. If using a metal enclosure, ensure all metal parts are grounded properly to prevent noise.
- Prevent fraying: When inserting wires into lug holes, be careful not to fray them. If fraying occurs, solder the ends to prevent shorts.
- Clearance check: Make sure no wires touch the enclosure lid or other components when it's closed.
- LED wiring: Isolate the LED leads to prevent accidental shorts.