Is your Walmart weed eater head giving you a frustrating workout instead of effortlessly trimming your lawn? That stubborn, stiff turning mechanism is a common complaint, leaving many feeling defeated before they even begin. The good news is that you don't need to be a mechanic or shell out money for a replacement to solve this problem. Many Walmart weed eater heads suffer from a simple design flaw that can be easily rectified with a few quick modifications. This often overlooked issue translates to significant time saved and reduced strain on your wrists and arms.
Forget wrestling with your weed eater – this guide provides a simple and effective solution to unlock and modify your head for effortless turning. We'll walk you through a straightforward process requiring minimal tools, ensuring you can get back to landscaping efficiently and painlessly. Ready to experience the difference? Let's dive into the step-by-step instructions and reclaim the smooth operation your weed eater deserves.
Preparation and Safety Guidelines
- Flathead screwdriver
- Metal file (or Emory board/nail file/sandpaper)
- Always disconnect the weed eater from the power source (gas or battery) before attempting any repairs or modifications.
- Wear appropriate safety gear, including eye protection and gloves, to prevent injuries from flying debris or sharp parts.
- If you are uncomfortable performing any of these steps, consult a professional repair shop or refer to your weed eater's manual.
Step-by-Step Instructions
Prepare for Disassembly
- Remove the battery from your weed eater.

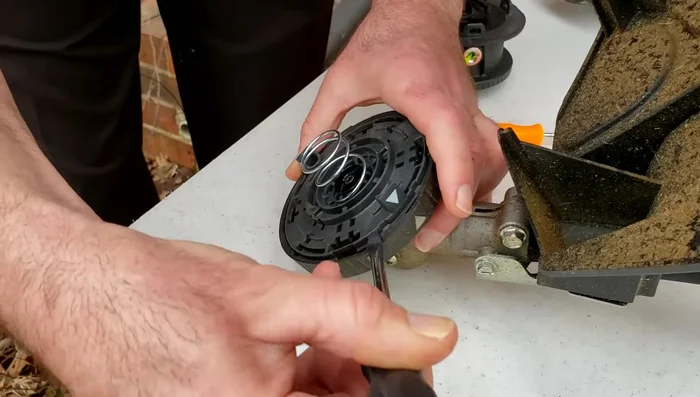
Prepare for Disassembly Unlock the Weed Eater Head
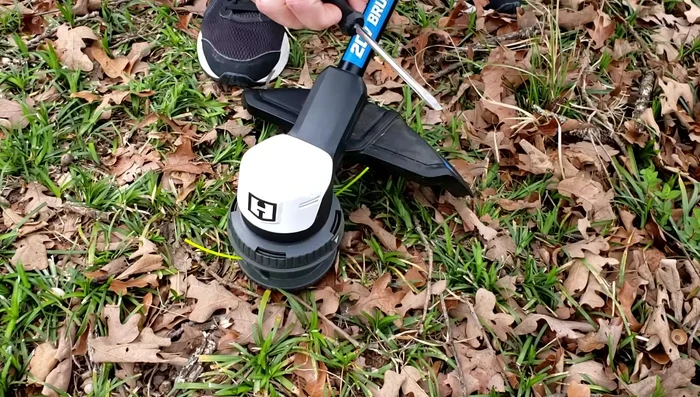
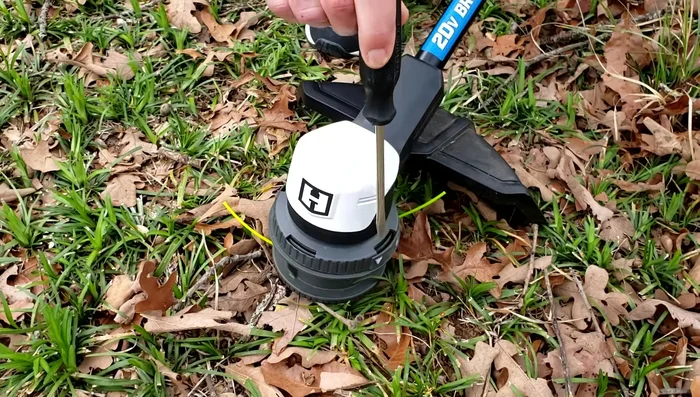
- Insert the flathead screwdriver into the outer groove where the lock symbol is located. Orient the head upside down.
- Turn the head counterclockwise (as you look at it). The screwdriver will hit the weed eater body, preventing the bottom from spinning.
- Hold the screwdriver in place with your feet and twist the top part of the head with both hands to open it.
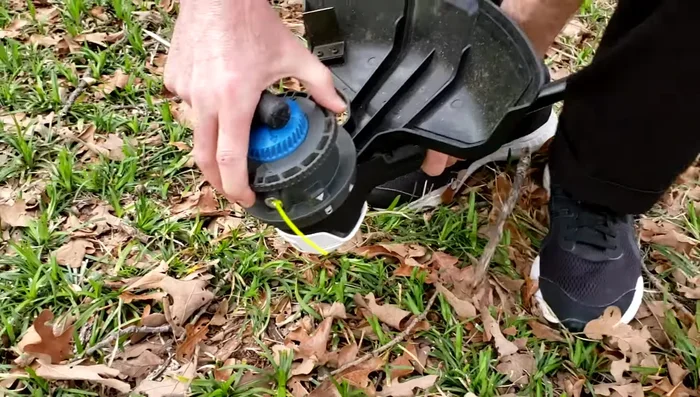
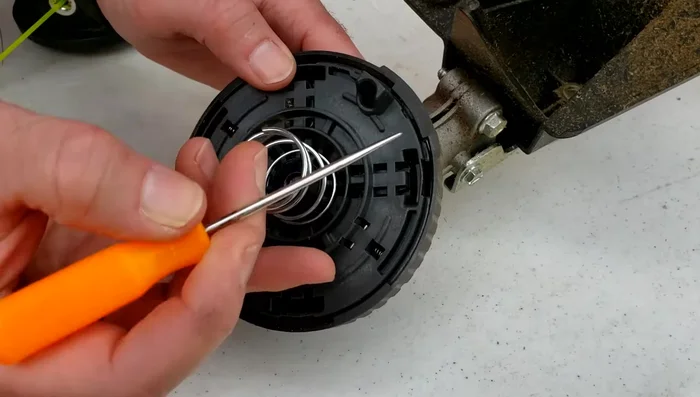
Unlock the Weed Eater Head Identify Modification Points
- Locate the tabs with grooves on both sides of the head (where the lock symbols are).
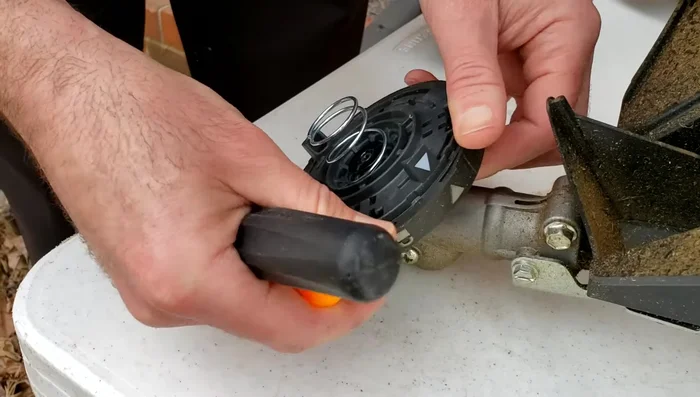
Identify Modification Points Modify the Locking Tabs
- Use the flathead screwdriver to gently bend down the tab in the outer section that's blocking one of the grooves.
- Repeat step 6 on the other side.
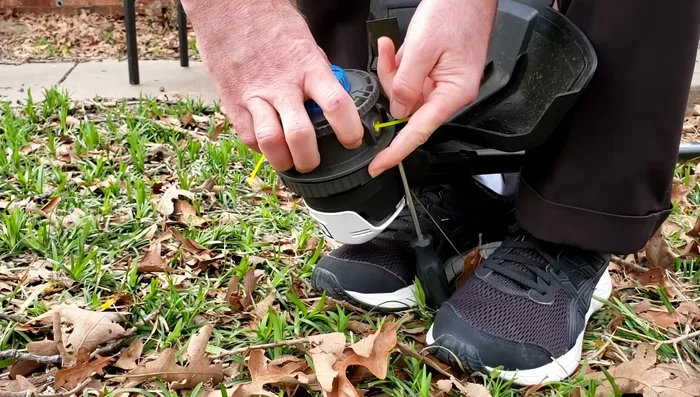
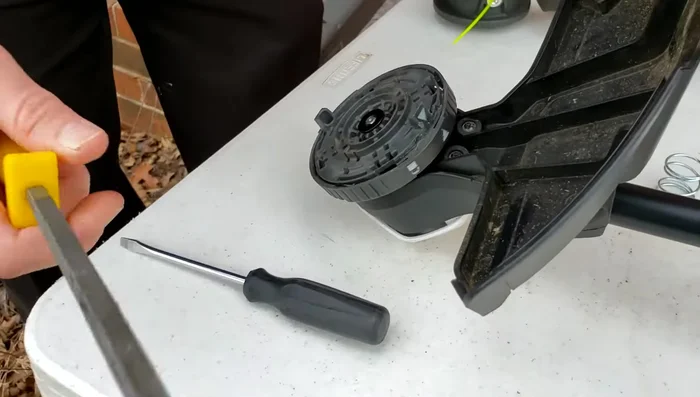
Modify the Locking Tabs Smooth the Grooves
- Use a metal file to lightly scrape and round the edges of the exposed grooves. Be gentle, as this is plastic.
Smooth the Grooves Test and Refine the Modification
- Test the head. If it's too loose, repeat step 8 to remove a little more material until it turns easily by hand, but still stays locked.
Test and Refine the Modification

Read more: Fast & Easy Guitar Stringing: The Winder Method
Tips
- Take a little bit off at a time with the file and test frequently.
- Use the spring to help keep the head tighter once you’ve achieved easy turning by hand.